If you’re a quilter and have done a couple of projects already, you must have a pile of fabric scraps that you just couldn’t throw away, and you also probably don’t have a specific project in mind to use them with. This is where crumb quilting comes in handy, usually, this type of quilt requires your project to be as scrappy as it can get.
RELATED: Easy Log Cabin Quilt Using Fabric Scraps
However, some of you may think that quilting scraps that are too small might be difficult and not look good, that is until you see this project idea by Sew Easy by Sandy on YouTube, in this quilt, the smaller your fabric pieces are, the better! I’m sure you will be amazed by how this project will turn out, so learn how now, and give it a try.
Materials for Scrap Quilting:
- Assorted fabric scraps
- Backing fabric
- Lining fabric
- Thermal adhesive sheet
- Transparent/Veil/Sheer fabric
- Glue pen
- String
- Marking pen, pencil, or chalk
- Ruler
- Scissors or rotary cutter and a cutting mat
- Fabric pins
- Needle and thread
- Iron, for pressing
- Sewing machine
How to Quilt Using Small Scraps:

Step 1
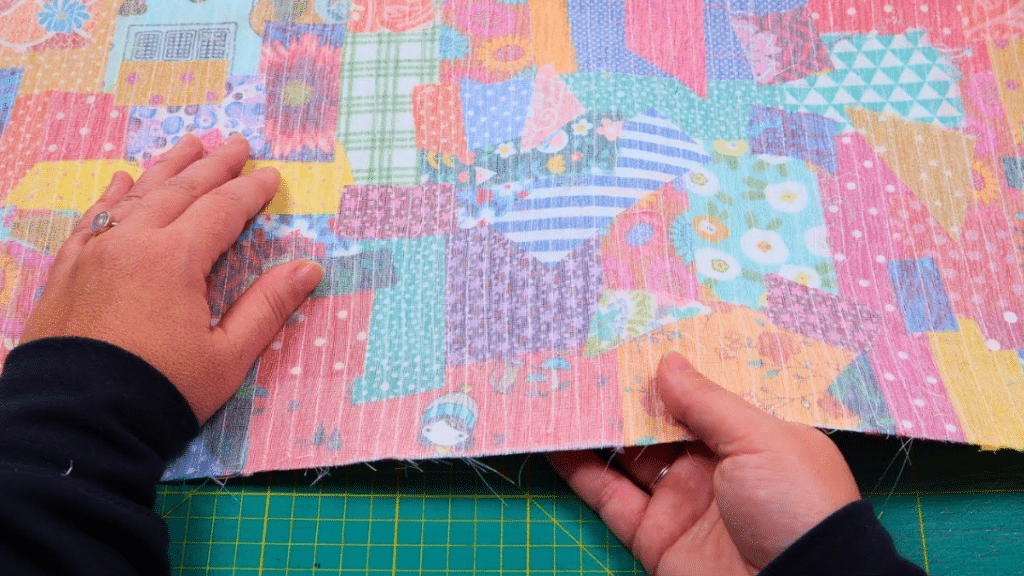
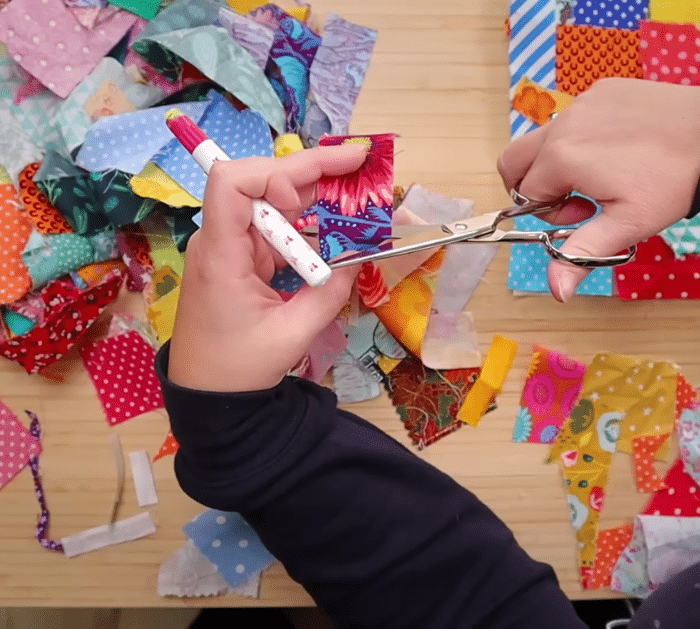
Cut the bigger piece of fabric scrap into smaller sizes, then cut the thermal adhesive sheet to a 24×10-inch rectangle, and tape it down on your work surface securely. Start laying down the fabric scraps with the larger pieces first, then add the smaller ones on top, and use a glue pen to adhere them together. Press them down to fuse, then carefully peel off the paper, and fuse the entire piece to your backing fabric by pressing it with an iron.
Step 2
Cut the sheer fabric to size, then lay it on top of the patchwork, and press it down gently (make sure to test it out first to see if the sheer fabric would melt, if so, place another fabric on top before pressing). Pin them into place, then quilt the piece however you want, and lay it with your lining fabric with their right sides facing. Stitch them together on their short sides, then open the fabric, and match the seams pressing it open.
Step 3
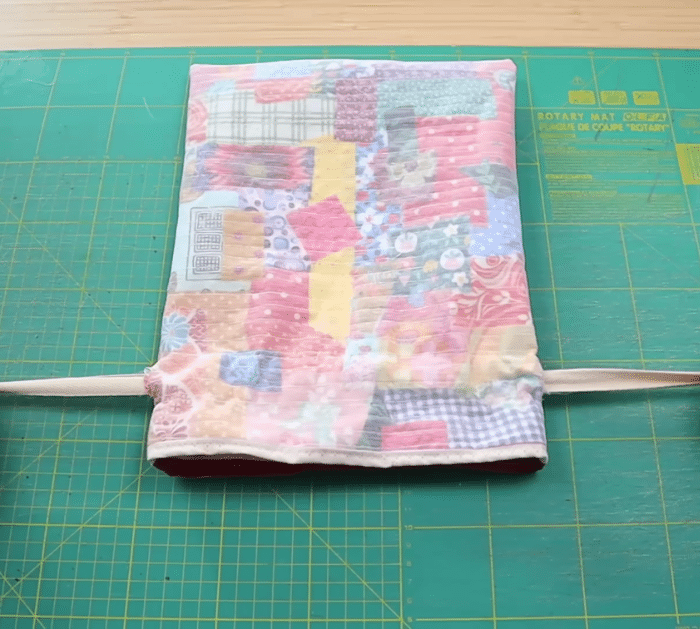
Mark the fabric for gaps as shown in the video, then stitch them around except for the marked gaps, and turn the piece right side out. Poke the corners and edges, then tuck the opening nicely, and stitch it closed. Push the lining inside the bag, then topstitch the edges of the opening, and stitch right below the holes for the string. Insert the string and loop it as demonstrated in the video, then knot the edges securely, and you’re done!

*All these amazing images are thanks to Sew Easy by Sandy via YouTube. Do visit her channel to see more videos like this!


