Quilting is such a fun hobby and one of my favorite activities on a weekend. Every time I finish a block, I always make sure to look for more projects I can get my hands on to improve my skills, and the internet is where I run for ideas and inspiration. I was so thrilled when I found this video tutorial by Dee’s Crafting Corner on YouTube because this is just the right block that I am looking for.
RELATED: Easy Optical Illusion Star Quilt Block Tutorial (Free Pattern Included)
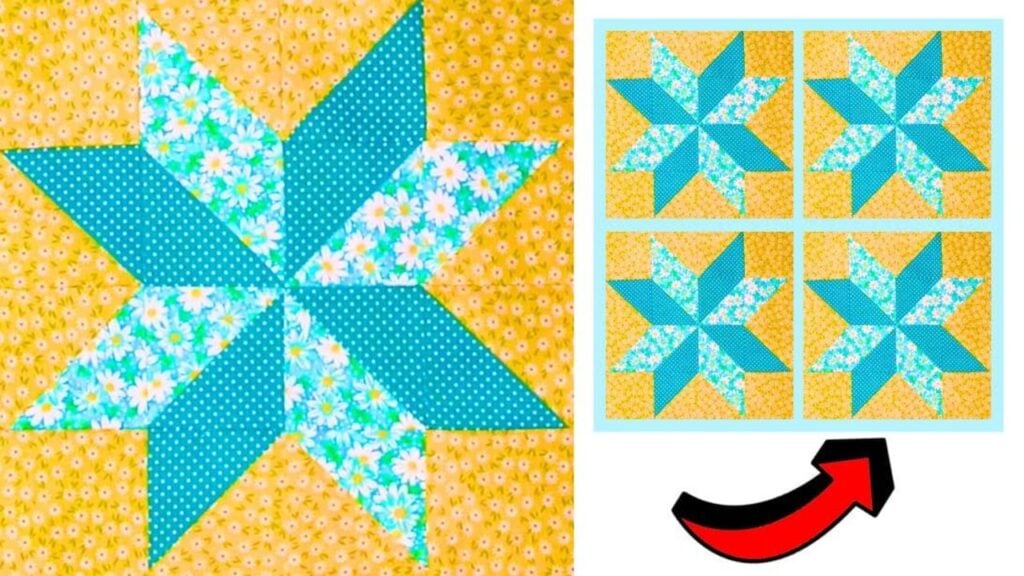
This 8-point star block is so simple and easy to make and you can have fun with any fabric colors that you want. This quilt block is also a great project for beginners to practice their skills on because it isn’t complicated to make and it doesn’t require a pattern. Learn how to make this now by reading the written instructions down below and watching the video tutorial.
Materials for 8-Point Star Quilt Block:
- 4 squares of background @ 4½ inches
- 4 squares of background @ 3½ inches
- 4 squares of Fabric A @ 4½ inches
- 4 squares of Fabric B @ 4½ inches
- Marking pen, pencil, or chalk
- Ruler
- Scissors or rotary cutter and a cutting mat
- Needle and thread
- Fabric pins
- Iron, for pressing
- Sewing machine
How to Make an 8-Point Star Quilt Block:
Step 1
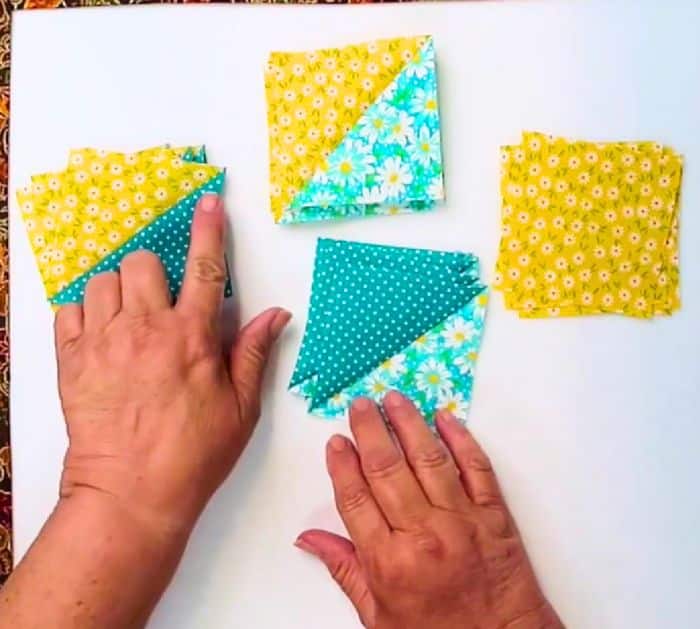
Cut the fabrics to size, then 2 squares each of fabric A and B, and lay fabric A and B together with their right sides facing. Get 4 background squares and 2 each of fabrics A and B, then lay the fabrics A and B on top of each background square with their right sides facing, and draw a line at the back diagonally from corner to corner. Pin them together, then stitch them on either side of the line, and cut them apart in half along the drawn line.
[social_warfare]
Step 2
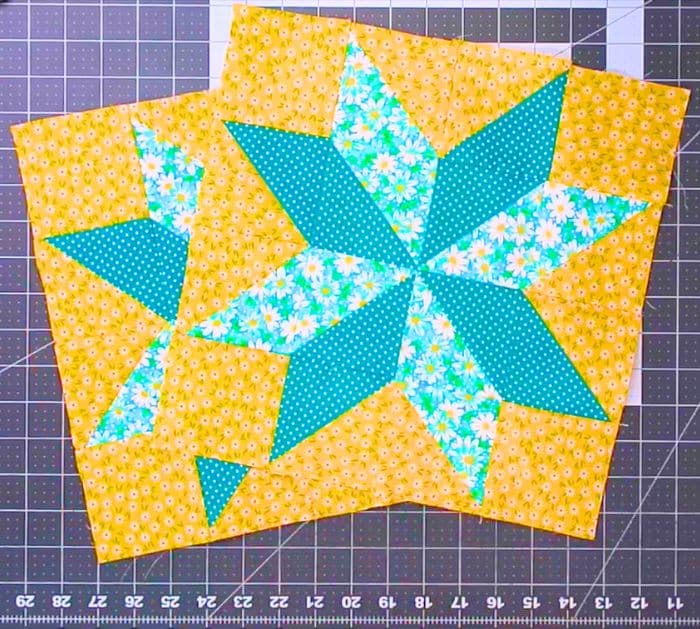
Press the seams toward the darker fabric, then cut off the nubs and trim the square to 3½ inches. Now start assembling the block units, place the background squares on the corners, then place the print half-square triangles to the center to form a pinwheel block, and then fill the empty sides with the background half-square triangles matching the fabric to the center as shown in the video. Stitch everything together and make sure to press the seams as you go.
*All image credit belongs to Dee’s Crafting Corner via YouTube. Follow and subscribe to her channel for more!
Easy 8-Point Star Quilt Block Tutorial


