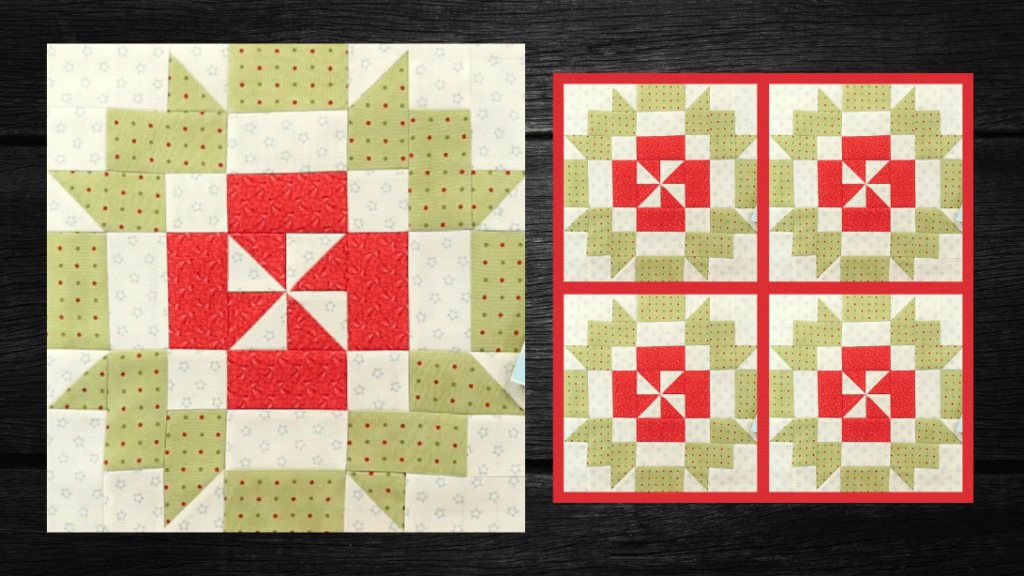
This peppermint bark quilt block looks complicated to make, but it’s easy enough for beginners to try. It uses only 3 different fabrics and if you want, you can make your own version, and use any combination of fabric prints or colors that you like.
RELATED: How to Make a Peppermint Quilt Block
This is definitely a fun quilt project to do to pass the time or put your quilting skills to the test. I bet this will be one of your favorite quilt blocks to make, not only because it’s beginner-friendly, but also because it looks so pretty when finished. Learn how now with this video tutorial by Fat Quarter Shop on YouTube.
Materials for Peppermint Bark Quilt Block:
- Red fabric
- Green fabric
- Background fabric
- Marking pen, pencil, or chalk
- Ruler
- Scissors or rotary cutter and a cutting mat
- Fabric pins
- Needle and thread
- Iron, for pressing
- Sewing machine
- Pattern (Click here to download the pattern)
How to Make a Peppermint Bark Quilt Block:
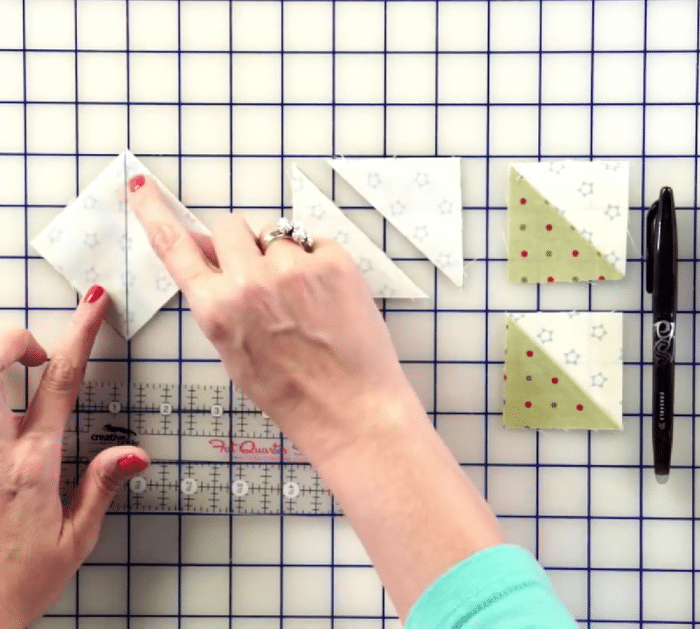
Step 1
Download the pattern and cut the fabrics according to the instructions. Make 4 half-square triangles with red and white fabric, draw a diagonal line on the wrong side of the white square, then stack it with the red square with their right sides facing, and stitch on either side of the line with ¼ inch seam allowance. Cut it apart along the line, then press the seams toward the darker fabric, and set the half-square triangles aside.
Step 2
For the partial half-square triangle unit, draw a line on the back of fabric E diagonally, then place it on the left end of fabric A rectangle with their right sides facing, and make sure that the line is in the correct direction. Stitch along the line, then trim off ¼ inch away from the stitching and press the seams toward the darker fabric.
Step 3
Next, to assemble the corner units, place the fabric C rectangle and half-square triangle on the right, then place the fabric D square below fabric C, and put the fabric K rectangle on the right. Place the partial half-square triangle below, then place the fabric D square on the right, and stitch them per row and then the rows to each other making sure to always press toward the darker fabric. Make a total of 4 corner units.
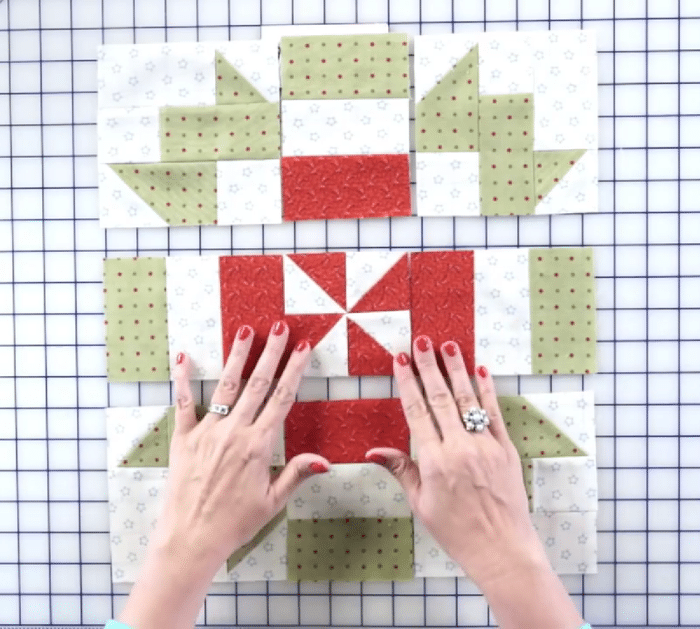
Step 4
Put together the fabric K, C, and L, then press away from the center, and make a total of 4 sets. Make 4 half-square triangle units using fabrics B and J for the center unit, then put them together as shown in the video, and press toward the darker fabric. Put all of the units together, then stitch them in rows, press toward the middle unit, and stitch the rows to each other pressing outward.
*All image credit belongs to Fat Quarter Shop via YouTube. Follow and subscribe to her channel for more!
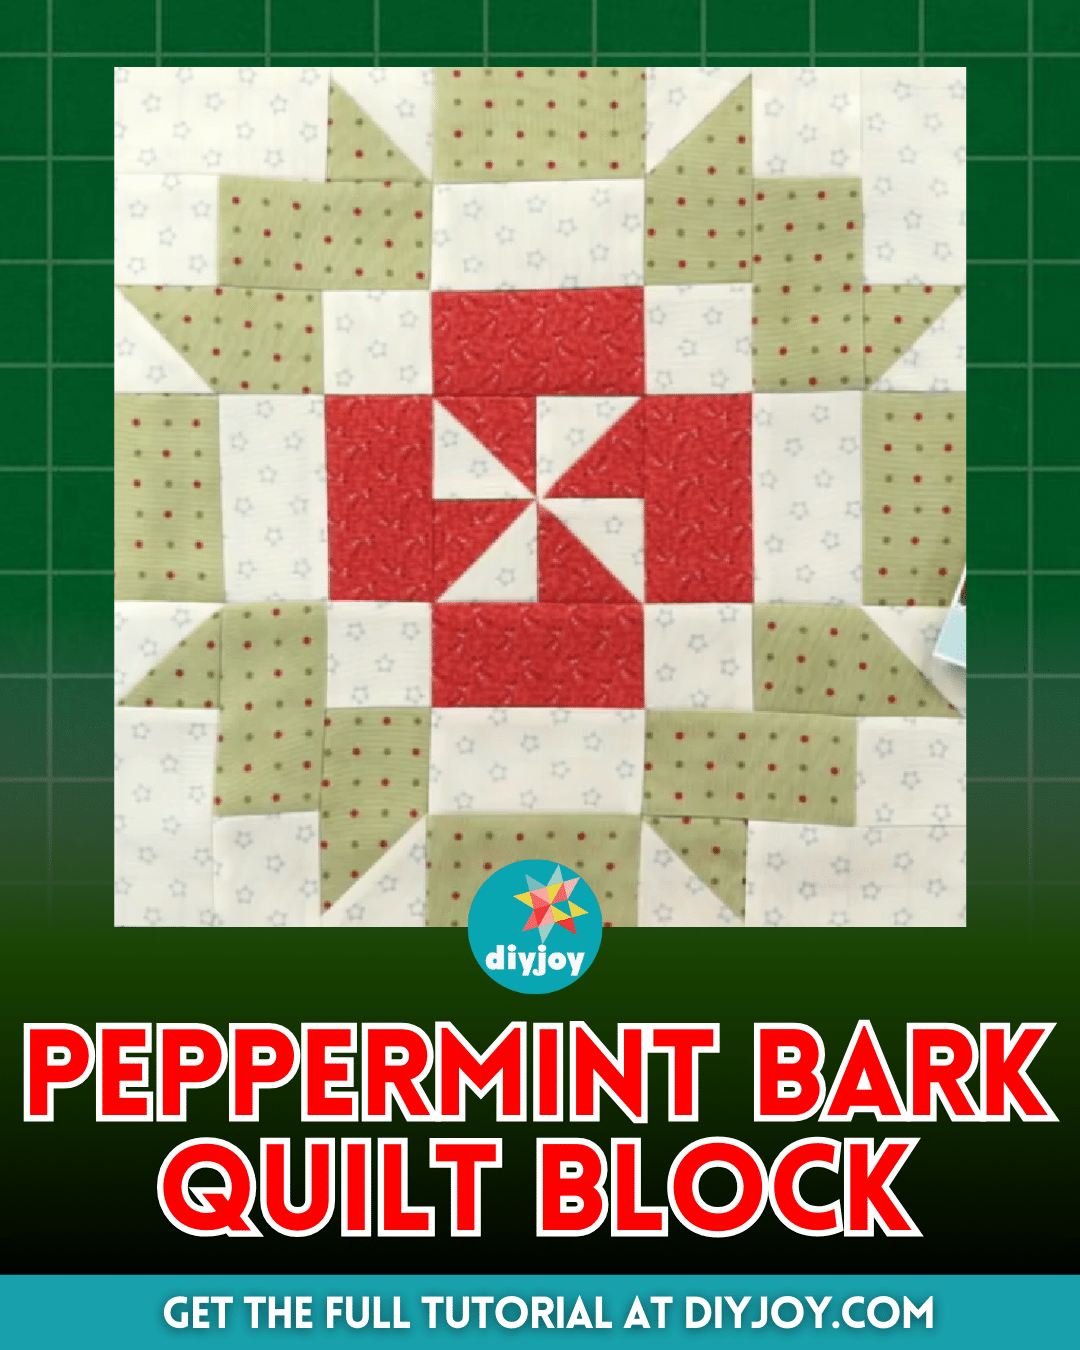
Easy Peppermint Bark Quilt Block Tutorial


