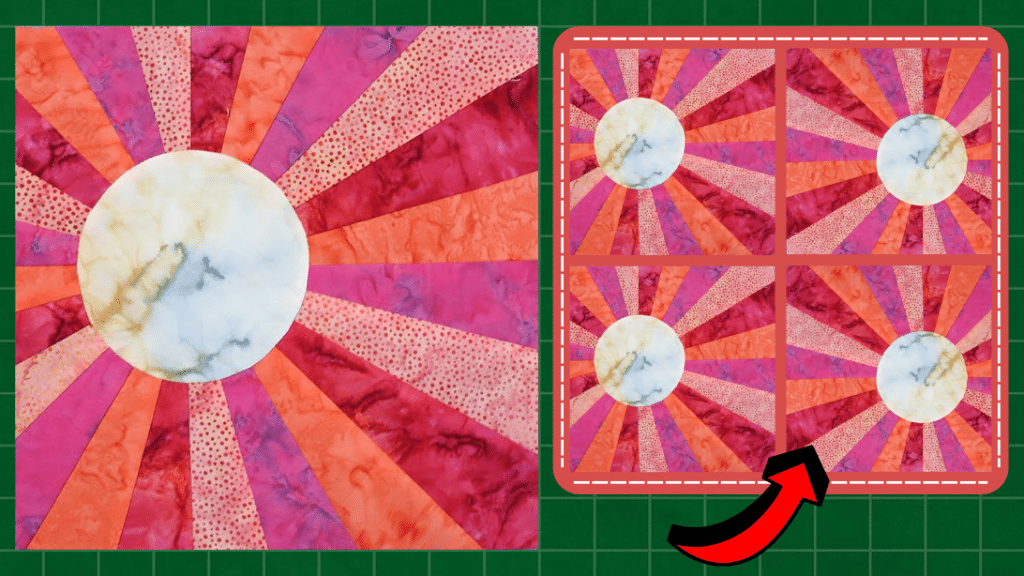
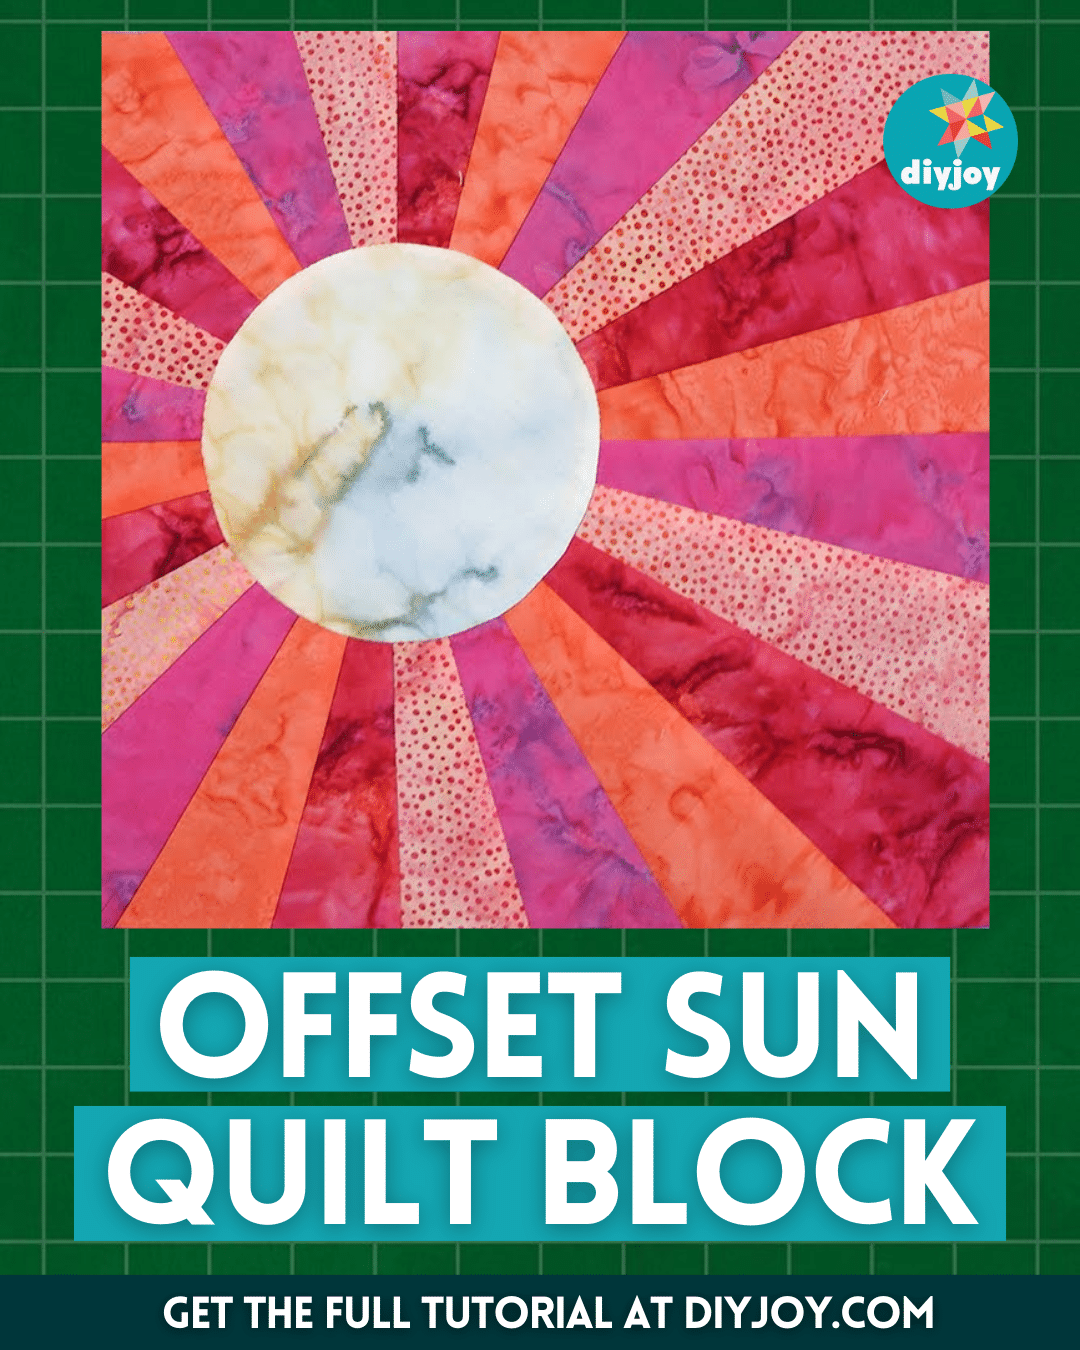
If you are new to paper piecing and looking for a great project, check out this offset sun quilt block by Dclutter Quilting on YouTube! This quilt project is easy and perfect for both beginners and experts alike, and I bet you will enjoy making this one. The finished size of this offset sun quilt block is 12 inches and this video tutorial also comes with a free pattern that you can download easily.
RELATED: Easy Morning Sunshine Quilt Tutorial
You can use any combination of color and print of fabrics that you want and play with them as much as you like, you can also make different sets of colors and prints per block, then piece the block together for an incredibly fun and colorful quilt. Learn how to make this quilt block now by reading the written instructions down below and make sure to watch the video tutorial as well.
Materials for Offset Sun Quilt Block:
- 4 strips @ 3½” wide x WOF
- 1 square @ 7″, for the middle part
- Interfacing fabric
- Glue
- Marking pen, pencil, or chalk
- Ruler
- Scissors or rotary cutter and a cutting mat
- Fabric pins
- Needle and thread
- Iron, for pressing
- Sewing machine
- Template (Click here to download the template)
How to Make an Offset Sun Quilt Block:
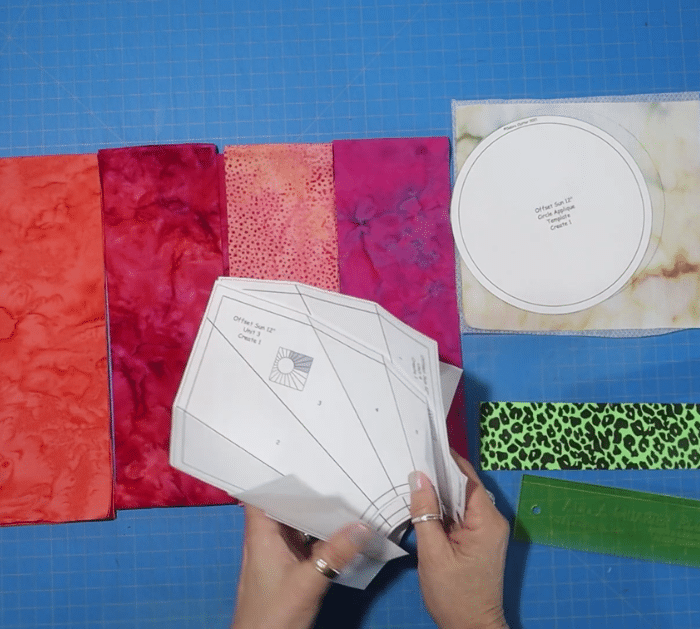
Step 1
Download, print, and cut out the template, then fold it along the lines and lay it out. Decide which fabric should go where, then mark each section on the template, fold the first section, and apply glue to it. Place the first fabric strip with its wrong side facing the glued side, then make sure to position it with about ¼ 14-inch seam allowance and stitch it in place. Press it nicely, then add the next strips until the entire template is covered, and trim off the excess.
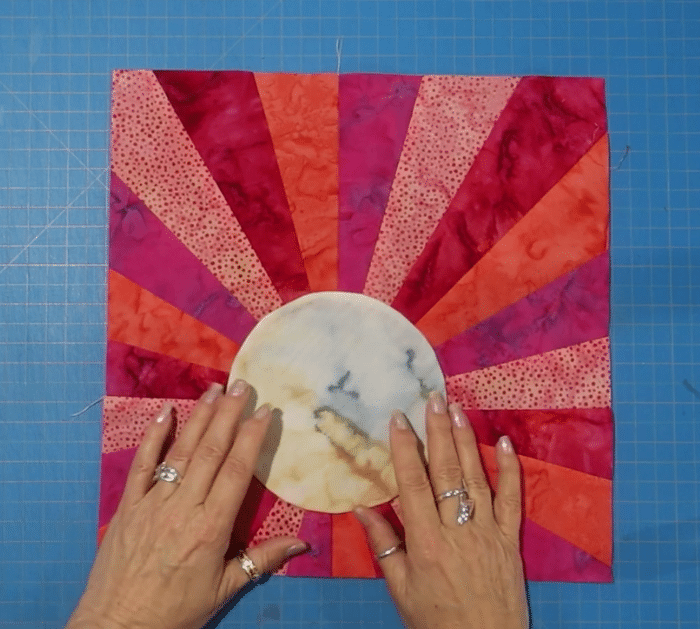
Step 2
Lay the center fabric with its right side down on the interfacing, then trace the round template on top, and cut them out. Stitch around the traced shape, then cut the excess, make a small cut on the interfacing, and turn the piece right side out. Piece the side units together, then glue the circle down on the empty spot, and applique it down. Trim and square the block and you’re done!
*All these amazing images are thanks to Dclutter Quilting via YouTube. Do visit her channel to see more videos like this!
How to Make an Offset Sun Quilt Block


