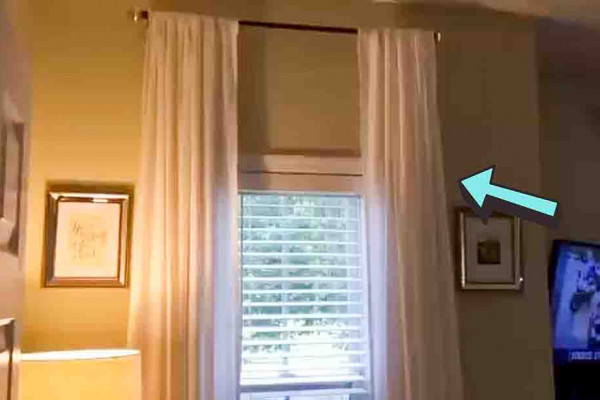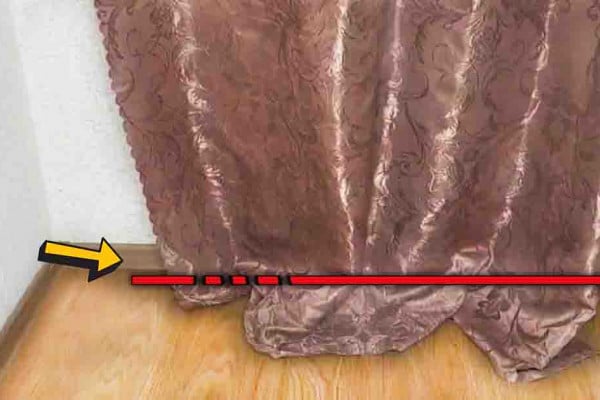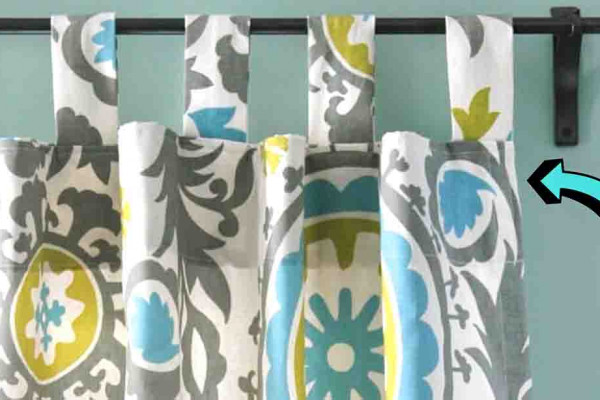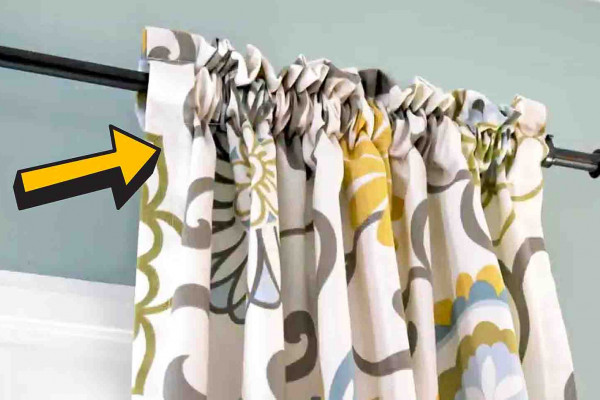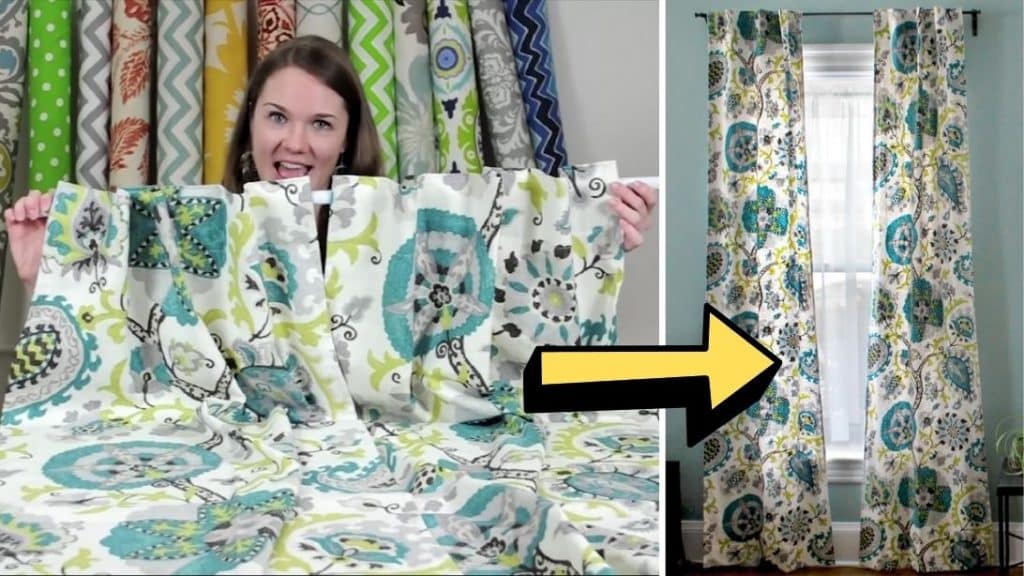
Did you know that sewing your own curtains isn’t that hard even if you’re a beginner? This sewing tutorial by OnlineFabricStore on YouTube made this project easy to make with its simple and straightforward instructions. You can even use this tutorial if you’re planning for either a long or short curtain. Proceed to read down below and watch her video tutorial as well. Enjoy sewing!
Materials:
- Drapery fabric
- Drapery lining fabric
- Iron
- Scissors
- Fabric marker
- Pins
- Sewing machine
Directions:
Step 1
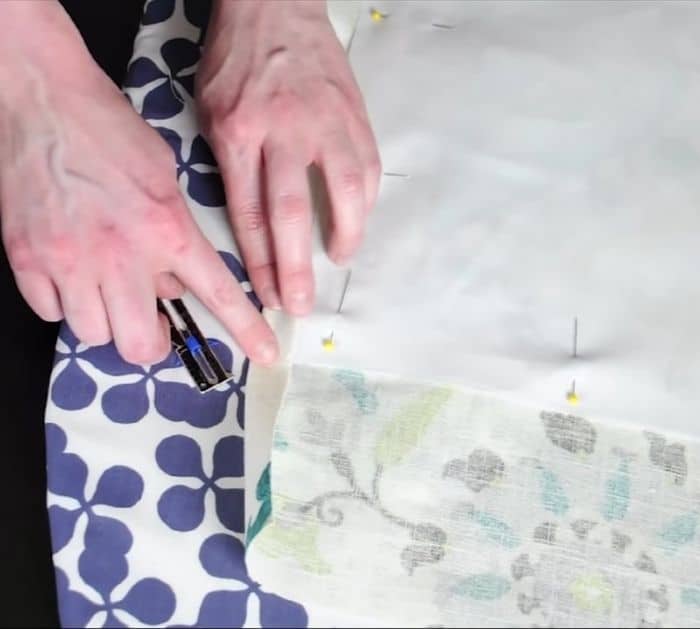
Determine the length and width of your curtains, measure how tall your window is and add 10″, then measure its width and add 3″, cut your main fabric to the size measured. Next, cut your lining fabric to the total width and height of your window without adding the allowance. Cut 4.5*6″ fabric for the tabs, they should be sewn to the main fabric with about 6″ of space in between, determine how many tabs you’ll need to cover the top. Grab one piece of tab and fold it in half with its right sides facing, then sew along the raw edges with a ¼” seam allowance backstitching at the beginning and end. Turn the tab right side out, fold it so that the seam is in the center, then press it flat with an iron. Repeat the process with the remaining pieces of tabs, then set them aside. Lay the main fabric with its right side facing down, then place the lining fabric on top of it, make sure that it’s centered with a 5″ seam allowance at the top and bottom, and 1.5″ on the sides. Pin them around in place.
[social_warfare]
Step 2
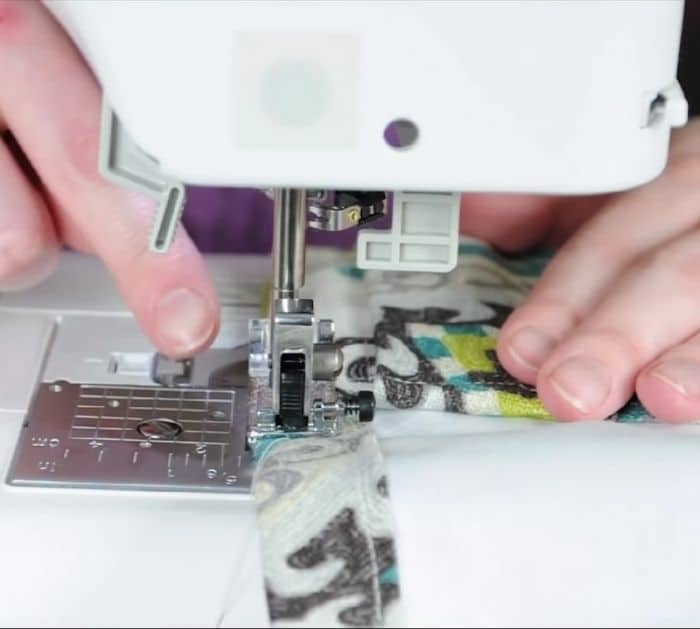
Fold over the edges of the lining fabric’s sides by ¾”, then press it nicely, fold it over again by ¾”, press, and pin in place. Sew down the length with about 1/8” to ¼” from the inside fold, and repeat on the other side of the fabric. Now for the bottom hem, fold it by 1″, then press, fold it over once more by 4″, and press. Starting at the bottom corner, sew up the side, pivot at the top of the fold, and sew across to the next corner. Pivot again and sew along the side to the bottom corner. Repeat the process to the top seam but do not sew it yet. Fold over the end of a tab by 1″ then press. Place the folded end and tuck it under the bottom edge of the top fold, repeat the process with the remaining tabs, spacing them out evenly. Pin in place. Then fold under the top end of the tab so it’s even with the top of the curtain, press them nicely, and pin. Topstitch on the upper and lower area of the tab.
*These amazing images are all credited to OnlineFabricStore via YouTube. Check her other content and follow for more!

