If you’re looking for a quick sewing project for the weekend, why not make a DIY custom curtain with this tutorial from OnlineFabricStore? It’s simple and beginner-friendly, and you’ll love the outcome. Nothing is more rewarding than making something handmade for your home, right?
RELATED: DIY No-Sew Grommet Curtains Tutorial
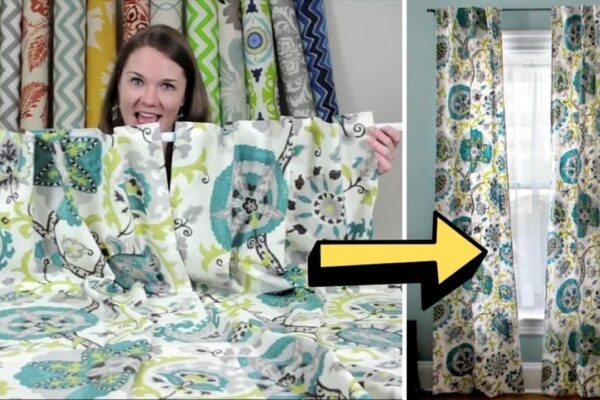
I made tons of these curtains when I was still learning how to sew and gifted them to my friends. It is easily one of my favorite sewing projects, especially if I need something personalized to gift out. Check out the video tutorial below to learn the step by step instructions.
Materials:
- drapery fabric
- thread
- scissors
- rotary cutter
- cutting mat
- pins
- fabric marker
- measuring tape
- ruler
- iron & ironing board
Directions:
Step 1
To determine the size to cut your fabric, take the dimensions you want your curtain panel to be and add 4″ to the width and 9″ to the height to account for the hems. Cut it to 40″ x 57″. Next, for the tabs, cut 5″ x 9″ pieces. (The number of tabs depends on the width of your curtain; account for about 5″ to 8″ of space between the tabs.) Lastly, cut a piece that is 2″ wider than your finished curtain width and 3″ to 5″ high. (This will cover the unfinished edges where the tabs are sewn on.)

[social_warfare]
Step 2
Next, sew the sides of the panel. Hem the two sides of the panel by folding the edges 1″, and press. Fold it over another inch and press again. Sew down the length of the panel 3/4 of an inch from the edge of the fabric. Repeat this for the other side of the panel.
Step 3
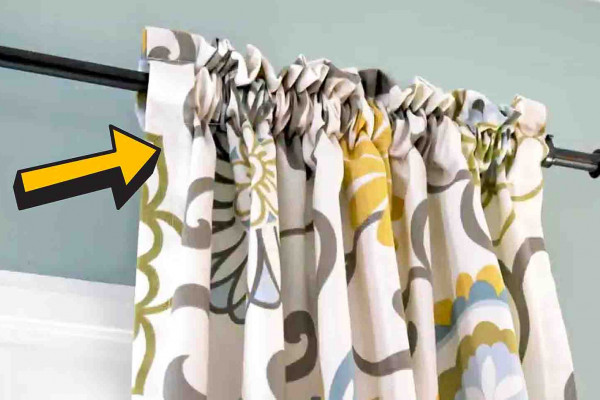
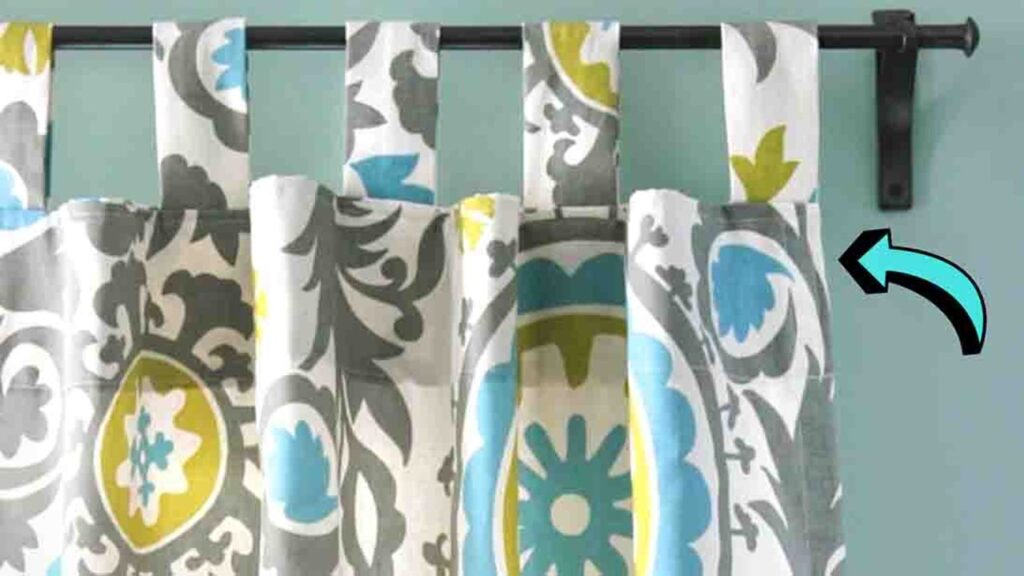
Now, sew the tabs. Fold the tab pieces in half lengthwise with the right sides facing. After this, sew down the side with a 1/2″ seam allowance, then turn it right side out. Press the tab with the seam in the middle. Repeat these steps for the rest of the tabs. Once done, space the tabs evenly at the top of the panel with the edges of the tabs lined up with the top edge of the fabric. Pin them in place, then sew with a 1/2″ seam allowance.
Step 4
For the facing piece, fold in the ends 1″ to match the width of your curtain, then press. After this, fold the bottom edge over 1/2″ and press again. Place the strip of the fabric with the right sides facing at the top of the panel, and pin. Sew across the top with a 1/2″ seam allowance. Once done, open the fabric and press the tabs. After this, fold under the facing piece and press again. Now, sew the bottom edge of the facing piece to the panel, then sew the side, across the top, and down the other side.
Step 5
Lastly, sew the bottom hem. Hang the panel first to determine how you want the curtain to fall exactly where you want, then fold and press it. Pin to secure, then sew across the bottom.

DIY Tab Top Curtains Tutorial