When I can’t decide on what gift I should prepare or give to a loved one, I always opt for something handmade and easy to make, especially when I have time. One of my go-to DIY ideas and my most recent favorite is this one by Patti J. Good on YouTube.
RELATED: No-Sew DIY Valentine Gnome Tutorial
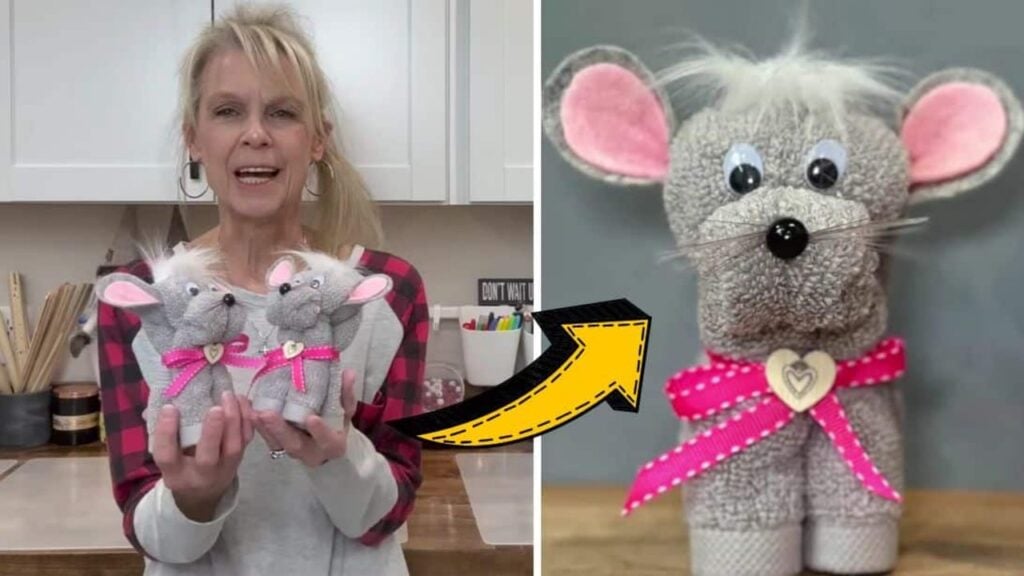
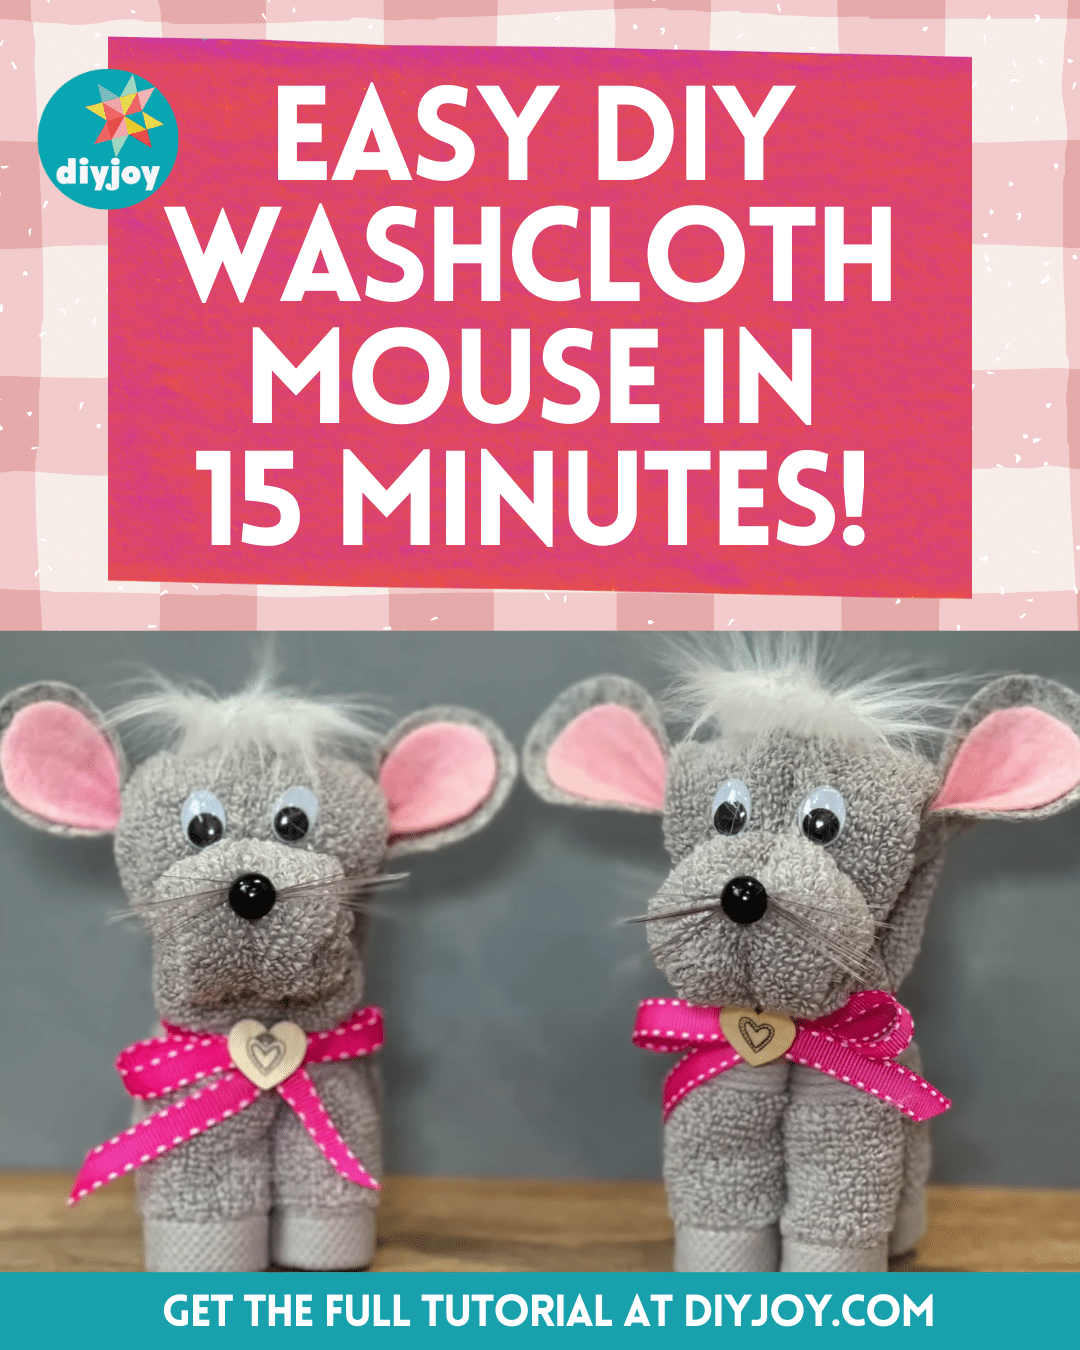
This DIY mouse is made out of a wash rag, is super cute, and is very easy to make that it will only take you about 15 minutes to finish. You can personalize this craft project and use any colors that you want. You can also design this mouse according to the theme of the occasion or holiday.
Materials for DIY Washcloth Mouse:
- 13-inch wash rag
- Rubber band
- Ribbon
- Felt fabric, gray and pink
- Scissors
- Brush
- Faux fur
- Needle and heavy-duty gray thread
- Black bead, for the nose
- Googly eyes
- Pattern (Click here to download the pattern)
How to Make a DIY Washcloth Mouse:
Step 1
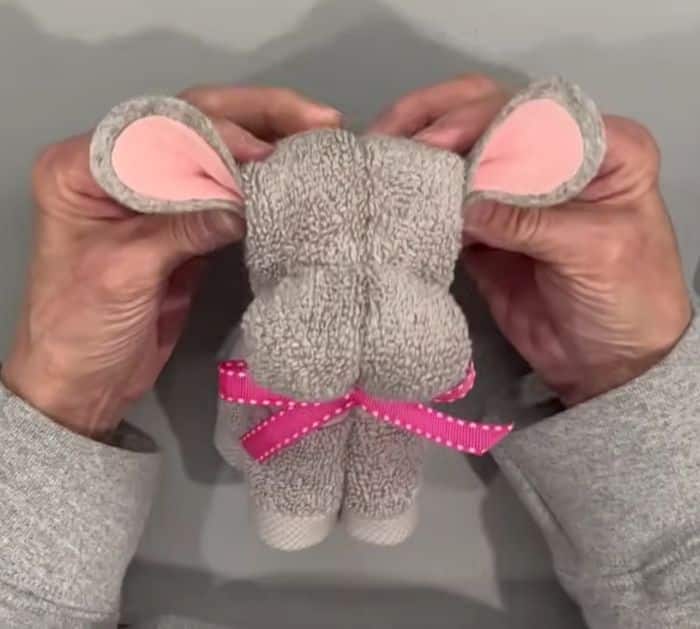
Lay a wash rag on a flat surface, then roll it up the sides tightly until they meet in the middle, then fold it over in half, and tie it a third of the way up with a rubber band. Push the top toward the center, then pull the mouth forward, and put a rubber band around it wrapping it tightly. Take a piece of ribbon, then tie it around the body where the rubber band is, and make a bow.
[social_warfare]
Step 2
Next, cut the pattern, then place the smaller one on top of the pink felt, and the larger one on top of the gray felt. Pin them in place, then cut around the shape, and hot glue the pink piece on top of the gray piece making sure it’s properly centered. Dab a short line of hot glue at the center of the pink felt, then fold the piece over in half lengthwise, and run it through the loop on the top part of the head.
Step 3
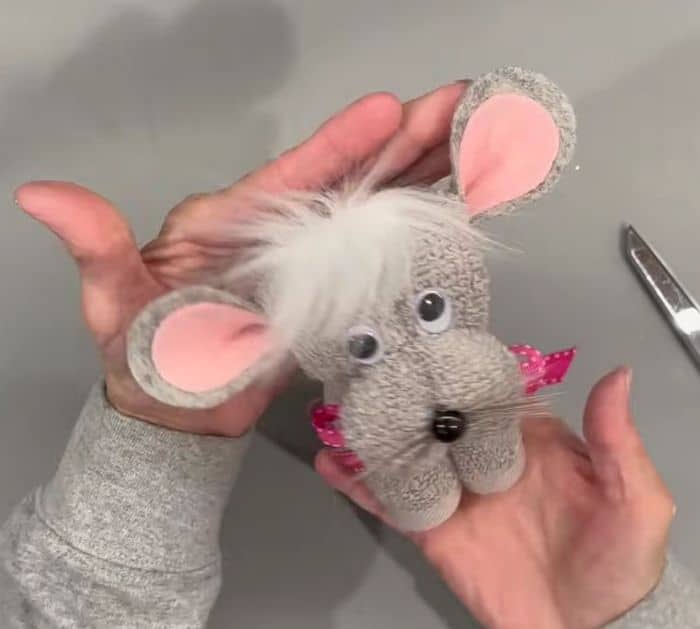
Attach the eyes to the front of the head, then glue the sides of the ear to the side of the head as well, and cut a few bristles from a brush for the whiskers. Adhere the whiskers on each side of the area where you’ll put the nose, then attach the bead for the nose, and sew the mouth of the mouse. Cut a piece of fur and make the hair, then adhere it to the top of the head, and you’re done!
*All image credit belongs to Patti J. Good via YouTube. Follow and subscribe to her channel for more!
Easy 15-Minute DIY Washcloth Mouse Tutorial