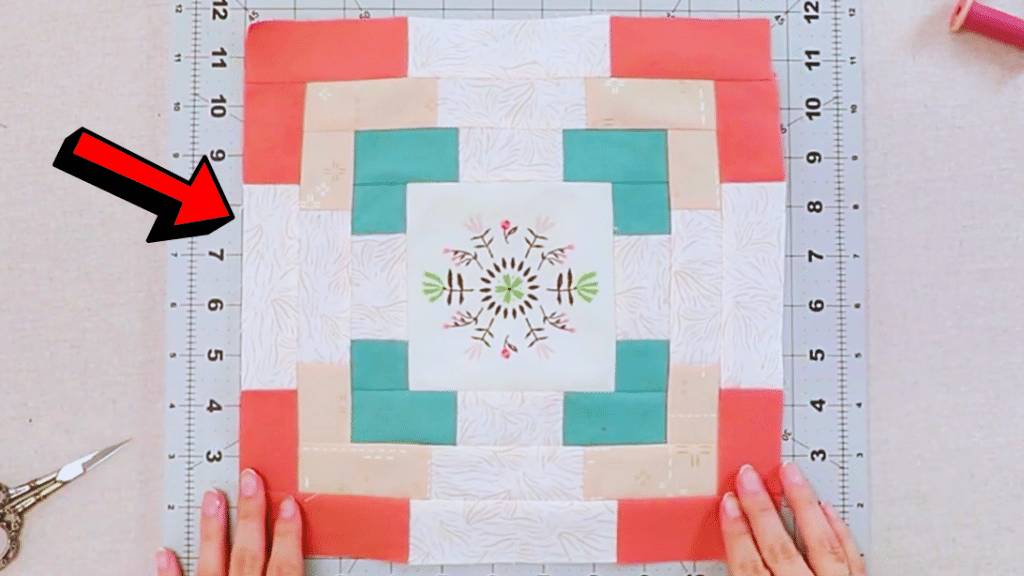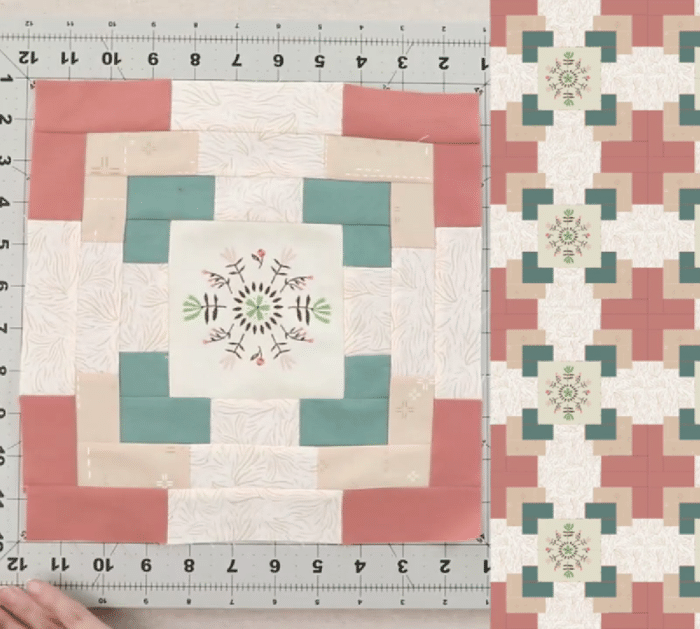
When it comes to quilt blocks, I always pick those that are very easy to piece together or only require squares and/or half-square triangles just like this one by Art Gallery Fabrics on YouTube. There are times when I would feel inspired enough to try curved and illusion quilt blocks. But for those days when I just want to pass the time or simply want to get myself busy, easy quilt blocks are my go-to.
RELATED: How to Make an Hourglass Quilt Block
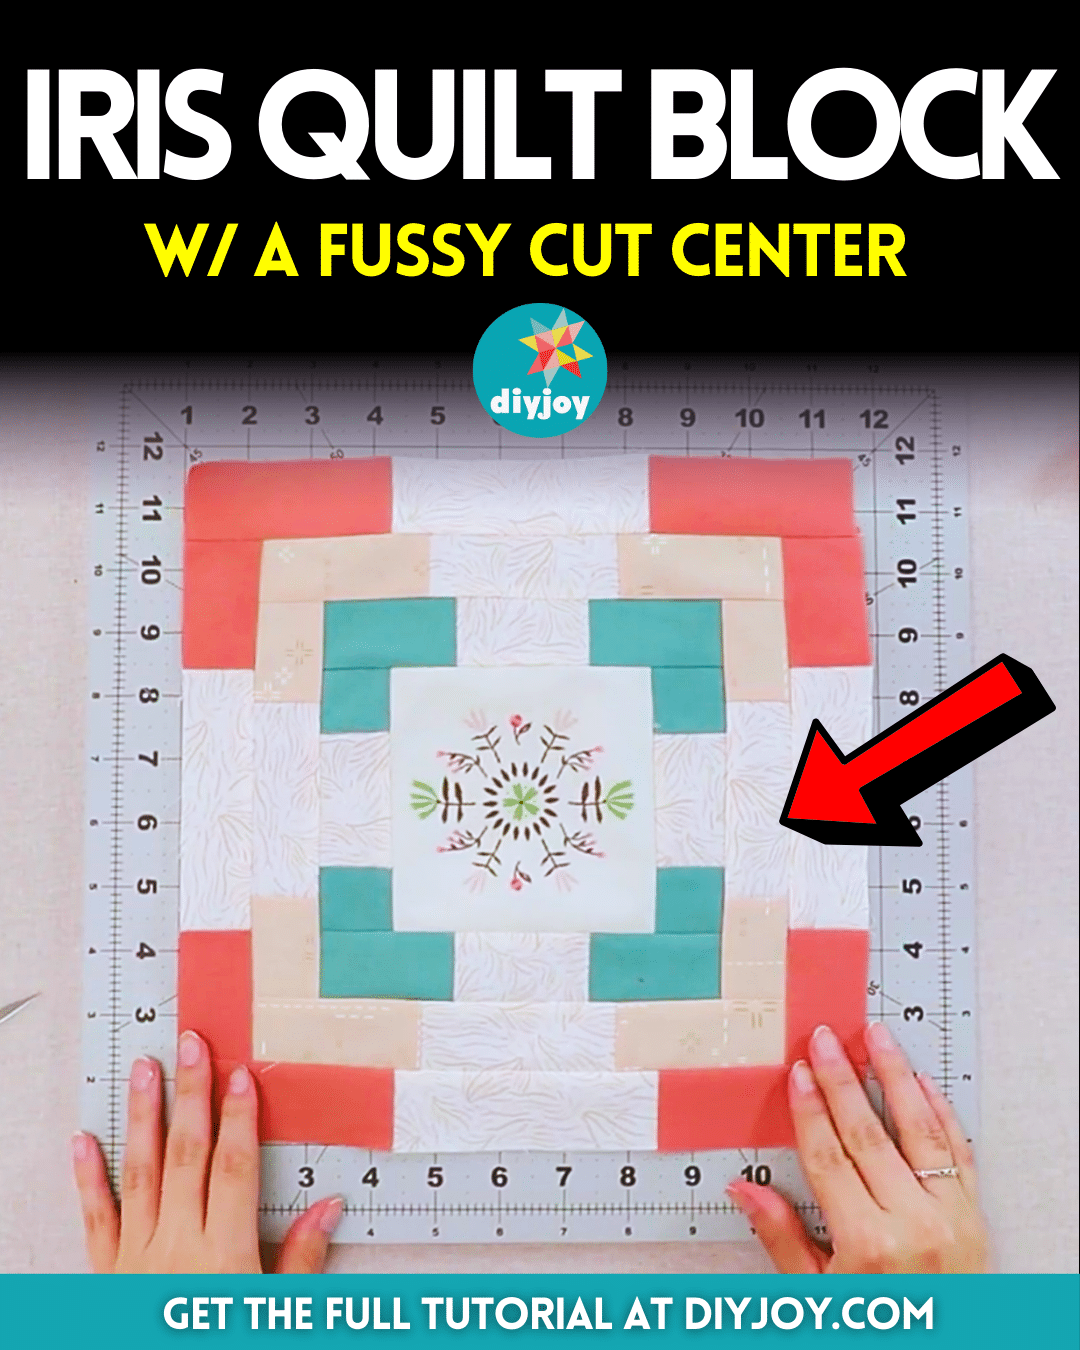
This Iris quilt block with a fussy cut center looked ideal and beginner-friendly, and the only challenging part was confusing which piece goes with which piece. Luckily, the video tutorial is detailed enough to ensure that you get this quilt block perfect on your first try. Gather your sewing supplies and favorite fabrics now, then practice making this quilt block, and enjoy!
Materials for Iris Quilt Block:
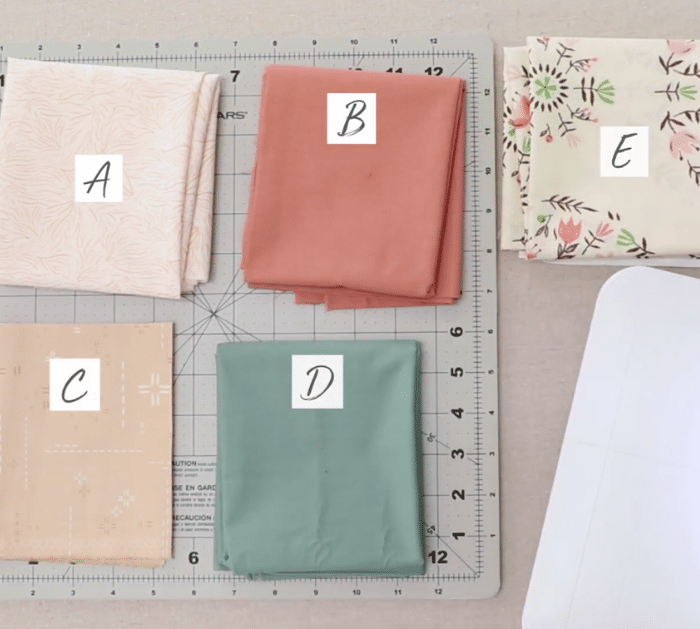
- 3 print fabrics, for the corners of the strip units
- Background fabric
- Fabric, for the center
- Marking pen, pencil, or chalk
- Ruler
- Scissors or rotary cutter and a cutting mat
- Fabric pins
- Needle and thread
- Iron, for pressing
- Sewing machine
Cutting Requirements:
Fabric A
- Four rectangles @ 2½ x 1½ inches
- Four rectangles @ 3½ x 1½ inches
- Four rectangles @ 4½ x 1½ inches
Fabric B
- Four rectangles @ 3½ x 1½ inches
- Four rectangles @ 2½ x 1½ inches
Fabric C
- Four rectangles @ 3½ x 1½ inches
- Four rectangles @ 2½ x 1½ inches
Fabric D
- Four rectangles @ 2½ x 1½ inches
- Four squares @ 1½ inches
Fabric E
- One square @ 4½ inches
How to Make an Iris Quilt Block:

Step 1
Cut the fabrics to size, then take the two 1½-inch fabric D squares, and join one on each side of one 2½-inch fabric A rectangle. Join each strip unit on each side of the center square, then take the two 2½-inch fabric D rectangles, and join one on each side of one 2½-inch rectangle from fabric A. Join the strip units to the top and bottom of the block unit, then give it a good press.
Step 2
Take the two 2-inch fabric C rectangles and join one on each side of one 3½-inch fabric A rectangle, then create another strip by taking two 2-inch fabric C rectangles and one 3½-inch fabric A rectangle. Join the strips to the left and right of the unit, then take the two 3-inch fabric C rectangles, and join one on each side of the 3½-inch fabric A rectangle.
Step 3
Join the strips to the top and bottom of the unit, then take two 2½-inch fabric B rectangles, and join one on each side of one 4½-inch fabric A rectangle. Create another strip by taking two 2½-inch fabric B rectangles and one 4½-inch fabric A rectangle, then join the strips to each left and right side.
Step 4
Take two 3½-inch rectangles from fabric B and join one on each side of one 4½-inch rectangle from fabric A, then create another strip by taking two 3½-inch rectangles from fabric B and one 4½-inch rectangle from fabric A, and join your strips to the bottom and top of the unit.

*All image credit belongs to Art Gallery Fabrics via YouTube. Follow and subscribe to her channel for more!


