
Here is a lovely and fun quilt that you can try this weekend, it uses an illusion fabric to create a larger illusion, which may sound difficult, but not really when you follow this video tutorial by SewVeryEasy on YouTube! It’s even easier because of the free pattern provided in the tutorial, so if you want to try something new and a bit challenging, then learn this quilt project idea, and start sewing.
Materials:
- 2 different illusion fabric
- 4 different solid color fabric
- Scissors or rotary cutter and a cutting mat
- Ruler
- Needle and thread
- Iron, for pressing
- Sewing machine
- Pattern (Click here to download and print the pattern)
Directions:
Step 1
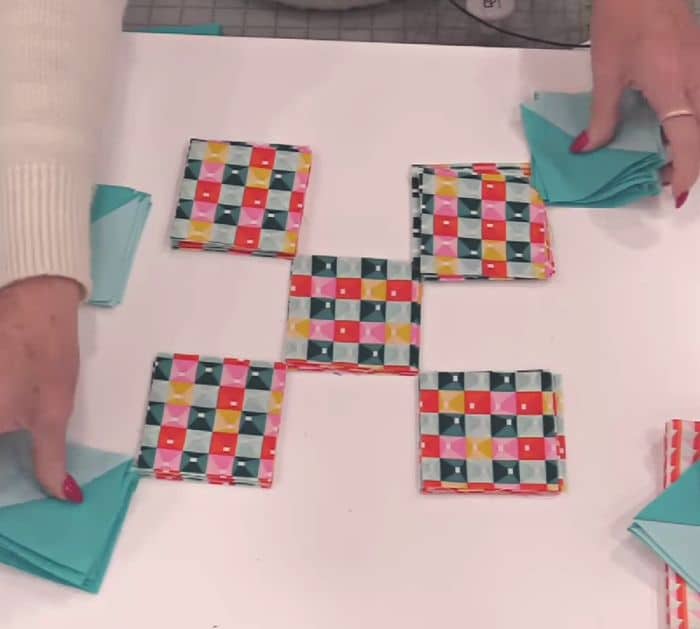
Cut the fabric pieces as required in the pattern, then print and cut out the template, and place it on top of a solid color that you want to be the center of the diamond or pointed triangle block. Fold one diagonal side of the paper template, then trim off the fabric ¼ inch from the fold, place another solid fabric piece underneath making sure to line up the edges, and sew with a ¼ inch seam allowance. Press the fabric open, then repeat the process on all 4 sides of the fabric, and make sure to press it open every now and then. Trim off the sides of the block to straighten the edges out, then proceed to sew the rest of the rectangle fabrics, and finish the diamond blocks. Divide your main illusion fabric into sections of nine, then place 1 section at the center, and the rest of the sections in 4 corners of the center section.
[social_warfare]
Step 2
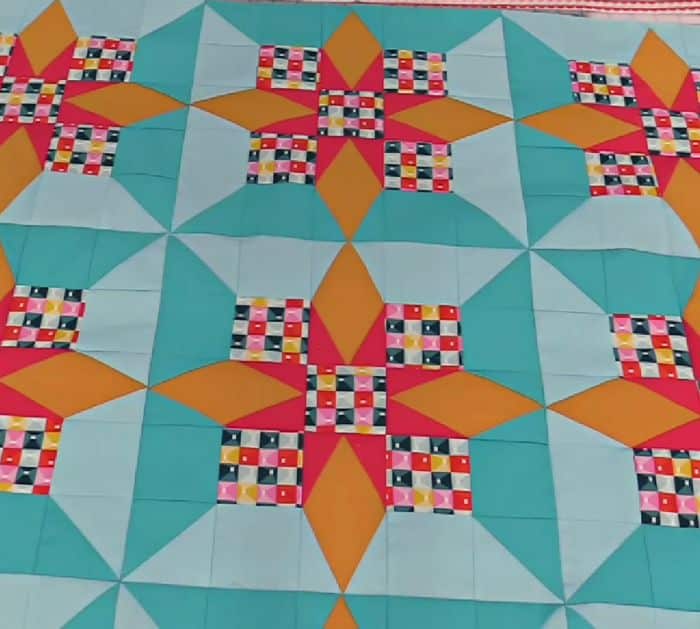
Turn the square fabric pieces into half-triangle squares, then divide them into 4 sections, and place them on the 4 outer corners. Divide the diamond blocks into 4 sections, then place them on the top, bottom, and each side of the center illusion section, and make sure that the same colors are facing toward the center. Now, adjust the position of the half-triangle squares on the corners so that the colors that are facing inward matches the center, then fill in the spaces with fabric squares of the same color, and start to sew them by corner sets. After sewing the corners, start sewing them into sections, then once you’re done sewing the whole block, sew them into 3 rows, and sew those rows together to complete the illusion quilt block. All that’s left is to add the border using the other illusion fabric and you’re done!
*All image credit belongs to SewVeryEasy via YouTube. Follow and subscribe to her channel for more!
Easy Illusion Quilt Tutorial


