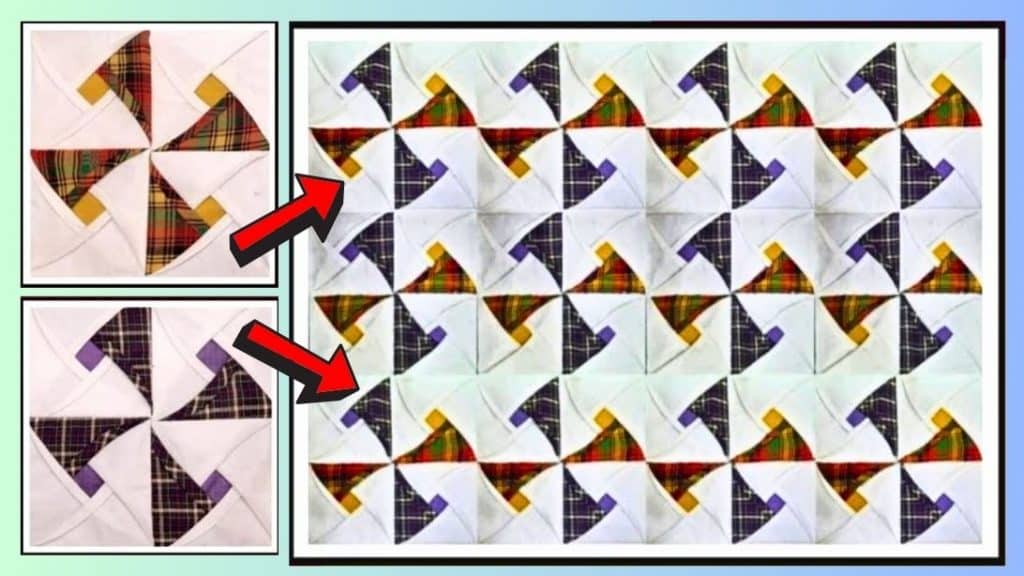
Pinwheels are interesting and fun objects to play with, plus, they are great when incorporated in adorable quilts, too. I have been wanting to learn how to apply that effect on a quilt block, and luckily, I found this video tutorial by Anjatas Creation on YouTube that achieves exactly just that effect using any kind of fabric that you want. The steps are also pretty easy to follow and you’ll surely have fun making each block.
Materials:
- Background fabric
- Accent fabric
- Ruler
- Marking pen, pencil, or chalk
- Scissors or rotary cutter and a cutting mat
- Fabric pins
- Needle and thread
- Iron, for pressing
- Sewing machine
Directions:
Step 1
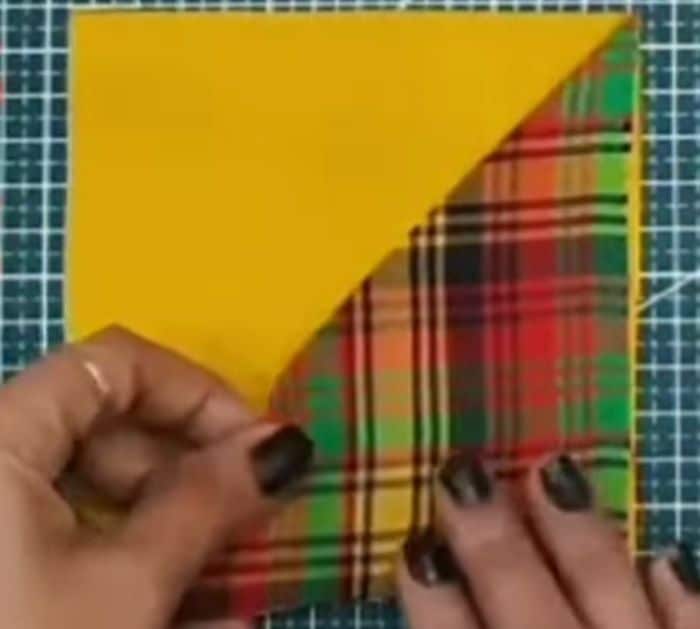
For a unit, cut 3 background fabric squares at 5 inches, then cut 2 different accent fabric squares at 5 inches, and then repeat for 3 more units. Fold the background fabric in half diagonally making sure that the edges are matching, then press them with your hands, and fold the other fabric squares making sure to leave 1 accent fabric unfolded. Press the folded triangles with your iron, then take the accent squares, and layer the folded accent fabric on top making sure that the edges are lined up nicely.

[social_warfare]
Step 2
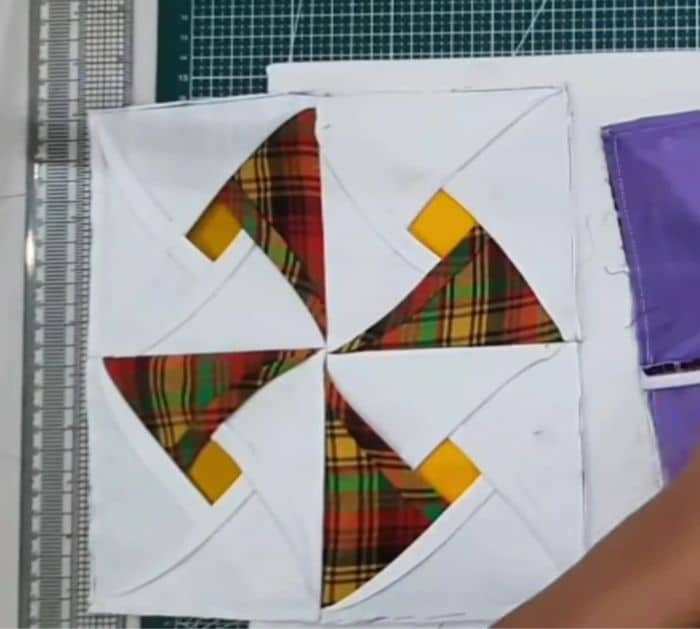
Now, layer the folded background fabrics on top in a weaving form as shown in the video, then pin them together in place, and repeat the steps with the rest of the unit. Sew around the sides of the unit with a ¼ inch seam allowance, then pick up the edge of each fold, and press it back on the edge to expose the accent square at the center. Lift the edge of the fold and tack it down to hold the fold in place, then arrange the unit to form a single block, and sew them together.

*All image credit belongs to Anjatas Creation via YouTube. Follow and subscribe to her channel for more!


