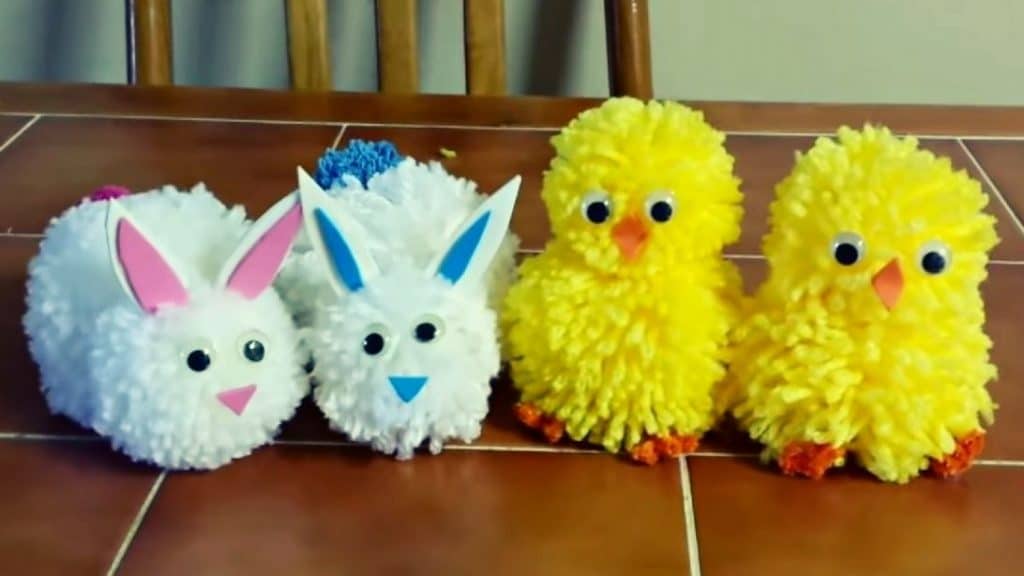
Here’s an easy and inexpensive last-minute Easter decoration that you can make in as fast as 10 minutes. Learn how to do it through this simple video tutorial by My Magical Corner on YouTube. All you need is a few yarns and some basic craft tools. Enjoy!
Materials:
- Yarn, yellow, white, blue
- Felt foam fabric, blue, white, orange
- Orange pipe cleaner
- Googly eyes
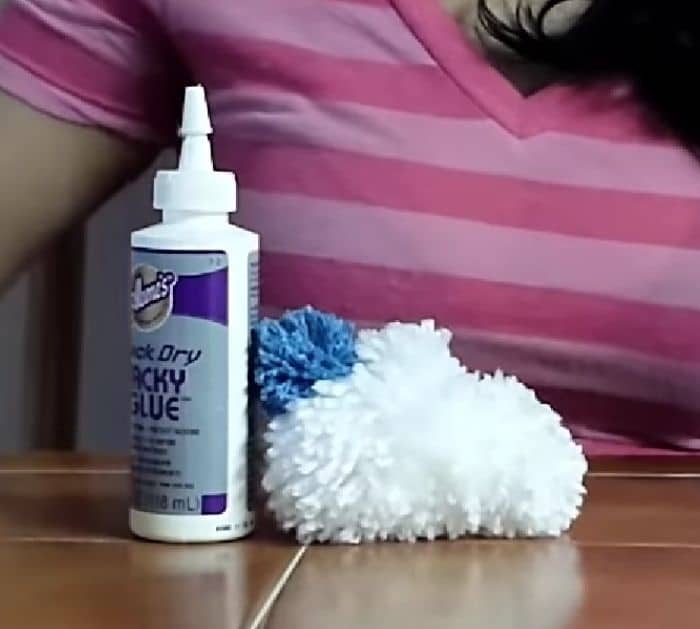
- Craft glue
- Scissor
Directions:
1.) Bunny
Roll the white yarn around 4 of your fingers about 110 times or more if you want your bunny bigger and more fluffy. Cut a strand of yarn and wrap it around the middle of the loop, knot them tightly to secure. Cut through all the loops, then trim around until they’re nice and round making sure to avoid cutting the strand that you used to tie it with. This will be the body of the bunny, for its head, simply repeat the process but wrap the yarn only around 3 fingers. Lastly, for the bunny’s tail, grab a blue yarn and wrap it around 2 fingers about 35 to 40 times. Tie it with a strand, cut off the excess, cut through the loops, then trim until nice and round. Join the body and head of the bunny by tying their excess strands together tightly, knot it several times to secure, then cut off the excess. Attach the tail with craft glue and let it dry. Cut off a small triangle shape from a blue felt foam for the nose, then attach it using glue. For the ears, cut it out from a white felt foam, then a smaller one from a blue felt foam for the inner ear. Assemble the bunny ears, then attach them to the top of the bunny’s head, then glue in the googly eyes as well.
[social_warfare]
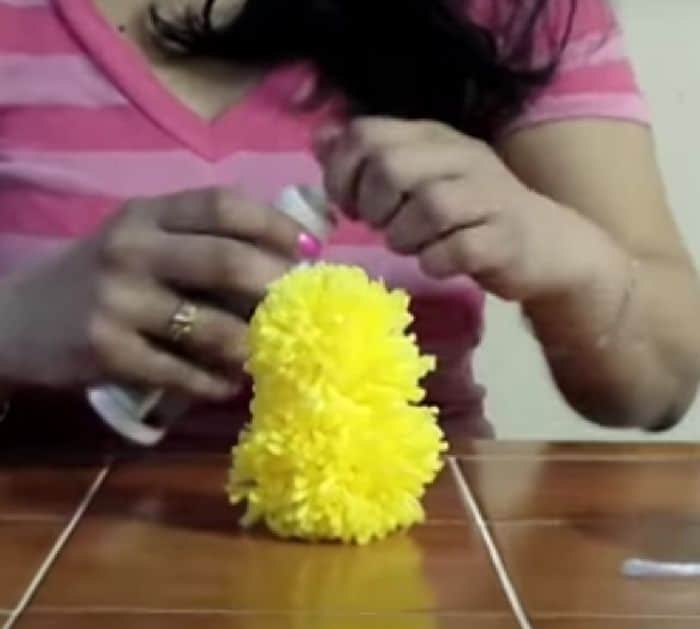
2.) Chick
Roll the yellow yarn around 4 of your fingers about 110 times or more if you want it bigger and more fluffy. Cut a strand of yarn and wrap it around the middle of the loop, knot them tightly to secure. Cut through all the loops, then trim around until they’re nice and round making sure to avoid cutting the strand that you used to tie it with. This will be the body of the chick, for its head, simply repeat the process but wrap the yarn only around 3 fingers. Join the body and head of the chick by tying their excess strands together tightly, knot it several times to secure, then cut off the excess. Cut an orange pipe cleaner in half, fold one end, and make 3 little loops, then fold each loop in half. Fold the other end in half, and again in half to form the leg, repeat the process with the other half of the pipe cleaner. Cut a small diamond shape on an orange felt foam, then fold it in half for the beak. Using craft glue, attach the googly eyes, beak, and the two little feet to the chick.
*All these images are credited to My Magical Corner via YouTube. Give her channel a visit and subscribe for more!
Easy DIY Yarn Chick & Bunny Tutorial