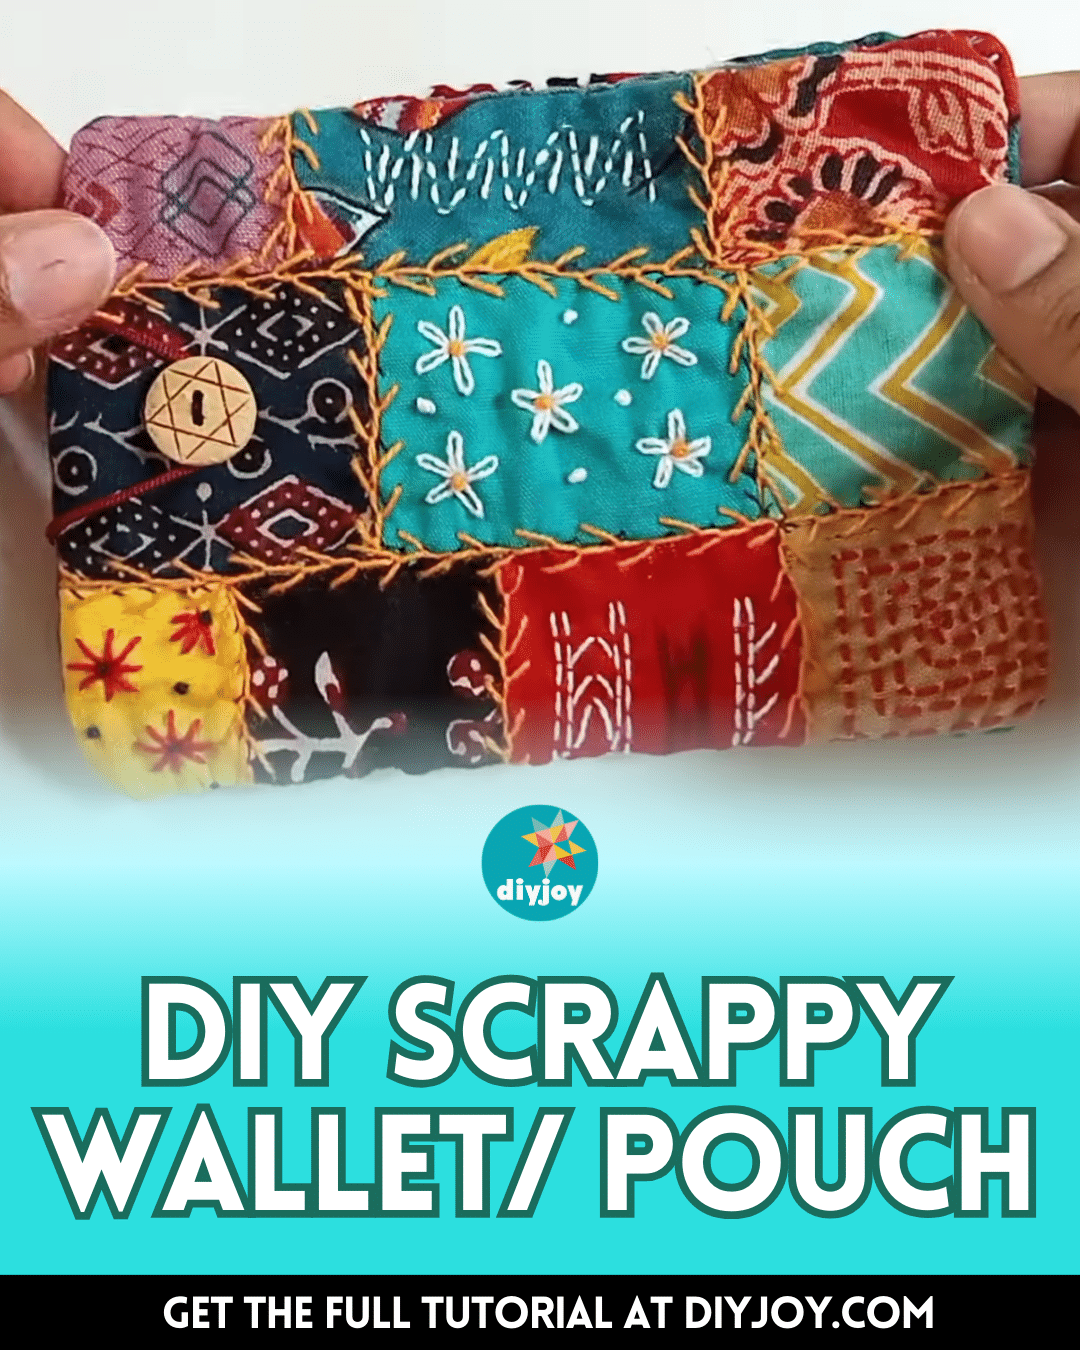
A few weeks ago, I planned to make a small pouch or wallet, but all of the tutorials that I found were either too complicated or required too many materials. Luckily, I found this DIY project idea by Stitch Workshop on YouTube which is not only super simple and beginner-friendly but also uses scrap materials!
RELATED: Old Altoids Tin Transformed Into DIY Wallet
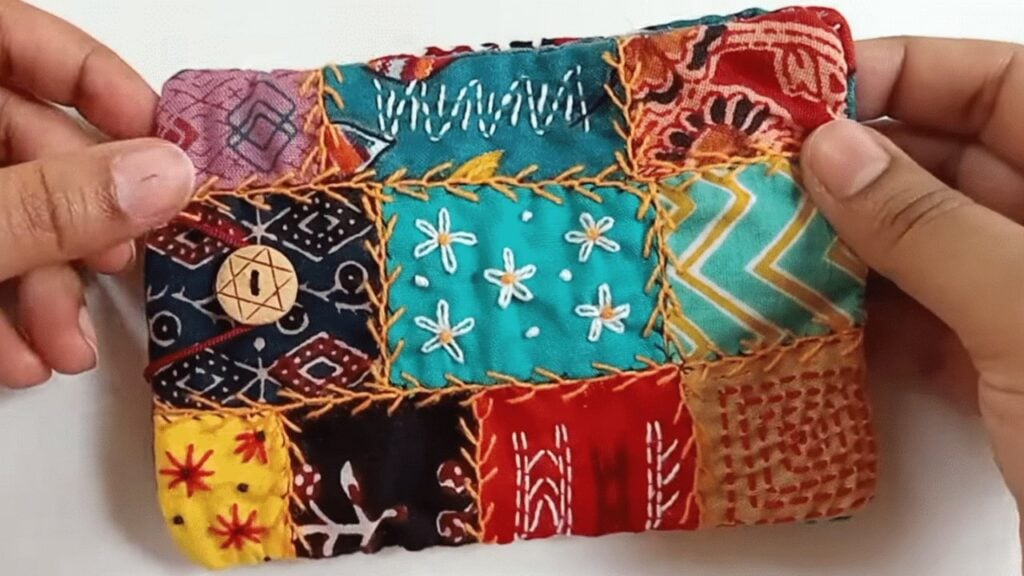
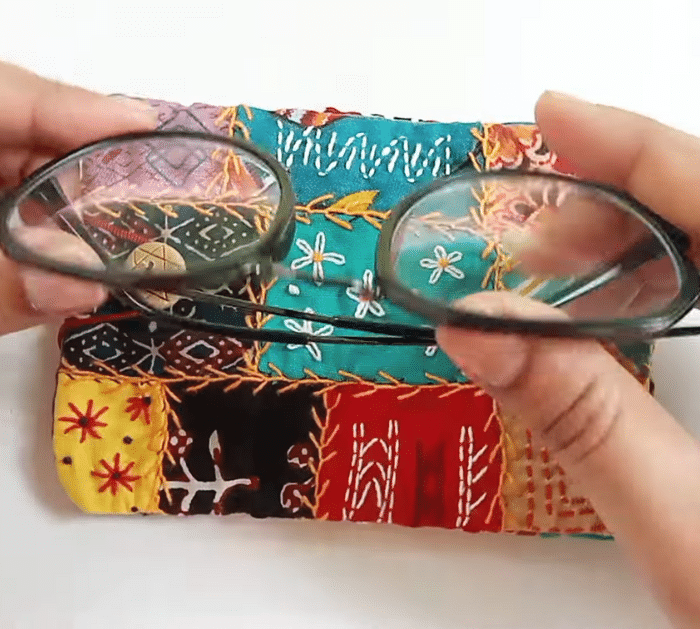
I immediately went to give it a try and it was the cutest project I had ever done, the embroidery added a personalized touch, and its scrappy look was very beautiful. You can also make a larger pouch or smaller one with this idea, you can make a bag version if you want! Learn the steps below now and watch the video tutorial for more details, too.
Materials for Handmade Scrappy Wallet:
- Fabric, for the main and lining
- Assorted fabric scraps
- Scissors
- Needle and thread
- A small piece of cord
- Button
How to Make a Scrappy Wallet:
Step 1
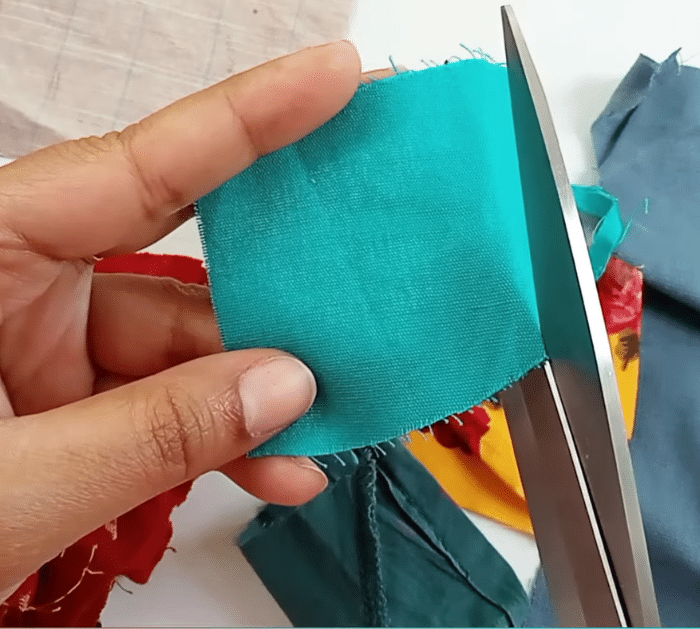
Cut the scrap fabrics into small squares, then cut your main fabric into the size that you want your wallet to be. Get a small square fabric, then fold the side to the back, and stitch it down to the main or base fabric.
Step 2
Stitch the square fabric on all 4 sides folding the edges as you go, then keep adding a scrap square until the base is completely covered, and add some embroidery as shown in the video.
Step 3
Cut the lining the same size as the front piece, then lay them together with their right sides facing, and stitch them together leaving a small gap on one side. Trim off the excess fabric, then turn it right side out, and poke the corners nicely.
Step 4
Get a small piece of cord, knot each end, and secure the ends with a flame. Tuck the edges of the front piece’ opening, then stitch it close attaching each end of the cord at the start and finish, and set it aside.
Step 5
Make another piece without the cord, then join them together leaving the short edge where the cord is open, and turn it inside out. Bring the cord over to the front, then measure where it ends, and sew a button on that part.
*All image credit belongs to Stitch Workshop via YouTube. Follow and subscribe to her channel for more!
Easy DIY Scrappy Wallet Tutorial


