If your hobby is quilting, crocheting, and/ or sewing, or you frequently do these activities, then you must have lots of tools and items in your work table or craft room. Sometimes, when they are too much and don’t have proper storage, they can get pretty difficult to find which can hinder your work progress and time.
RELATED: How To Sew A Craft Caddy or Storage Bag
The best way to work around this situation is to have a designated area or storage for your tools either in your cabinet or tray, or you can make this cute and simple tool caddy by Tulip Square on YouTube. This is a very helpful and useful item to keep around, so learn how now, and make one today!
Materials for Roll-Up Crochet Tool Caddy:
- Pre-made quilted piece
- Binding fabric
- Marking pen, pencil, or chalk
- Ruler
- Ribbon
- Needle and thread
- Scissors
- Sewing machine
- Pattern (Click here to download the pattern)
How to Make Roll-Up Crochet Tool Caddy:
Step 1
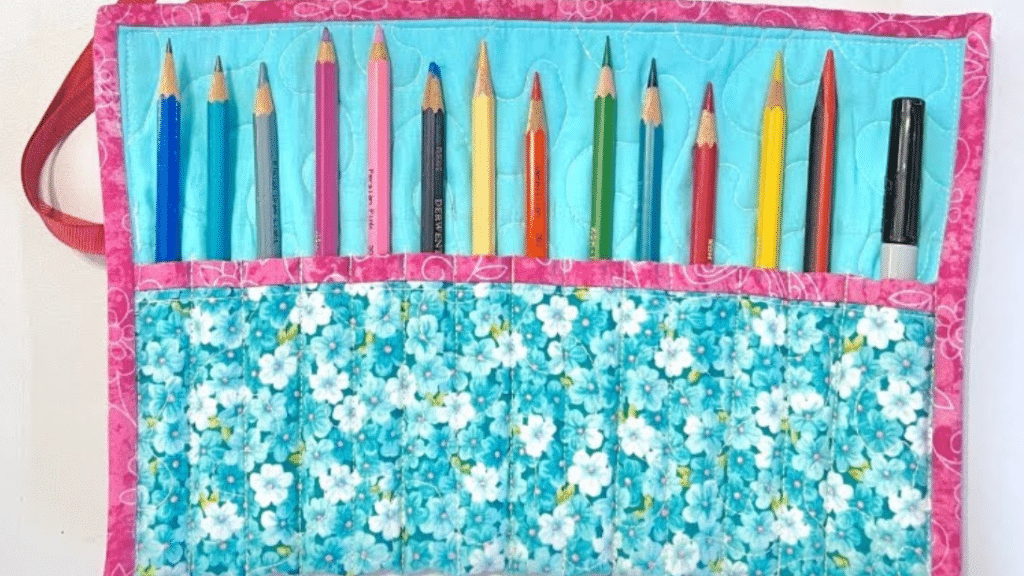
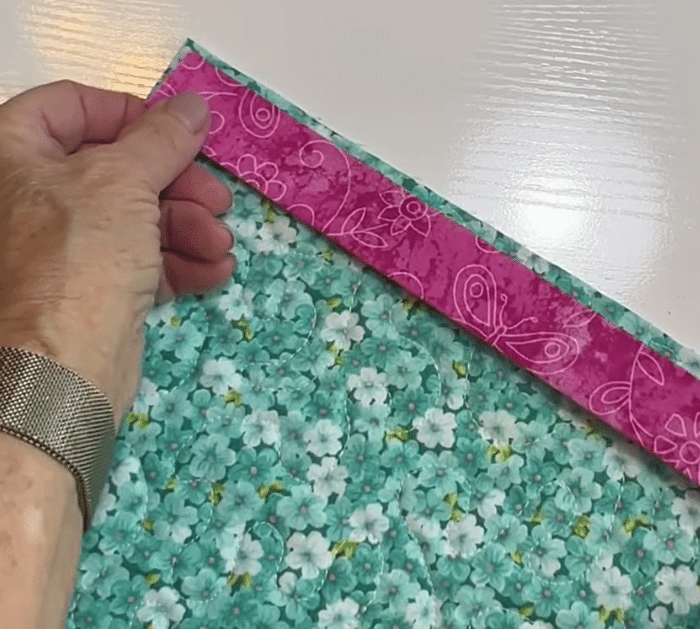
Prepare a quilted piece for your caddy in the size that you prefer, then stitch your binding all around the sides, and position it horizontally. Fold the bottom up about 1/3 of the way, then stitch it in place, and then sew the folded ribbon to the end of the caddy.
Step 2
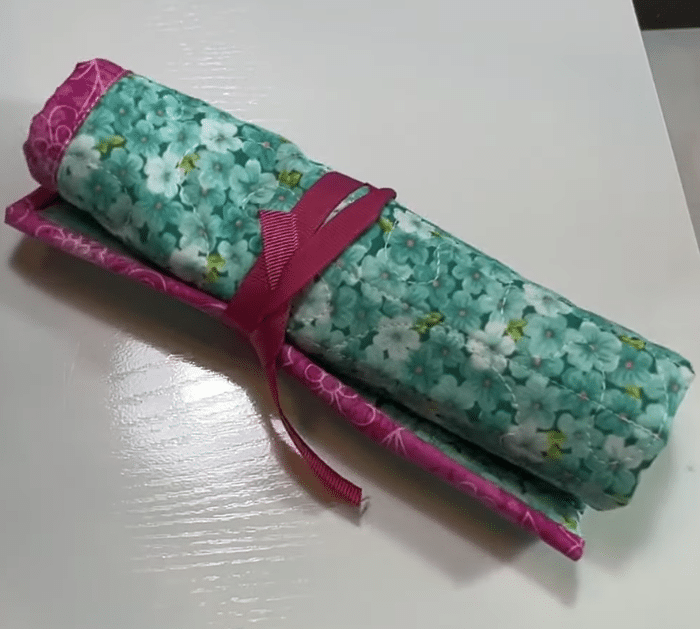
At this point, you can add sections to the pocket or fold part, and make smaller pockets depending on the size of the tool you’re putting such as pen, pencil, or scissors. Roll it over, then wrap the ribbon around, and tie it in place.
*Thanks to Tulip Square via YouTube for all the images used here. If you love this project, then you’ll surely love her other videos too, so give her channel a visit and subscribe!
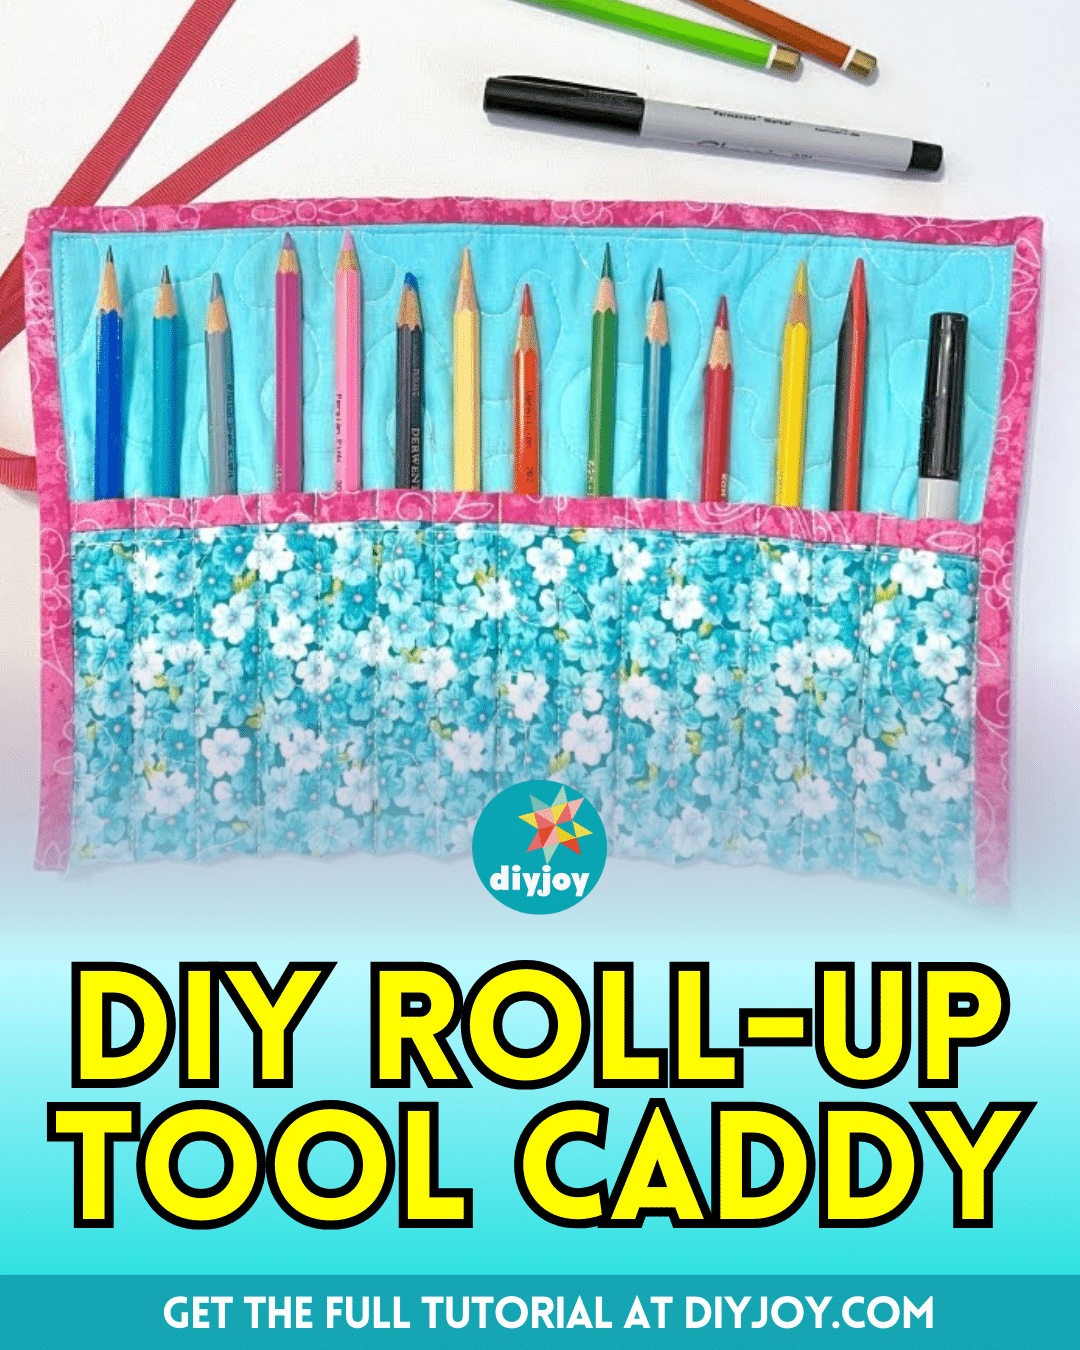
Easy DIY Roll-Up Tool Caddy Tutorial