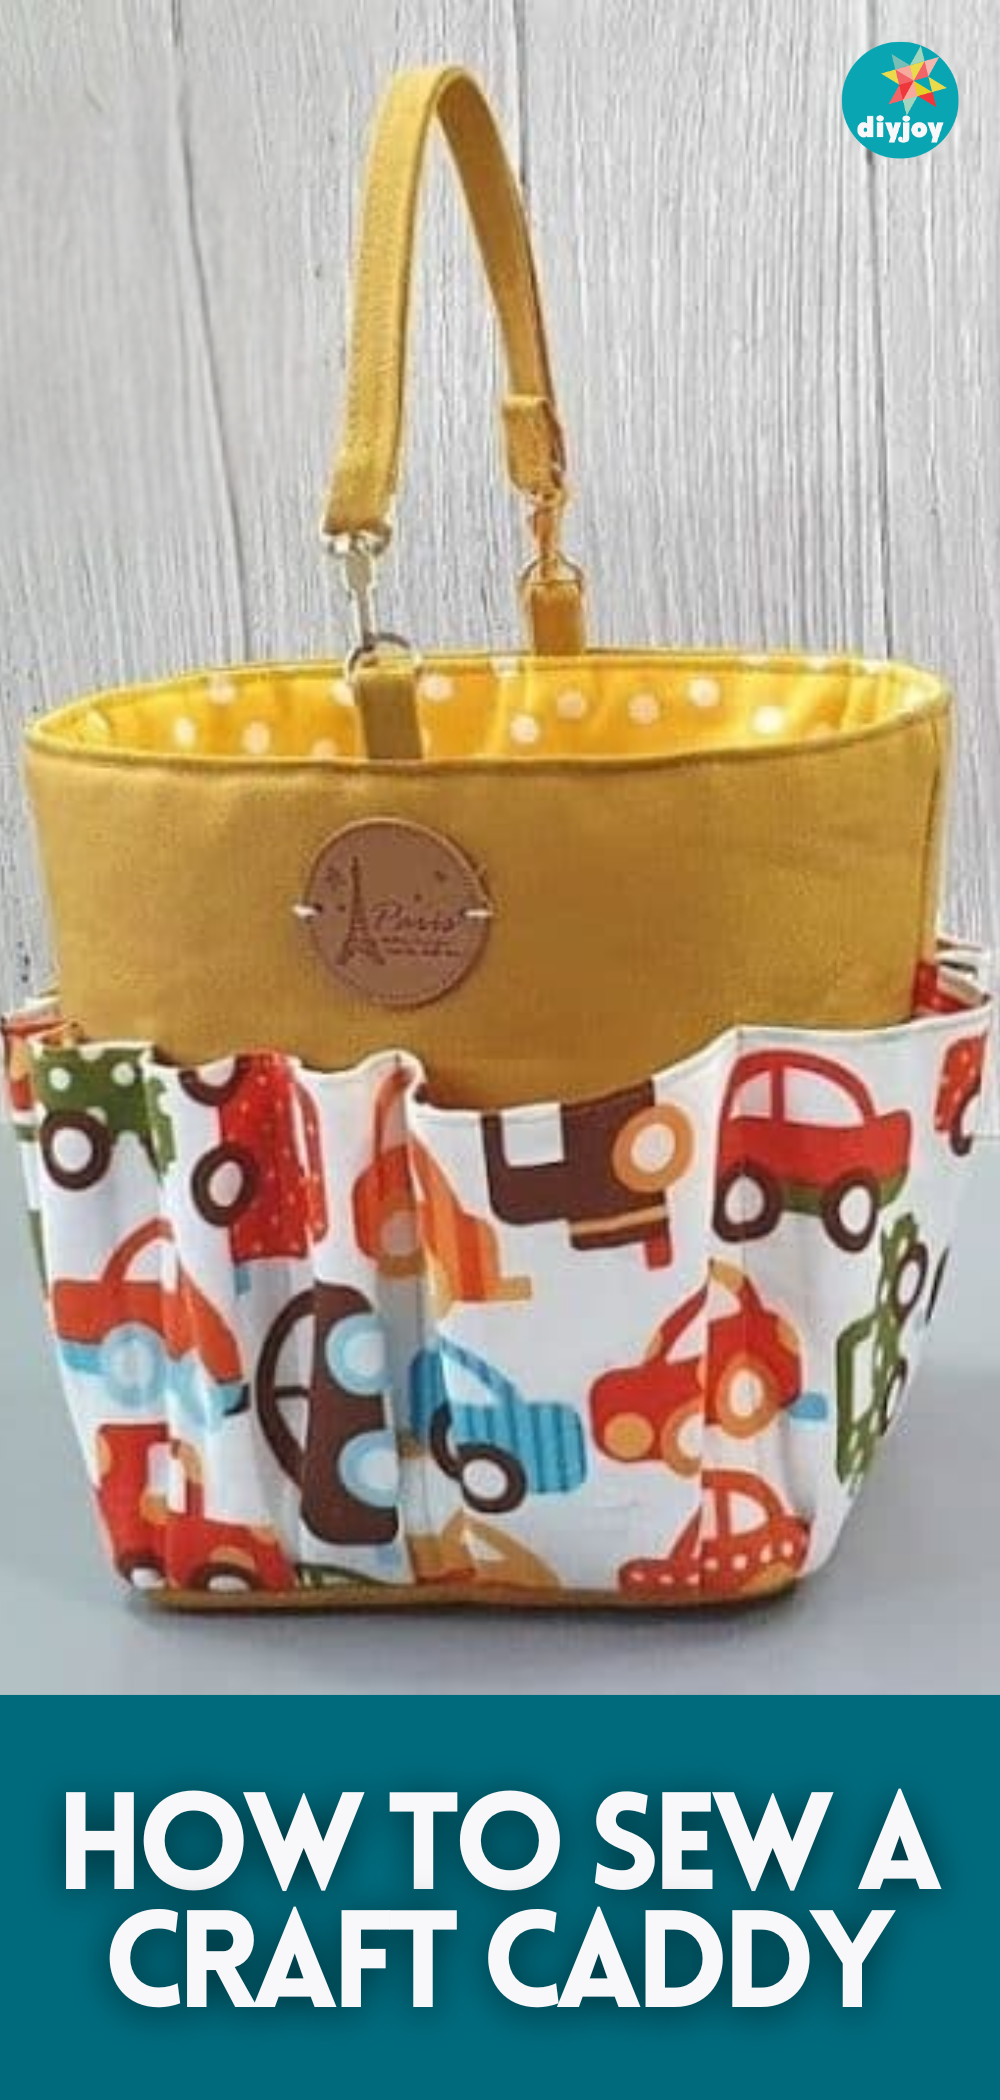
This fun sewing project lets you learn how to make a storage bag for all of your crafting materials. Now, you’ll be able to take all of your tools anywhere without the hassle. This storage bag’s final dimension is about 4.8 inches wide and 5.9 inches tall. Thanks to Tendersmile Handmade on YouTube for this clever idea.
Materials:
Outer layer fabric
- 2 pieces of 10.24*6.7″ brown fabric
- 1 piece of 5.1*5.1″ main fabric
- 2 pieces of 15*8.7″ main fabric
Lining fabric
- 2 pieces of 10.24*6.7″ polka dot fabric
- 1 piece of 7.1*7.1″ polka dot fabric
Hook and handle
- 1 piece of 5.9*1.5″ brown fabric
- 2 pieces of 1.5*1.9″ brown fabric
- 2 pieces of 0.4″ D Ring
- 2 pieces of 0.4″ Hook
Fusible fleece
- 2 pieces of 9.5*5.9″
- 1 piece of 4.8*4.8″
Woven fusible interfacing
- 2 pieces of 9.5*5.9″
- 1 piece of 4.8*4.8″
- 2 pieces of 14.2*4″
Other things you’ll need
- Scissors
- Marking pen
- Pins and clips
- Sewing machine
Directions:
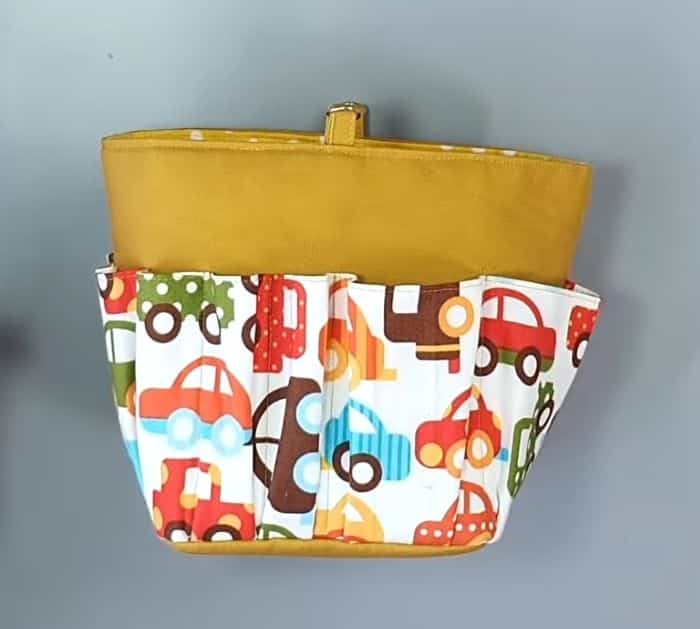
Step 1
Grab the brown main fabrics for your hook and handle, then fold each of their side toward the center before folding them in half. Topstitch on each side with 0.08″ seam allowance. Assemble them in the hook and D rings. Press the fusible fleece to the lining fabric that has a similar size to them, and press the woven fusible interfacing to the polka dot fabric. Set them all aside. Press 2 pieces of the woven fusible interfacing on the lower part of each main fabric, fold the main fabric in half lengthwise, then sew them all around their sides. From the upper end of the fabric, mark 1.6″ 5 times, then mark 3.5″ twice. Repeat these marks a the bottom, then draw and connect them with straight lines. Place them on top of the brown lining fabric, and sew them together along those lines, make sure to push the fabric in to allow some spaces for this will be the bag’s pockets. Fold them at the bottom properly, then sew them in place. Lay them on top of each other with their right sides facing inside, then sew them together with one short side with a 0.4″ seam allowance.
[social_warfare]
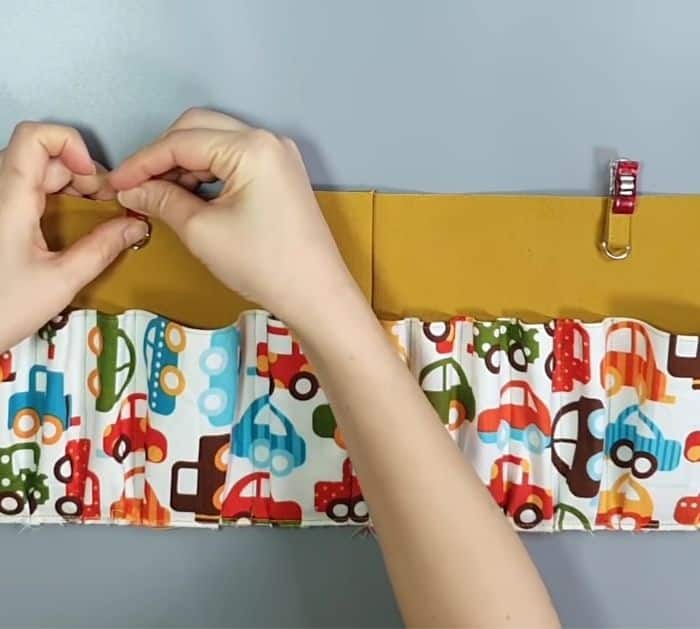
Step 2
Attach the D ring loops on each of their upper midpoints, then sew them in place. Grab the polka dot printed fabrics and stack them together with their right sides facing, sew them together on one of their short sides. Put this piece on top of the pocket piece with their right sides facing, then sew them together on their long side with a 0.4″ seam allowance. Spread it open, then fold it across matching the seams together, and sew them together on the side. Turn it right side out through the hole, then match the edges together and clip it in place. Topstitch the top and bottom area with a 0.8″ seam allowance. Grab the last 2 smaller fabrics, then place the smallest on the top making sure it’s centered, and stitch with a 0.2″ seam allowance. Fold the bag with the seam centered, then mark 4.8″ on each side of the center and notch at the bottom. Place the bag standing on top, and pin them around so that the smallest lining fabric fits the bottom of the bag’s shape. Stitch them together with a 0.4″, then fold the excess fabric inward twice, pin it in place, and sew. Turn it right side out, then hook the handle.
*All these images are credited to Tendersmile Handmade via YouTube. Give her channel a visit and subscribe for more!
How To Sew A Craft Caddy or Storage Bag