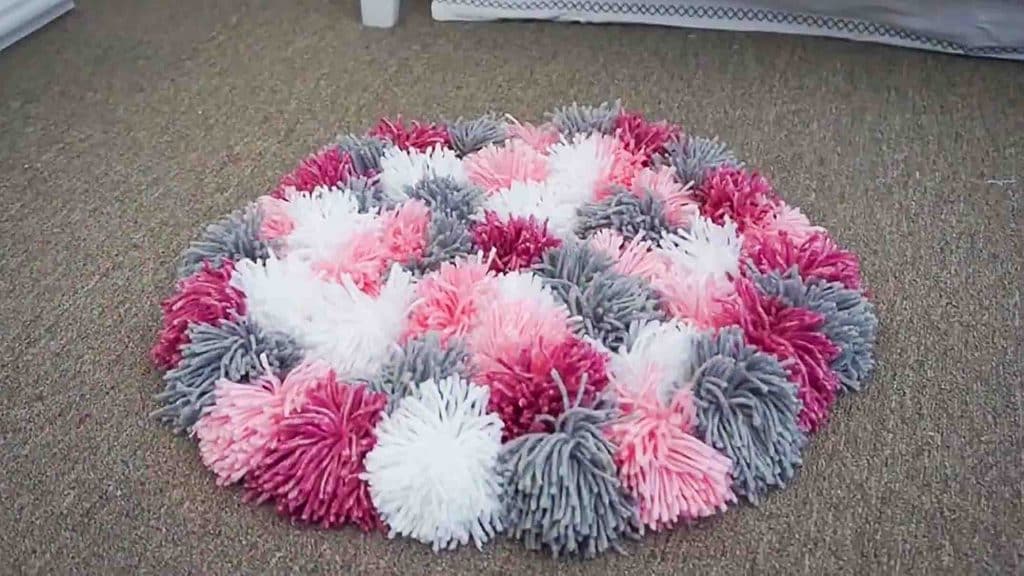
Rugs can be pretty expensive, especially when bought from high-end stores. But you don’t have to buy expensive ones; save a lot of bucks with this DIY pompom rug tutorial from Coco Renaee on Youtube. It’s not only cheap, but this pompom rug will make your home feels a lot homier. It’s also a good weekend activity with your kids or family. Watch the video tutorial below to learn.
Materials:
- bundle of yarns (color of your choice)
- scissors
- crochet latch hook
- non-slip grip liner
Directions:
Step 1
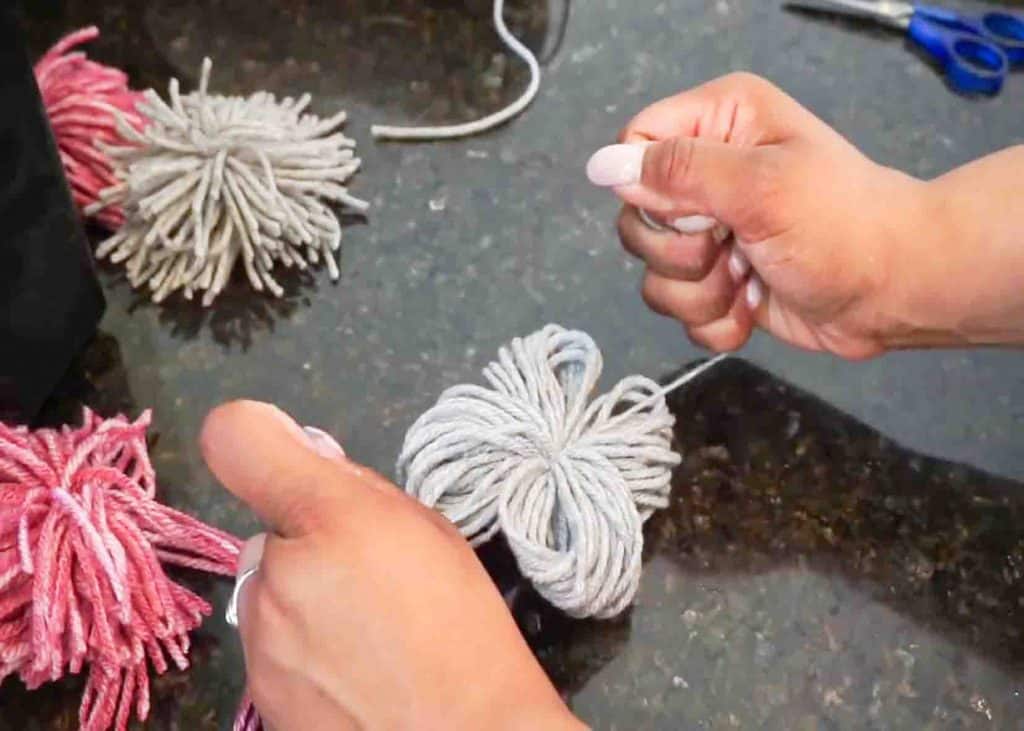
First, unravel the yarn from the outside. Next, take the end of the yarn and place it on the palm of your hand, hold it down with your thumb, then roll it around to your hand 50 to 55 times. After this, cut the yarn. Cut another piece of yarn that is six to seven inches long and use it to tie the pompom together. (Tie it twice to secure it, don’t cut the excess yarn from tying because you will need this part later.) Cut the loops using scissors to create the pompom. After this, trim off any yarn that is sticking out. (Shake the pompom and check if you miss some loops to cut.) Get other colors of yarn (or the same, it’s up to you) and create more pompoms.
[social_warfare]
Step 2
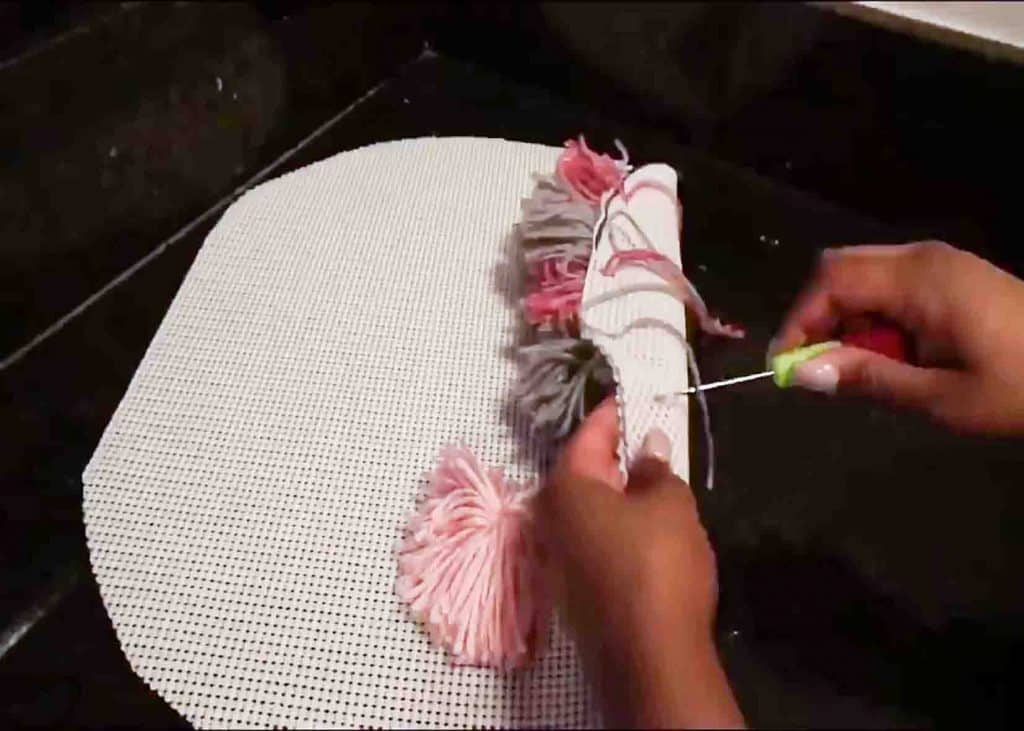
Lay down the grip liner on a flat surface and trace out a round shape, then cut the round shape using scissors. Next, stick the crochet hook through one of the holes on the grip liner and take one piece of the pompoms. Put in the long string of yarn that you tied the pompom with to the latch hook and pull it through the hole. Take the two strands of the yarn and tie them twice. Repeat the process until you fill the grip liner of pompoms. (Just make sure that you don’t put the pompoms too close or too far from one another.) After you filled the liner with pompoms, flip it to the other side and cut the excess strings of yarn. Your pompom rug is now complete.
