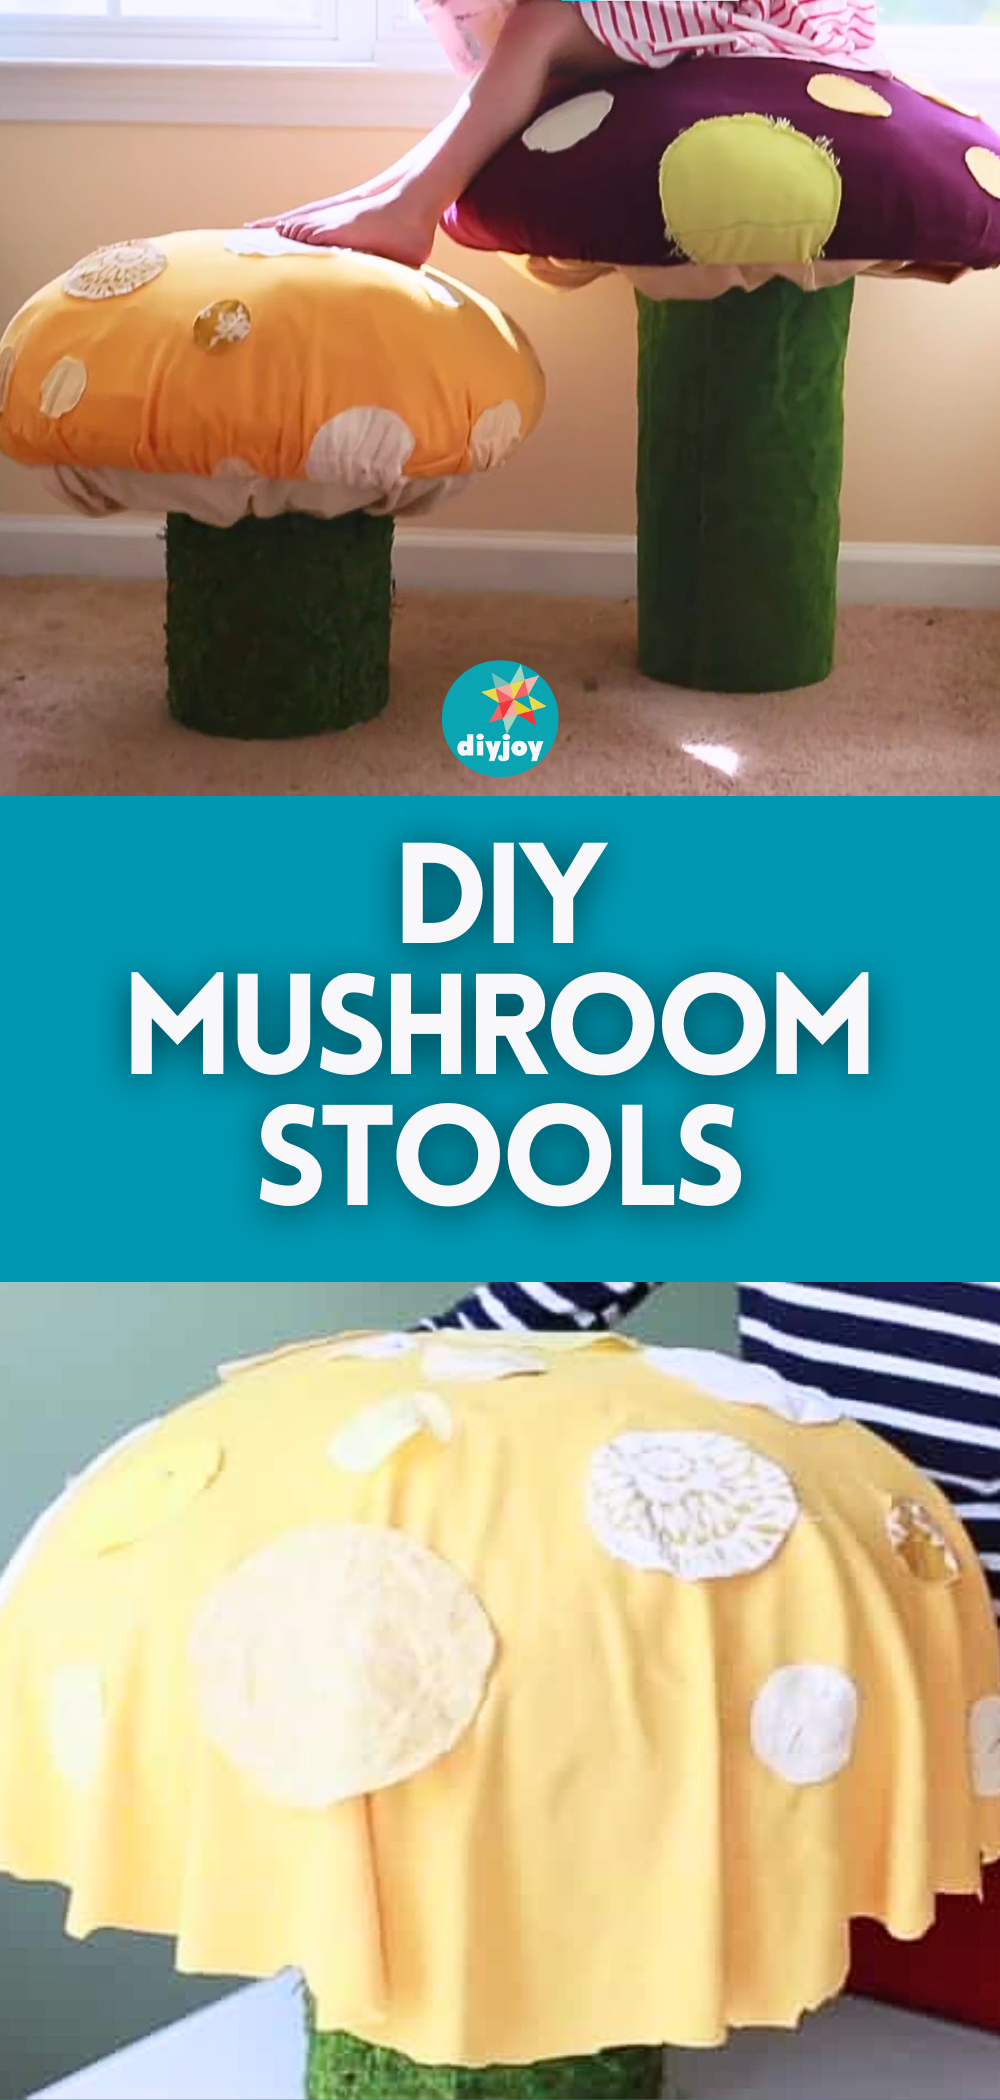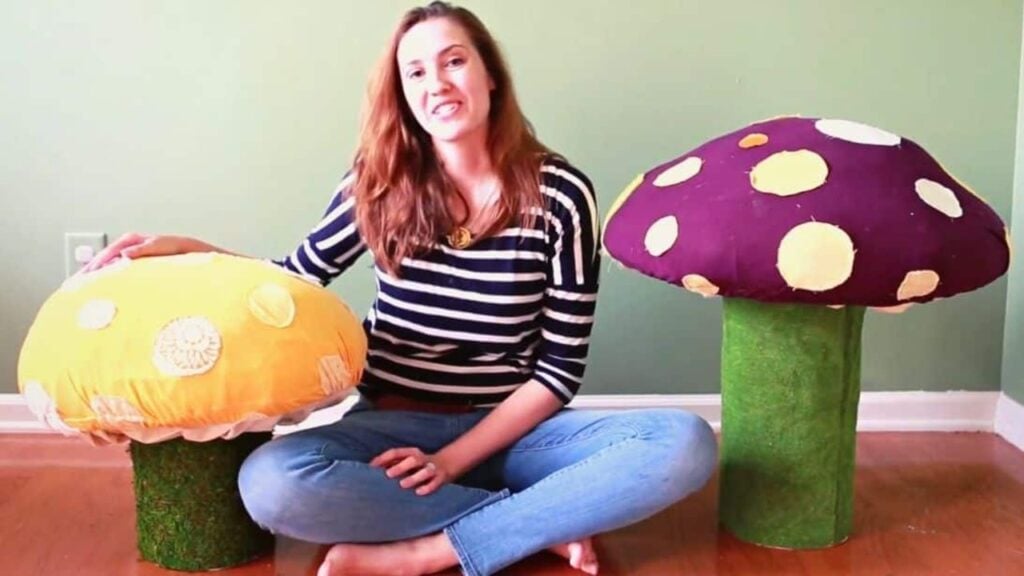
I saw these adorable mushrooms stools by Up and Away Moms on YouTube and I immediately thought that I had to try them. It took quite some time but I can say it was worth it, aside from the fact that it was fun decorating and building the stools from scratch. The finished product was just so cute and comfy to sit on. Try making 1 or a few of these too!
Materials:
- 18-23 inches of round wood
- 8 inches diameter and 11 inches tall cement mold
- Packaging or duct tape
- Scissors
- Hot glue gun and glue sticks
- 2 yards of stretchy cotton, for the cover
- 1.5 yards of muslin or light ivory cotton for the under gill of the mushroom
- Varying scraps of fabric for your “dots”
- Large scrap foams for filling
- Safety pins and pins
- Non-roll elastic
- 2 bags of Moss sticker
- 1 large trash bag
- Nuts and bolts
- Screws
- Screwdriver
- Drill
- Metal corner brackets
- Small bag of cement
Directions:
Step 1
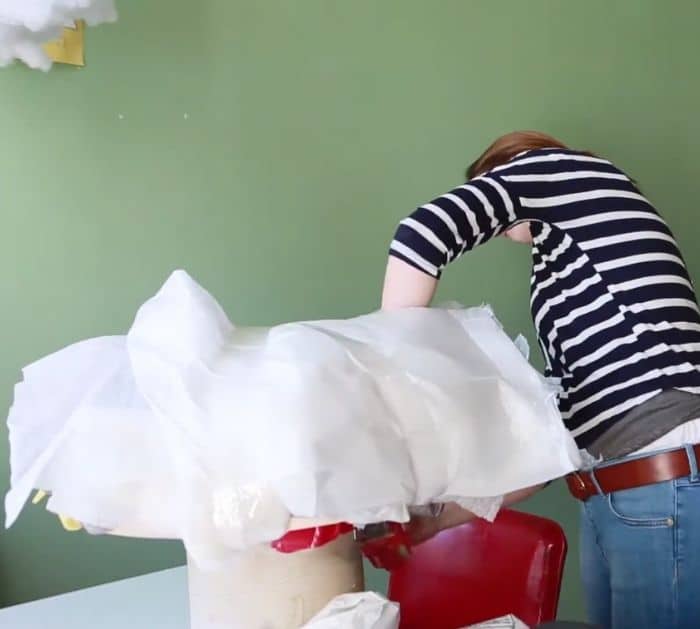
Make 20 different circles from scrap fabrics with sizes ranging from 2 to 6 inches in diameter, then set them aside. Start by making the mushroom’s stem, cut the cement mold into 11 inches tall, then rub its raw edges down on the concrete. Insert a plastic bag at the bottom and put cardboard underneath to catch the cement flatly. After mixing the cement, pour it inside the cylinder, then let it dry completely overnight. Once completely dry, drill the corner brackets around and near the edge of the cylinder, flip the cylinder upside down, then place the round wood underneath making sure the cylinder is centered. Drill in and attach the brackets to the round wood. Now you can start shaping the stool, grab some random foams and place them on top of the base, and secure it around with some tape.
[social_warfare]
Step 2
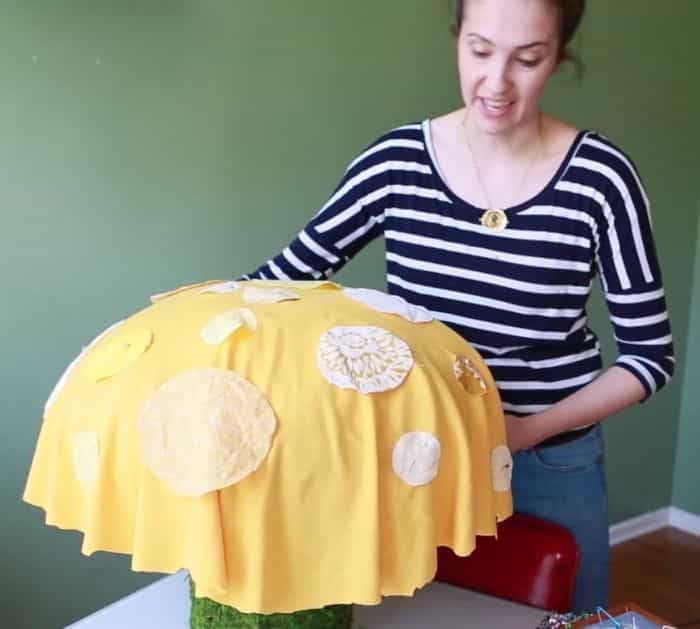
Continue doing so until you get the desired size and shape. Use 1 large trash bag to cover and even it out, pull it under the base, then tape it to secure. Measure the full circumference of the cap, then cut the light ivory to its length, sew one long side making sure to create folds or pleats. Attach the fabric under the base of the cap, then pull it upward and over the cap, and tape it in place. Wrap the moss sticker around the stem. Place the main fabric for the upper part cover on top of the cover, then trim the excess fabric around. Place the small circles or dots around the top, pin it in place, and sew. Wrap an elastic around, then cut with a 3-inch overlap, safety pin one end into place, then fold the seam of the fabric over to cover the elastic, and sew in place. Insert in the cap.
*All image credit belongs to Up and Away Moms via YouTube. Follow and subscribe to her channel for more!
Easy DIY Mushroom Stools Tutorial