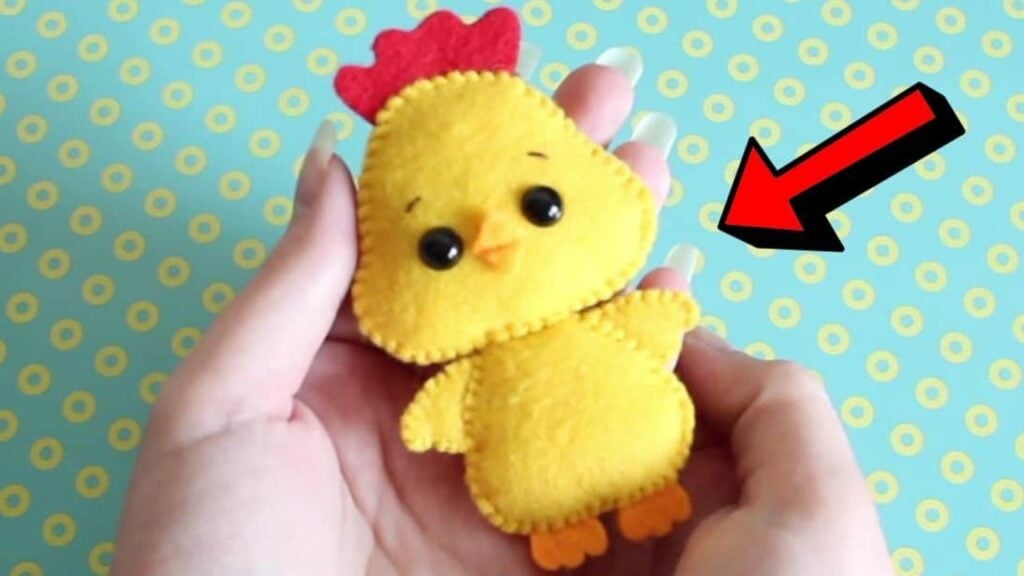
I love making handmade gifts and DIY projects when I want to pass the time or when I need to make something out of my craft materials. I enjoy making small animal decor that are great bag fillers or ornaments, and one of my favorite DIY crafts of all time is a cute baby chicken made out of felt!
RELATED: How to Paint an Easter Egg Baby Chick on a Stone
I learned how to make this with the help of this video tutorial by Miss Tricks Mix Crafts and DIY on YouTube, this was one of the most fun projects I did in a while, and they’re just in time for Easter, too. You can also make this baby chicken in different sizes that you want and personalize them depending on the person you plan to give it to or match it to the occasion.
Materials for DIY Felt Baby Chicken:
- Felt fabric, yellow, red, orange
- Needle and thread
- Pen or pencil
- Thread, yellow, orange, and brown
- Black plastic safety eyes
- Poly-fil fiberfill
- Scissors
How to Make a DIY Felt Baby Chicken:

Step 1
Draw the shape of the head, body, beak, wings, feet, and chicken comb onto the felt accordingly, then cut them out, and make sure to cut two each of them. Grab the felt layers for the head making sure they’re lined up nicely, then sew the small diamond felt for the beak onto the center of the head, and cut a small hole on either side of the beak.
Step 2
Push the plastic safety eyes onto the holes, then sew small eyebrows above the eyes, and start stitching the felt layers for the wings together. Grab the layers of felt for the body, then stitch their edges together, once you reach the middle of the sides, insert the wings and feet pieces, and continue to sew.
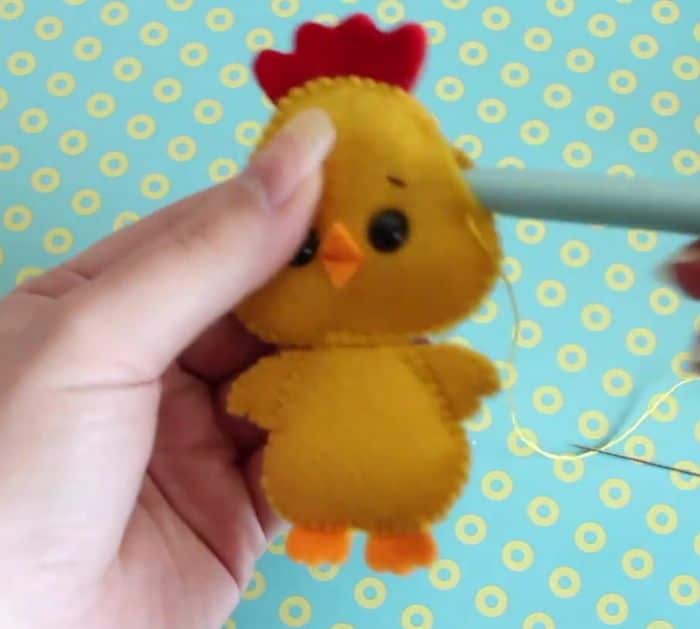
Step 3
Once you reach the bottom, continue to stitch the body, then fill it with poly-fil fiberfill, and stitch it close. Attach the chicken comb to the top of the head, then start stitching the edges, and as you reach the bottom connect the head and body but make sure to leave a small gap. Through that gap, insert more poly-fil fiberfill, then stitch it close, and you’re done!
*All image credit belongs to Miss Tricks Mix Crafts and DIY via YouTube. Follow and subscribe to her channel for more!
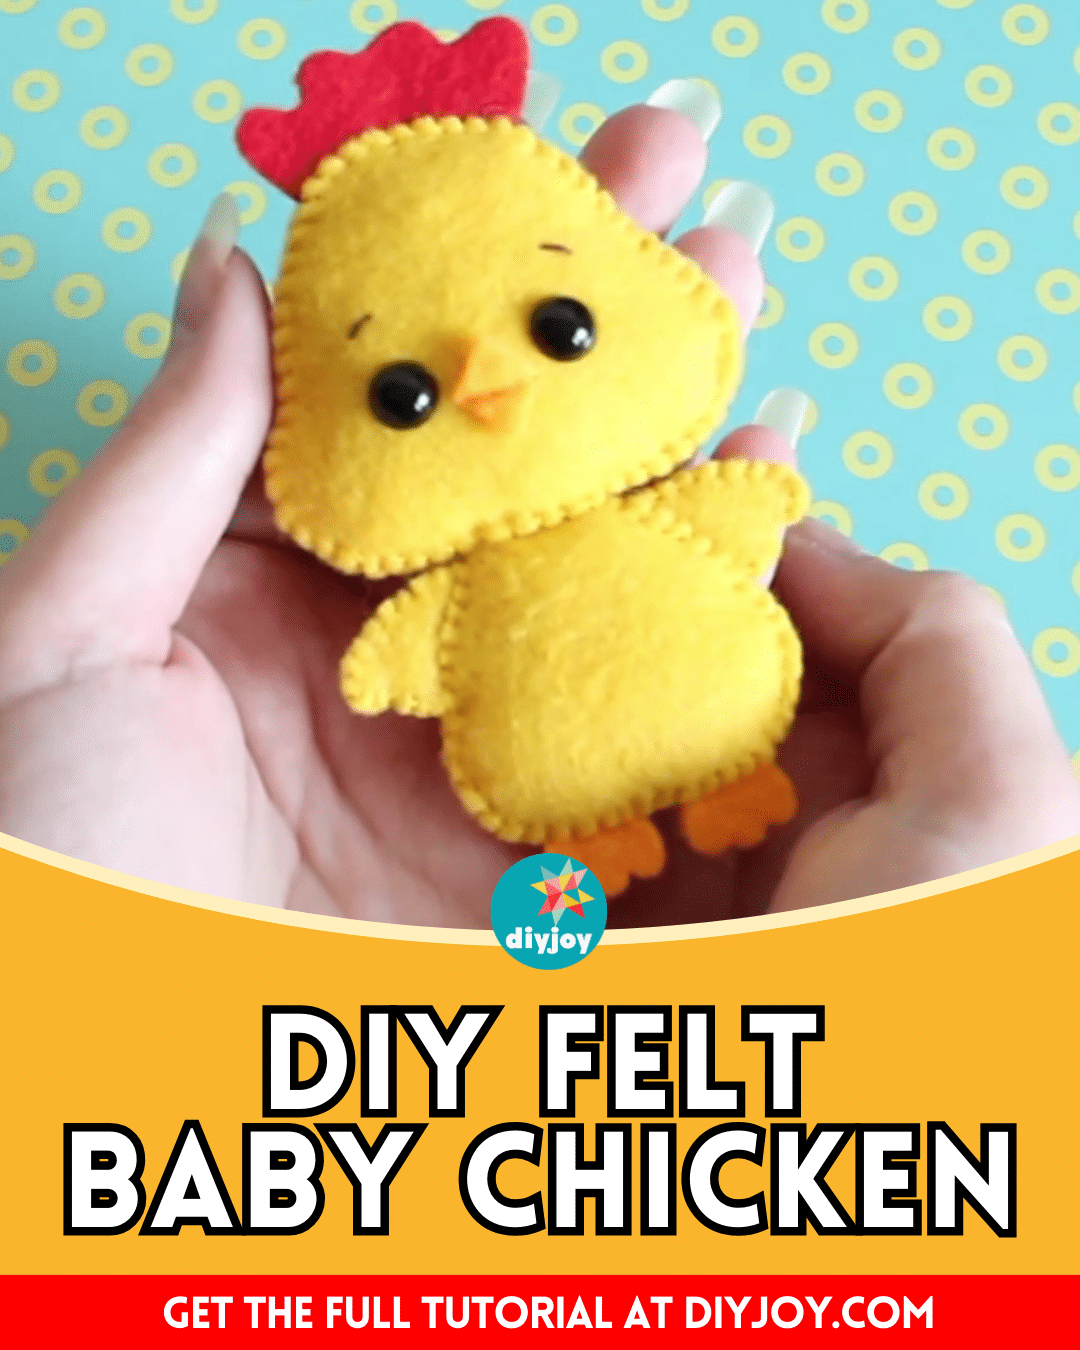
Easy DIY Felt Baby Chicken Tutorial


