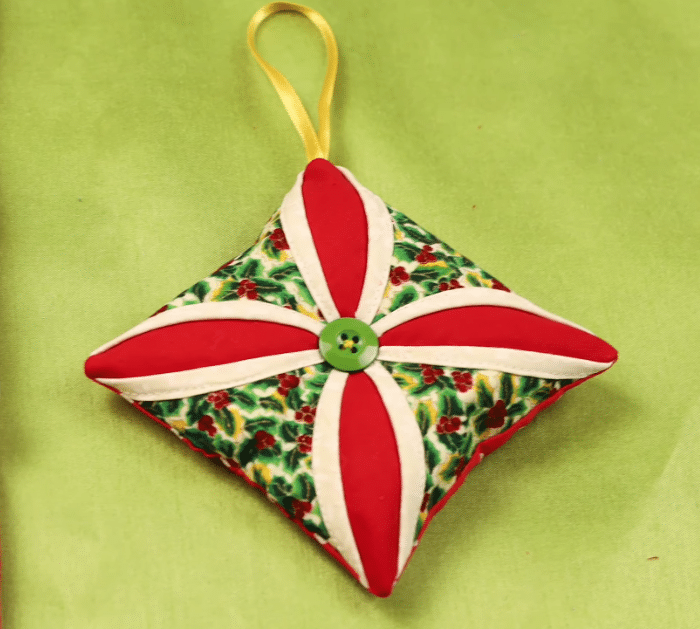
This DIY cathedral window Christmas ornament by Hello Sewing on YouTube is an eye-catching decor project that you can make using only 4 different fabrics. It looks so beautiful and intriguing that everyone will keep asking you how you did it.
RELATED: How to Make a Star Ornament with Felt
At first glance, this DIY project might seem a little confusing and complicated to make, but don’t be intimidated because this fabric ornament is beginner-friendly. If you want to learn how now, then proceed to read the instructions down below and check out the video tutorial as well.
Materials for Fabric Christmas Ornament:
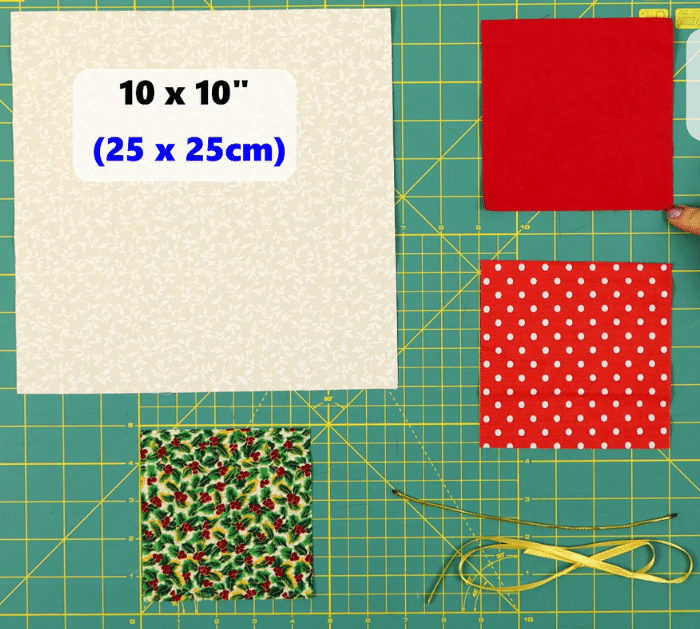
- Fabric, white, solid red, print red, and print green
- Ribbon, for the hanging loop
- Poly-fil fiberfill
- Button
- Marking pen, pencil, or chalk
- Ruler
- Scissors or rotary cutter and a cutting mat
- Fabric pins
- Needle and thread
- Iron, for pressing
- Sewing machine
How to Make Fabric Christmas Ornament:
Step 1
Cut the fabrics to size, then lay the large white square on a flat surface with its right side up, and fold it in half. Press it nicely, then unfold, fold it in half the other direction, press, and unfold. Turn it over so the wrong side is up, then fold the corners to meet at the center, and press as you go.
Step 2
Fold each corner to the center again, then pin them in place, and stitch on each corner ¼” from the center. Cut the green squares diagonally in both directions to make 4 triangles, then put fabric glue on the wrong side, and attach them on top of each fold making sure they’re centered.
Step 3
Slightly fold back the fabric to allow the red fabric underneath to show up, then press it down, and topstitch around the edges of the curves. Fold a piece of ribbon in half, then pin it to a corner, and cover the entire piece with the print square with their right sides facing.
Step 4
Clip the layers together, then stitch all the way around, leaving a gap on one side, and backstitch at the start and finish. Clip the corners to reduce the bulk, then turn the piece right side out, poke the corners, and stuff the piece with poly-fil fiberfill. Tuck the edges and stitch it close, then sew a button at the center, and you’re done.
*All these images are credited to Hello Sewing via YouTube. Give her channel a visit and subscribe for more!


