Do you want to update your home decor without blowing up your bank? This DIY bubble chandelier from yoduvh Essentials on Youtube will definitely make a bold statement. It may look complex, but it’s an easy DIY project you can certainly pull off. What’s more, it’s inexpensive, with all the materials easily found at Dollar Tree. Watch the video tutorial below to learn how to make this.
Materials:
- 1/2″ pipe
- ornament balls (4 large and 15 small)
- zip ties
- lighting
- cup hooks
- gold washi tape
- glue gun
- glue sticks
Directions:
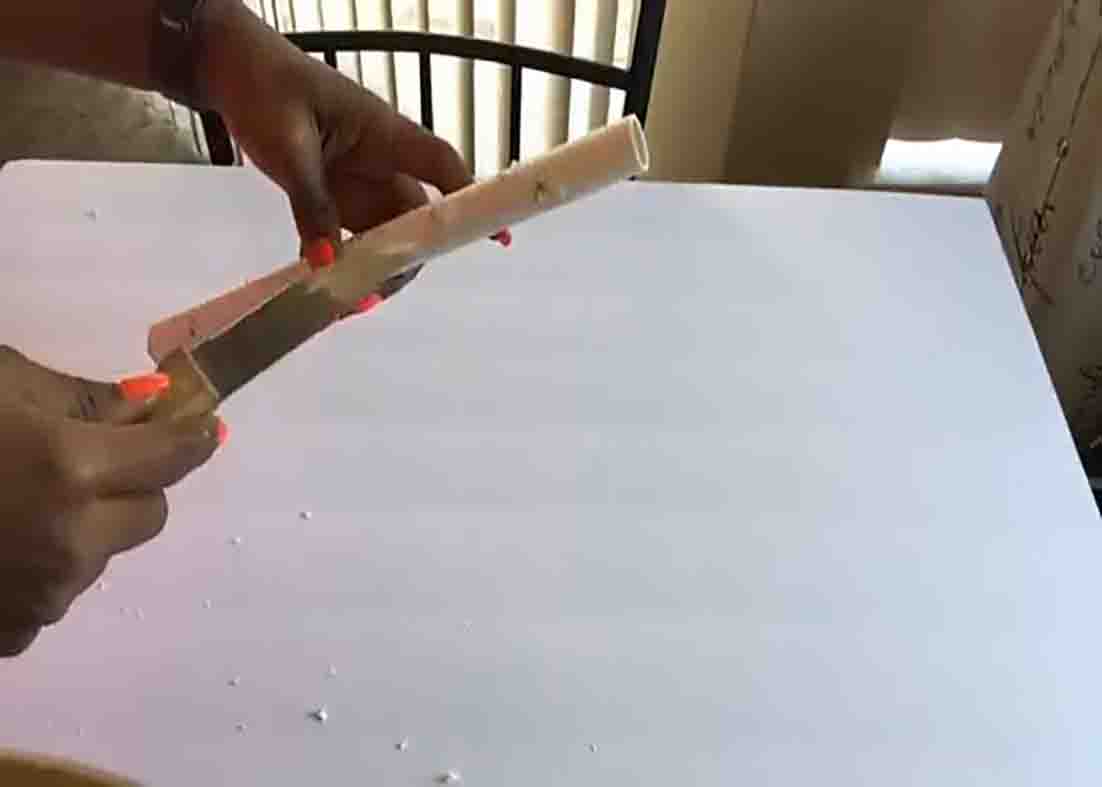
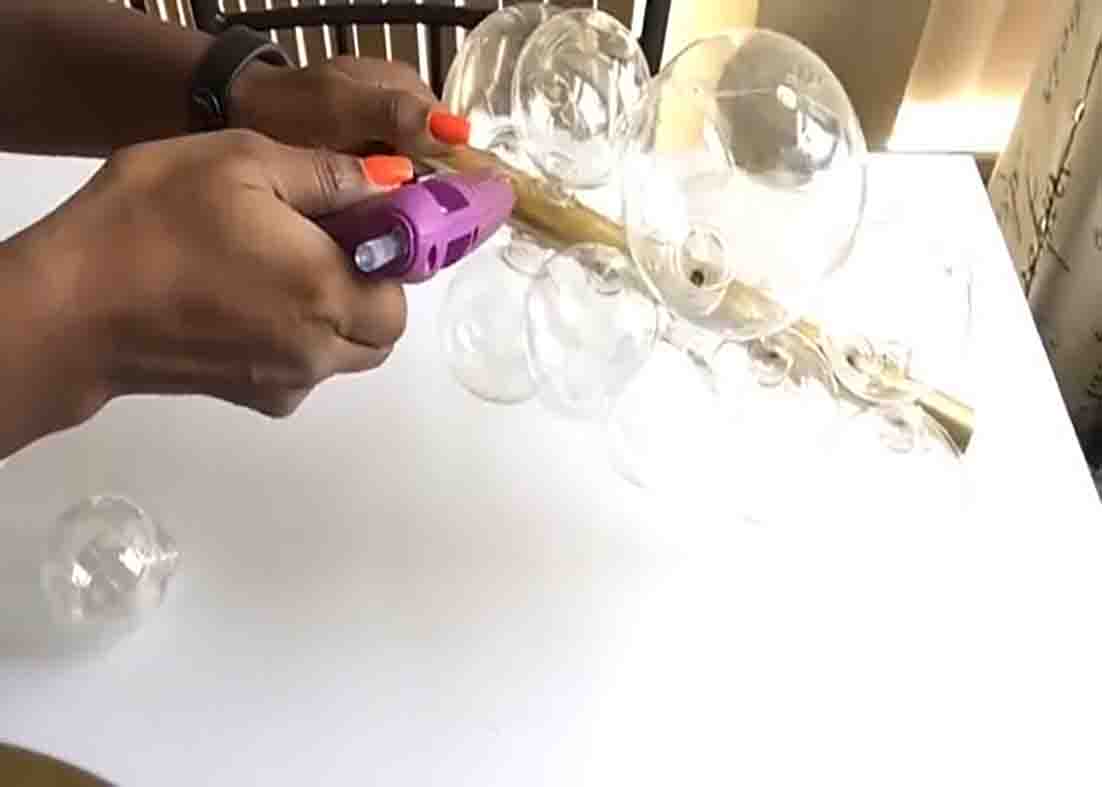
Step 1
To start, cut your pipe to 12″, then glue down your ornament balls to see where it’s gonna fit. (Use hot glue as this is not the final arrangement of the balls.) Use a marker to make points where the balls will be located on the pipe. Next, grab a knife to carve out the holes. Spray paint it gold and let it dry completely.
[social_warfare]
Step 2
For the battery pack, instead of spray painting it, cover it with gold washi tape and leave a place for easy opening and closing when you want to change the batteries. Screw down the cup hooks on the battery pack to hang it on the chain. Now, put the lights into the pipe. Use a zip tie to hold the wires on both sides. For the final step, glue down the ornament balls onto the pipe.
Easy DIY Bubble Chandelier Tutorial