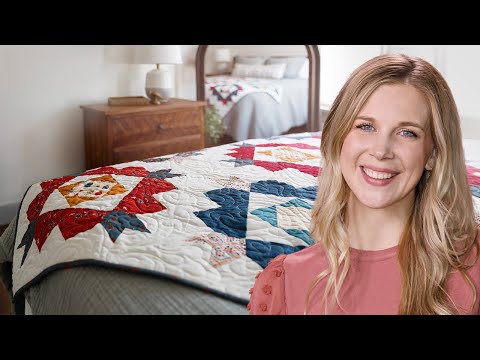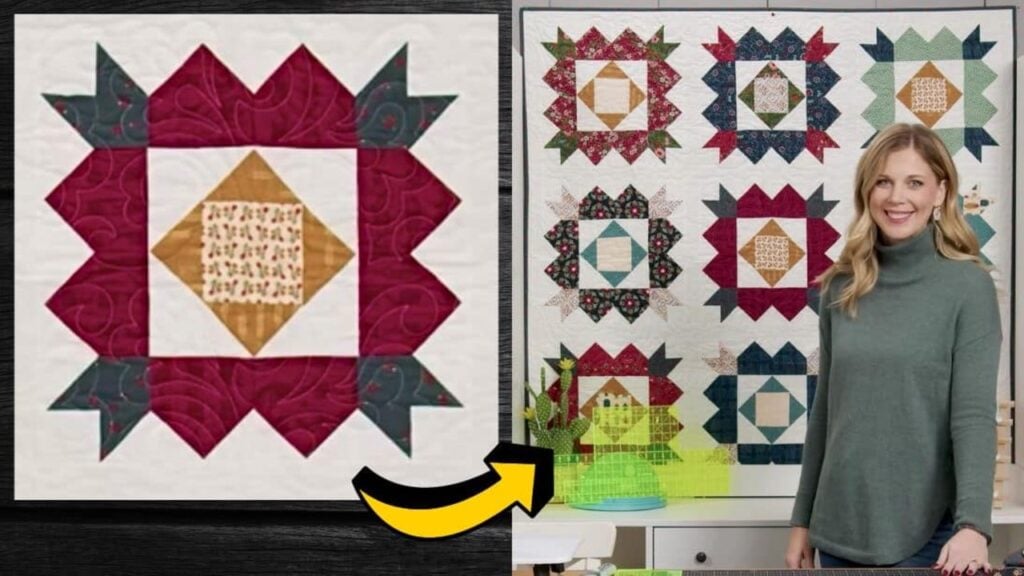
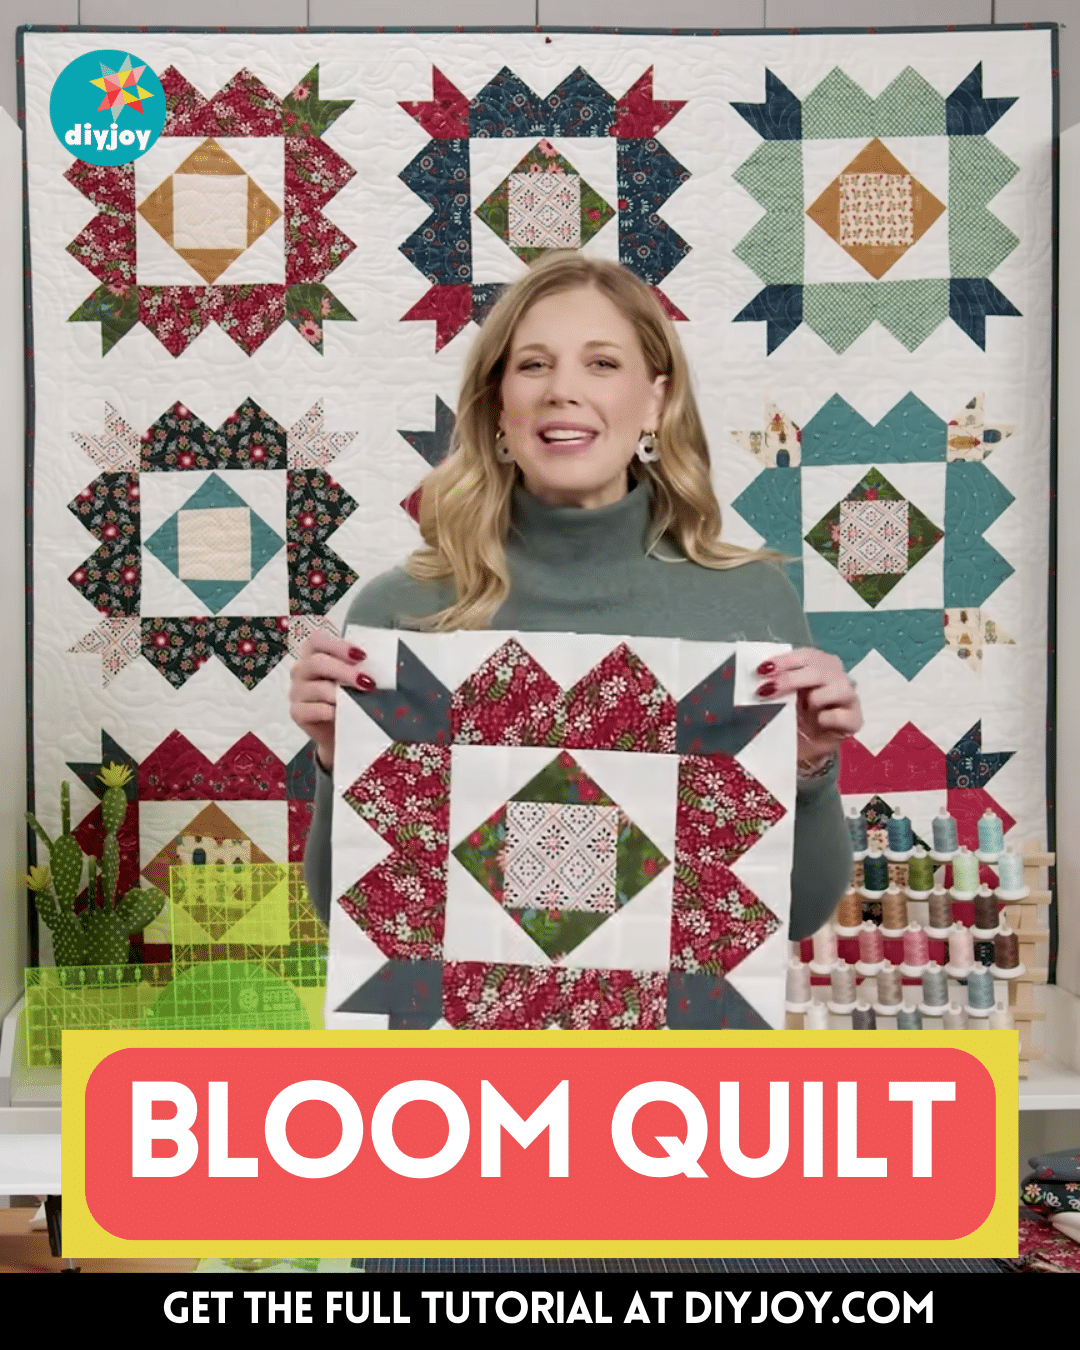
This bloom quilt by Missouri Star on YouTube is so beautiful and surprisingly easy to make, even beginners might also find this project fun! You can make this quilt block using only a couple of print squares and a background fabric.
RELATED: Learn How To Make This Blooming Flower Quilt Block
You can use any color and print of fabric that you want and make it look as scrappy as you like. The steps to making this quilt project are very easy to follow, I’m sure you can get this perfectly on the first try. Proceed to the instructions down below and learn how now.
Materials for Bloom Quilt:
- 1 package of 10-inch squares
- 2½ yards of background fabric
- 3¾ yards of backing fabric
- ¾ yard of binding fabric
- Marking pen, pencil, or chalk
- Ruler
- Scissors or rotary cutter and a cutting mat
- Needle and thread
- Iron, for pressing
- Sewing machine
How to Make a Bloom Quilt:
Step 1
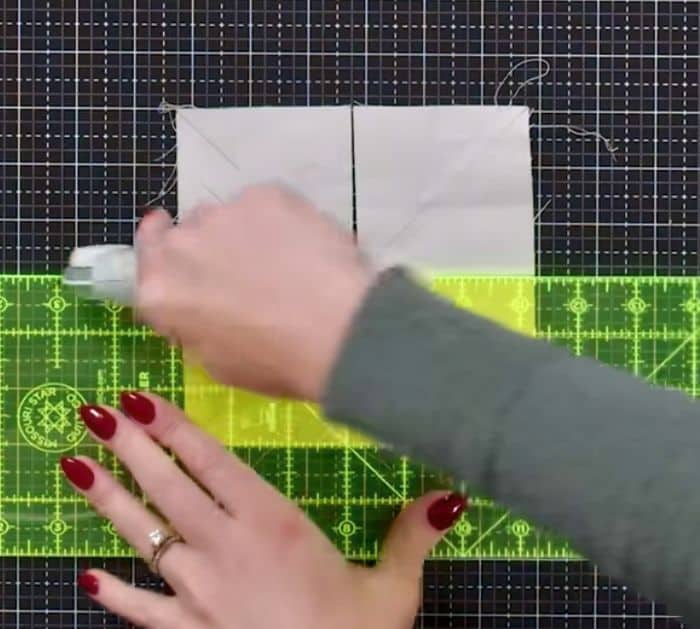
Get a 10-inch square, cut it as instructed in the video, and then pair a print square and background square together with their right sides facing. Draw an “X” at the back of the background fabric from corner to corner, then sew on both sides of the line with ¼ inch seam allowance, and cut them across both sections and you’ll end up with 4 pieces of fabric units.
Step 2
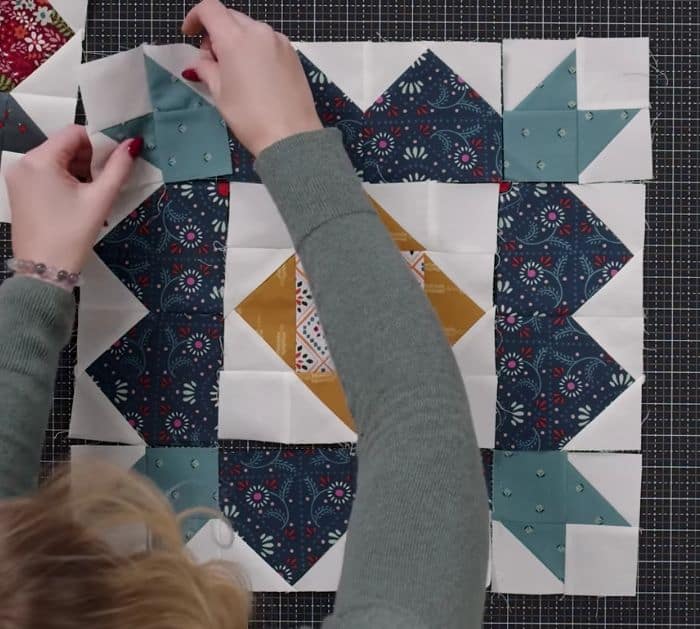
Next, cut along the lines of each piece, press them open, and square them into 2.5 inches, you’ll have a total of 8 half-square triangles. Assemble the corner units as shown in the video, stitch them together, and press them as you go, you should have a total of 4 corner units. Take 2 identical 10-inch squares, then stack them together making sure they’re lined up nicely, and cut them into 4½ inch strips before subcutting them into 4½ inch squares.
Step 3
Place a small background square on the top corners of the print square, then stitch them diagonally from corner to corner, and trim the excess with ¼ inch seam allowance. Press the seams nicely, then make a total of 4 sets, and proceed to make the flying geese units. Assemble all of the units as shown in the video, then stitch them, and press the seams as you go.
*All these images are credited to Missouri Star via YouTube. Give their channel a visit and subscribe for more!
Easy Bloom Quilt Tutorial for Beginners