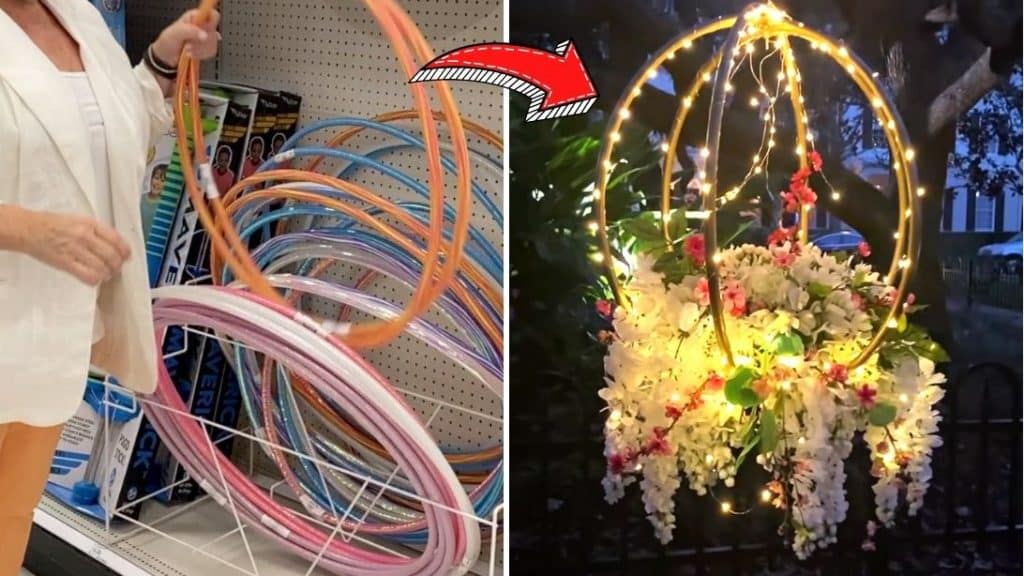
Level up your garden by transforming ordinary dollar store hula hoops into a fancy hanging chandelier planter! You don’t even have to spend too much on this decorative garden piece because you can use and substitute some materials with what you already have. Simply follow the directions as shown by Hometalk on YouTube.
Materials:
- 3 pieces of hula hoops
- Gold metallic spray paint
- Clear glass coating spray paint
- Long bolts and nuts
- Glue sticks and glue gun
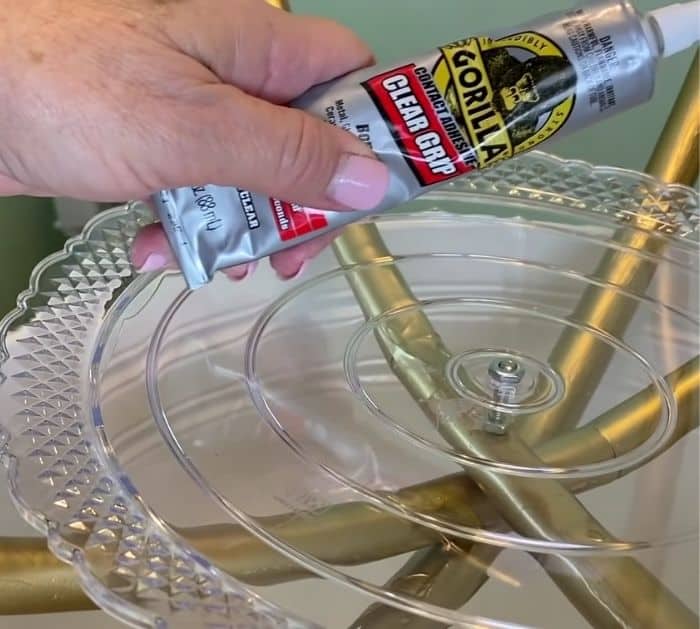
- Gorilla clear grip contact adhesive
- Styrofoam or floral foam brick
- Clear tape
- Dollar store decorative cake tray
- Fairy lights
- Fake flowers and leaves
- Drill
Directions:
Step 1
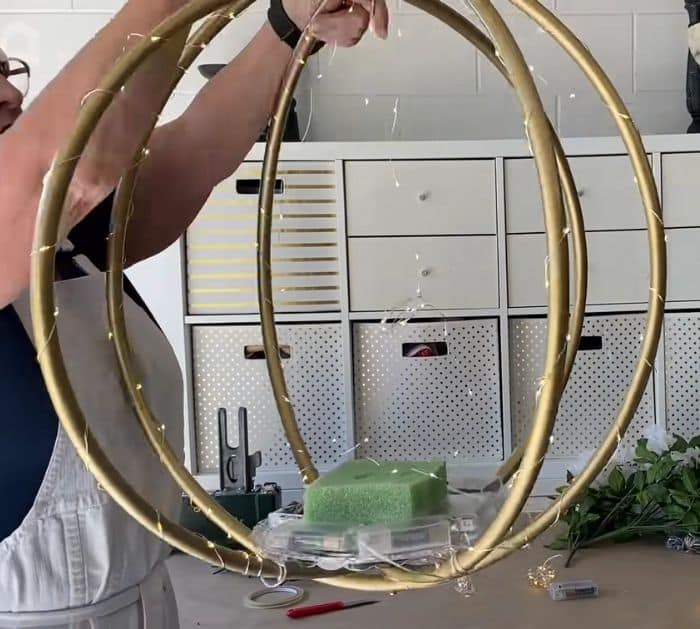
Lay some wides papers or newspapers in your work area to catch oversprays, then place the hula hoop on top, and start spraying all over it gold metallic paint, let it dry completely then proceed to work on to the next hoops. Once you’re done working on each hoop, spray them with a light coating of clear glass paint, then let them dry completely. Drill a hole on each side of the gold-painted hula hoops, then get a hoop inside of the other, make sure that their holes matched. Grab a long bolt and insert it at the bottom of both hoops in an upward manner, then carefully insert the 3rd hoop as well, once they are nice and stable, lock the end of the bolt with a nut. Screw the top holes as well, then adjust the positions of each hoop. Grab a decorative cake tray, then create a hole at the center using the pointed mouth of a heat gun, simply press it and let it melt the plastic. Insert this in between the hula hoops and onto the screw.

[social_warfare]
Step 2
Then, use the gorilla glue to secure the plastic tray onto the hoops, you can also put a generous amount wherever the hoops meet to secure them even more in place. Hang it while letting it dry completely, then attach styrofoam or floral foam brick at the center of the plastic cake tray using hot glue. Tape the battery packs of your fairy lights around the styrofoam or foam brick, then tape them down with clear plastic tape, or your can glue them on if you don’t mind them being attached permanently. Wrap each cord of the fairy lights around the hoops depending on your preferred design or arrangement. Start working on your floral arrangement, insert the stiff stems onto the foam, then arrange the fake flowers in a cascading manner. Once done, hang it on the area where you want it to be.

*All these images are credited to Hometalk via YouTube. Give their channel a visit and subscribe for more!


