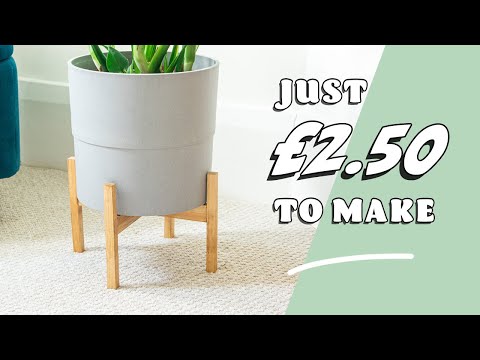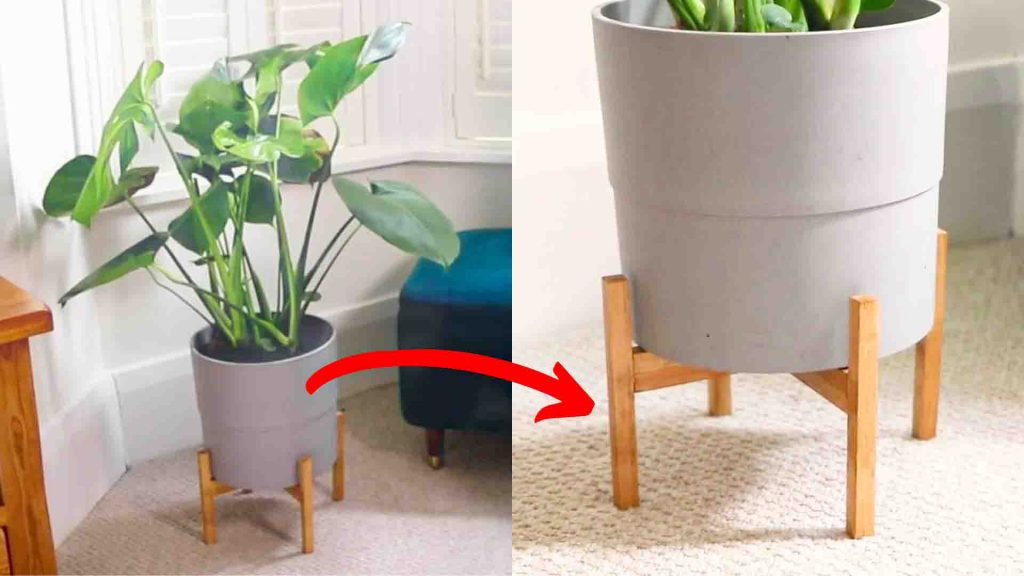
Are you looking for a weekend project to do? Make a stand for your potted plants with this tutorial from Warren Nash on Youtube! You can make this pot plant holder with simple materials such as long wood, wood glue, and dowels. It’s totally inexpensive to make and super easy; you would not break the bank for this. Watch the video tutorial below for the step-by-step process.
Materials:
- plant pot
- long pieces of wood
- wood glue
- screws
- dowels
- varnish/paint (optional)
- saw
- drill
- screwdriver
- pencil
- measuring tape
Directions:
Step 1
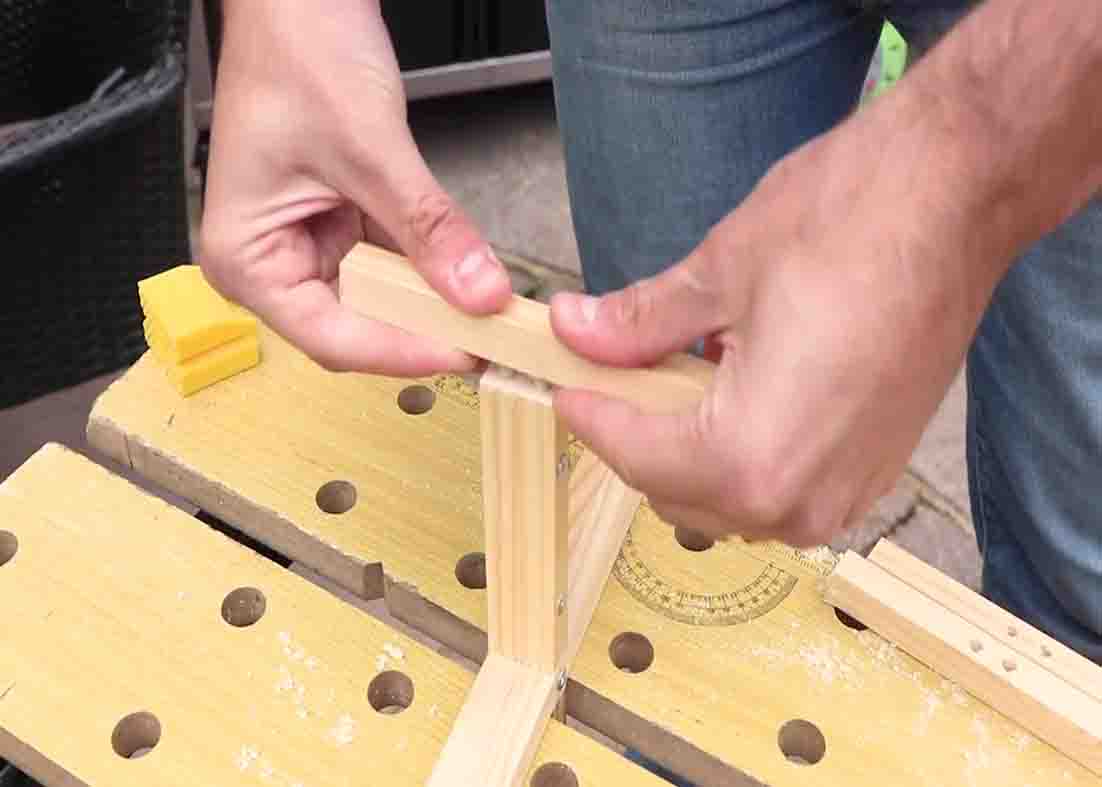
First, take the plant pot you’re going to be making the stand for, then measure the diameter of the base of the pot. Next, take a long piece of wood. Create the base of the plant stand by cutting out two pieces of wood. (The length of these pieces needs to be the diameter of the pot, adding about 1/2 cm to the length.) Cut to length using a saw. After this, cut out four more pieces of wood. The length of these needs to be: pot diameter (9.5″) / 2 = 4.75″ minus wood depth (0.5″) / 2 = 0.25″ equals 4.5″. Now, attach two longer pieces of wood together in a cross shape by screwing them together but first mark a center point on each piece of wood. Place the piece of wood that has been countersink on top of the other, then screw them together carefully. Now, use the four pieces of shorter wood to make the cross shape flat and more secure on both sides. On each side of the cross, place two of the shorter pieces of wood, and on these, mark two points where you can drill some pilot holes, where you can attach these pieces to the longer pieces of wood that form the base of the stand. Repeat the same process on the other side of the stand base using the remaining two shorter pieces of wood, then sand the ends until they’re nice and flush. Now, you’re going to fix some dowels that’ll attach the stands to the base. On each of the four ends of the pot stand base, mark the center point on each of the pieces of wood. Then, make a note for later of the distance between the two center points. Next, take your dowels and make a note of their diameter, then on the center points, you marked on the pot stand, use a drill to make some pilot holes to the diameter of the dowels. Now, put some wood glue onto one of the ends of the dowels, then push this end into each of the pilot holes.

[social_warfare]
Step 2
Next, make the four stands that’ll attach to the dowels. Take the original pot you’ll be putting on the stand and measure how long you want the stands to be. Include in this measurement how high off the ground you want the pot to be. plus how much of the stands you want to go up the sides of the pot. Then, simply cut four more pieces of wood to this measurement. Now, decide where you want the stands you just cut to attach to the pot stand base via the dowels. Mark the point where one of the dowels on the stand will sit, then take that measurement from earlier and mark another point this distance away from the first point you made. Repeat this process on all four stands you’ve cut and again drill some pilot into the points you’ve made. After this, attach the stand to the pot stand base. Do this again by applying some wood glue to the ends of the dowels that are sticking out of the pot stand. Repeat this for all of the stands and make sure you wipe away any excess wood glue.
DIY Wooden Pot Stand For Your Plants Tutorial