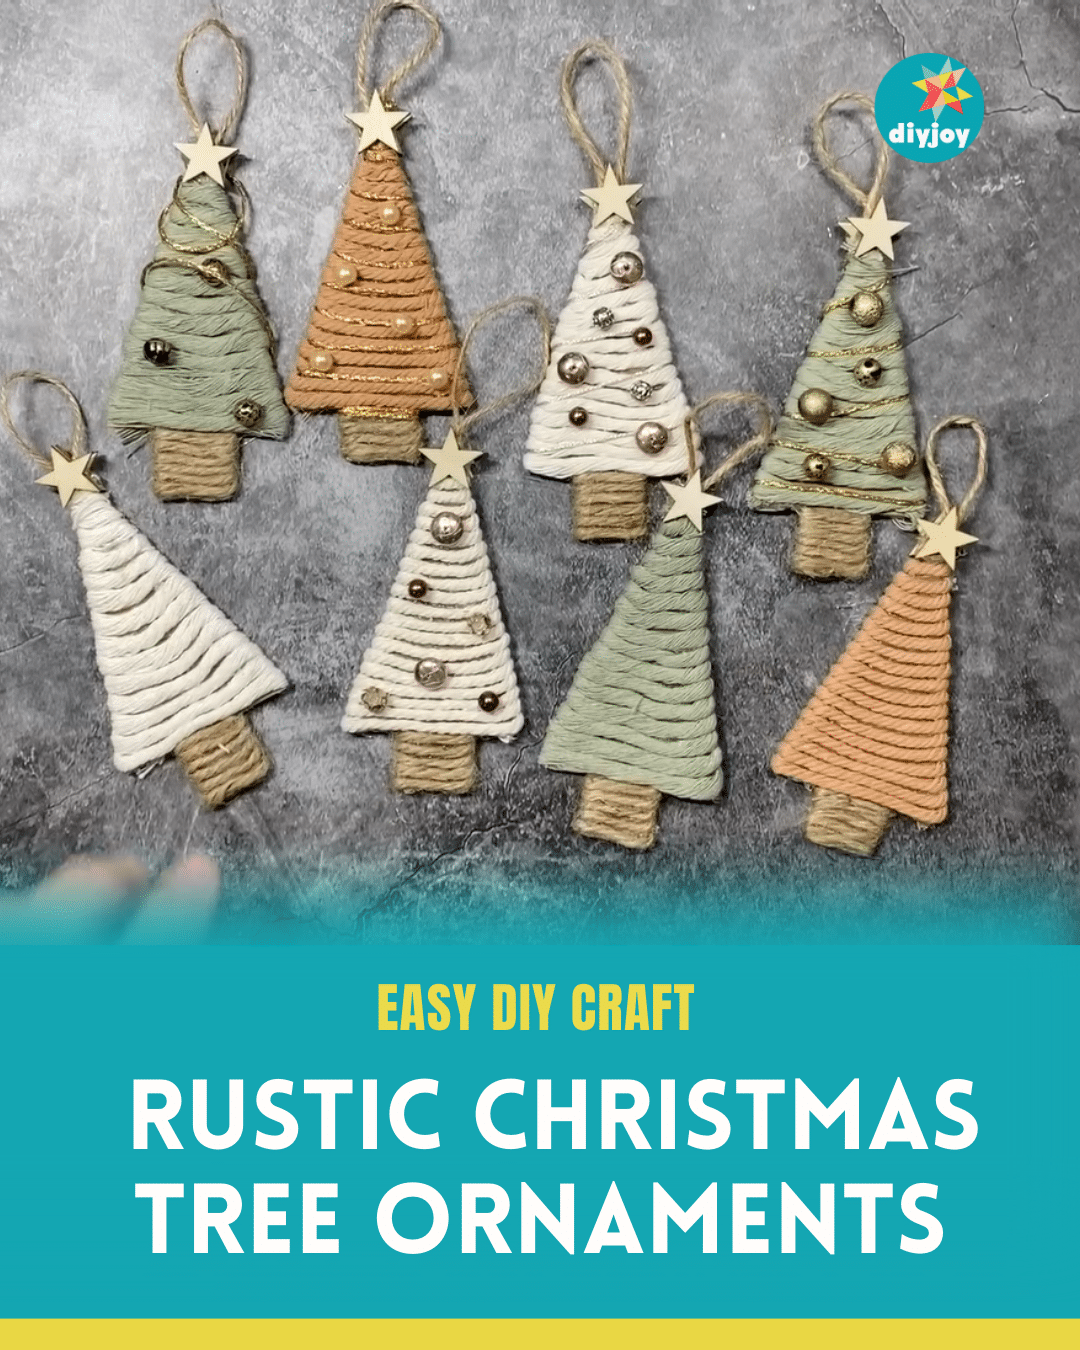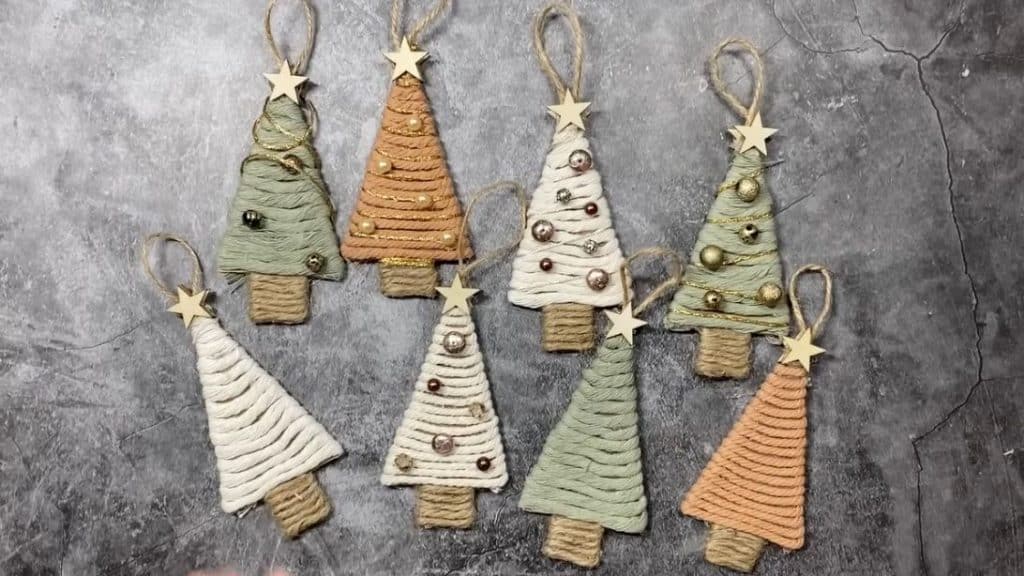
Are you a fan of rustic designs? Do you have a minimalist house and want something that’s not very colorful for your Christmas decorations this year? If you said yes, you are on the right page! Taffleberry Lane will teach you how to make DIY rustic Christmas tree ornaments at home with just a few materials. I bet these will look lovely on your tree! Aside from using them as ornaments, you can also use them as gift-wrapping embellishments or even as pendants.
RELATED: DIY Christmas Photo Ornaments Tutorial
Most of the items you need for this project are probably already in your stash. You will only need some yarn (or macrame cord), twine, cardboard, scissors, glue, embroidery floss, ribbon, and beads (or sequins). These little ornaments are easy and quick to make and look absolutely festive! It’s a nice little project to celebrate the Christmas season. Go ahead and try it at home with your left-over materials.
Easy Rustic Christmas Tree Ornament Materials
- beads
- wooden stars
- twine
- white macrame string
- sage green macrame string
- brick red macrame string
- gold embroidery floss
- letter size cardboard
- scissors
- glue gun
- pencil
- ruler
[social_warfare buttons=”faceook,pinterest,twitter,whatsapp”]
How to Make Christmas Tree Ornaments
Step 1:
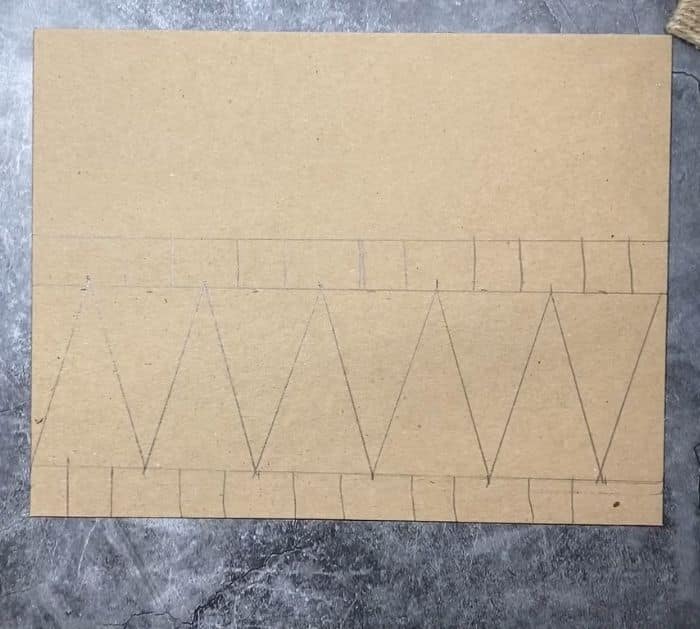
Draw a center line lengthwise. Mark off in two inch increments on the long side of the cardboard at the bottom (about half an inch from the edge), then one inch increments on the center line. Draw a line above the center line about one inch away. Connect the marks two make the trees, then draw the trunks – 3/4 inch wide. See the photo below for reference.
Step 2:
Cut each tree from the cardboard.
Step 3:
Add a strip of glue one of the trees and start wrapping the twine around the trunk. Glue it as you go. Next, wrap the macrame string, gluing it every single line.
Step 4:
Get a small string of twine and loop it. Glue it to the back of the wooden star, then glue it to the top of the tree. Add a star at the back as well.
Step 5:
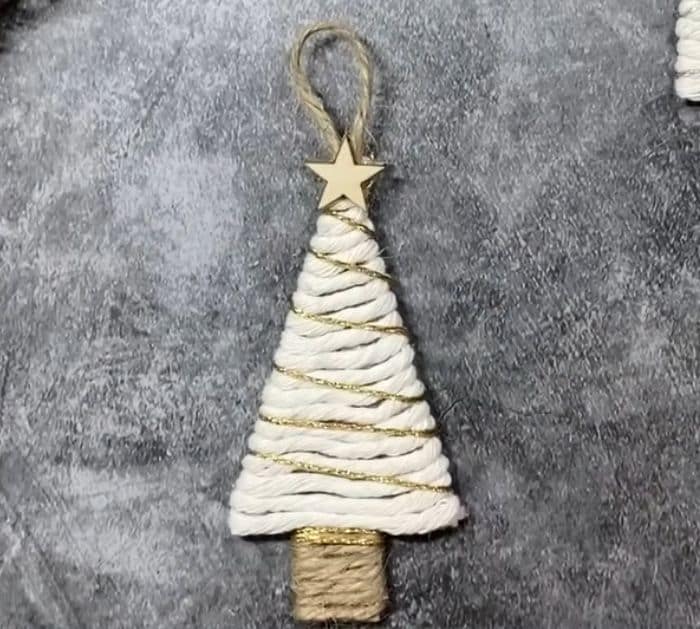
Attach the gold ribbon to the side between the two stars, then wrap it around at a diagonal and secure it to the bottom and cut the excess.
Step 6:
Glue the beads on the star.

