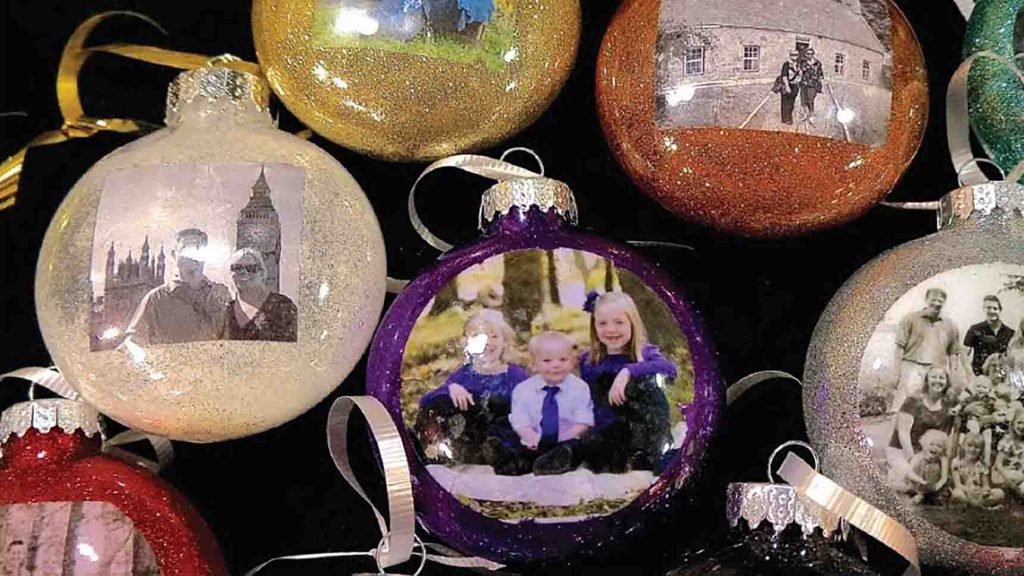
These Christmas photo ornaments from ClutterBug on Youtube are a great personalized gift you can give to friends or family this holiday season! You can also make these for your tree this year – super fun to make, easy, and creative! Grab your crafting supplies today and start making these fun ornaments by watching the video tutorial below.
Materials:
- clear plastic ornaments
- clear floor polish
- two funnels
- glitter
- paintbrush
- 2 & 1/2 laser jet photo on regular paper
Directions:
Step 1
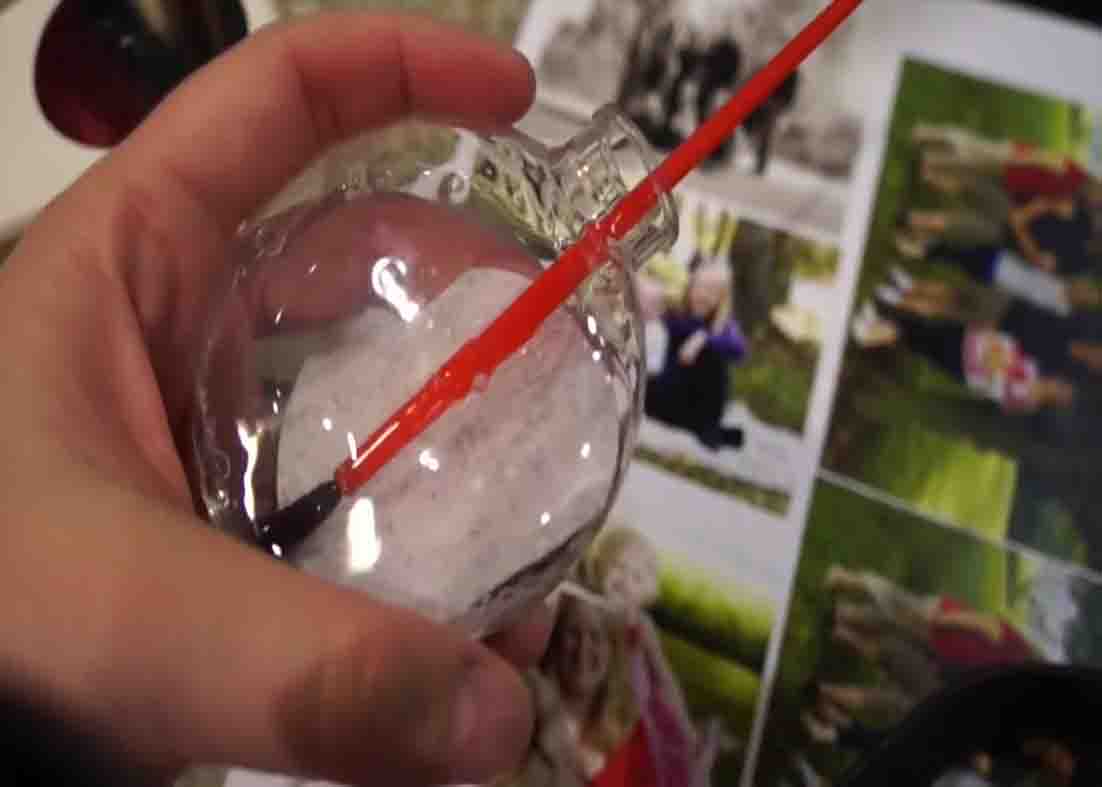
To start, pop the top off of your ornaments, then pour some clear floor polish in using a funnel. Roll your picture and insert it inside the ornament. Once it’s in, grab a paintbrush and position the picture inside making sure you’re pressing it down nicely and flat. When the picture started to look wet, pour out the floor polish, then smooth out all of the bubbles using the paintbrush.
[social_warfare]
Step 2
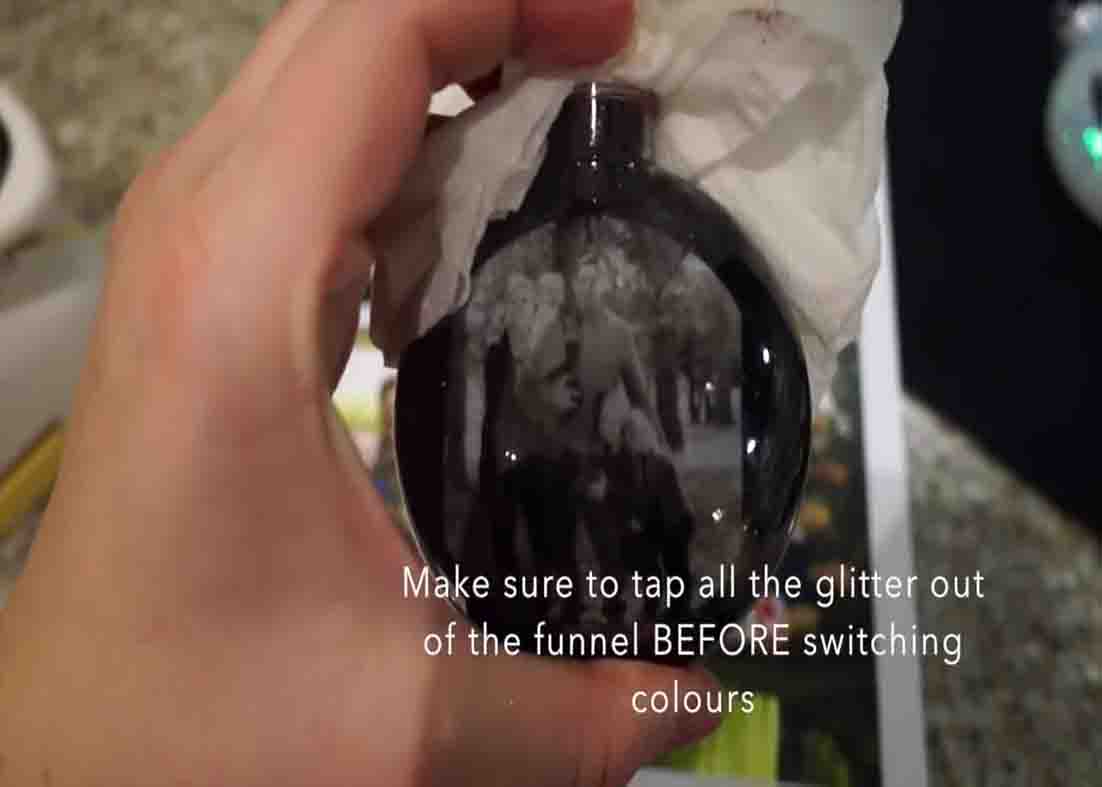
Remember not to press too hard because you don’t want to tear the picture. Next, using another funnel, fill up the ornament with glitter and shake it. (Make sure to tap all the glitter out of the funnel before switching colors.) To finish, wipe off the front to make sure it doesn’t have any floor polish on it.
DIY Christmas Photo Ornaments Tutorial


