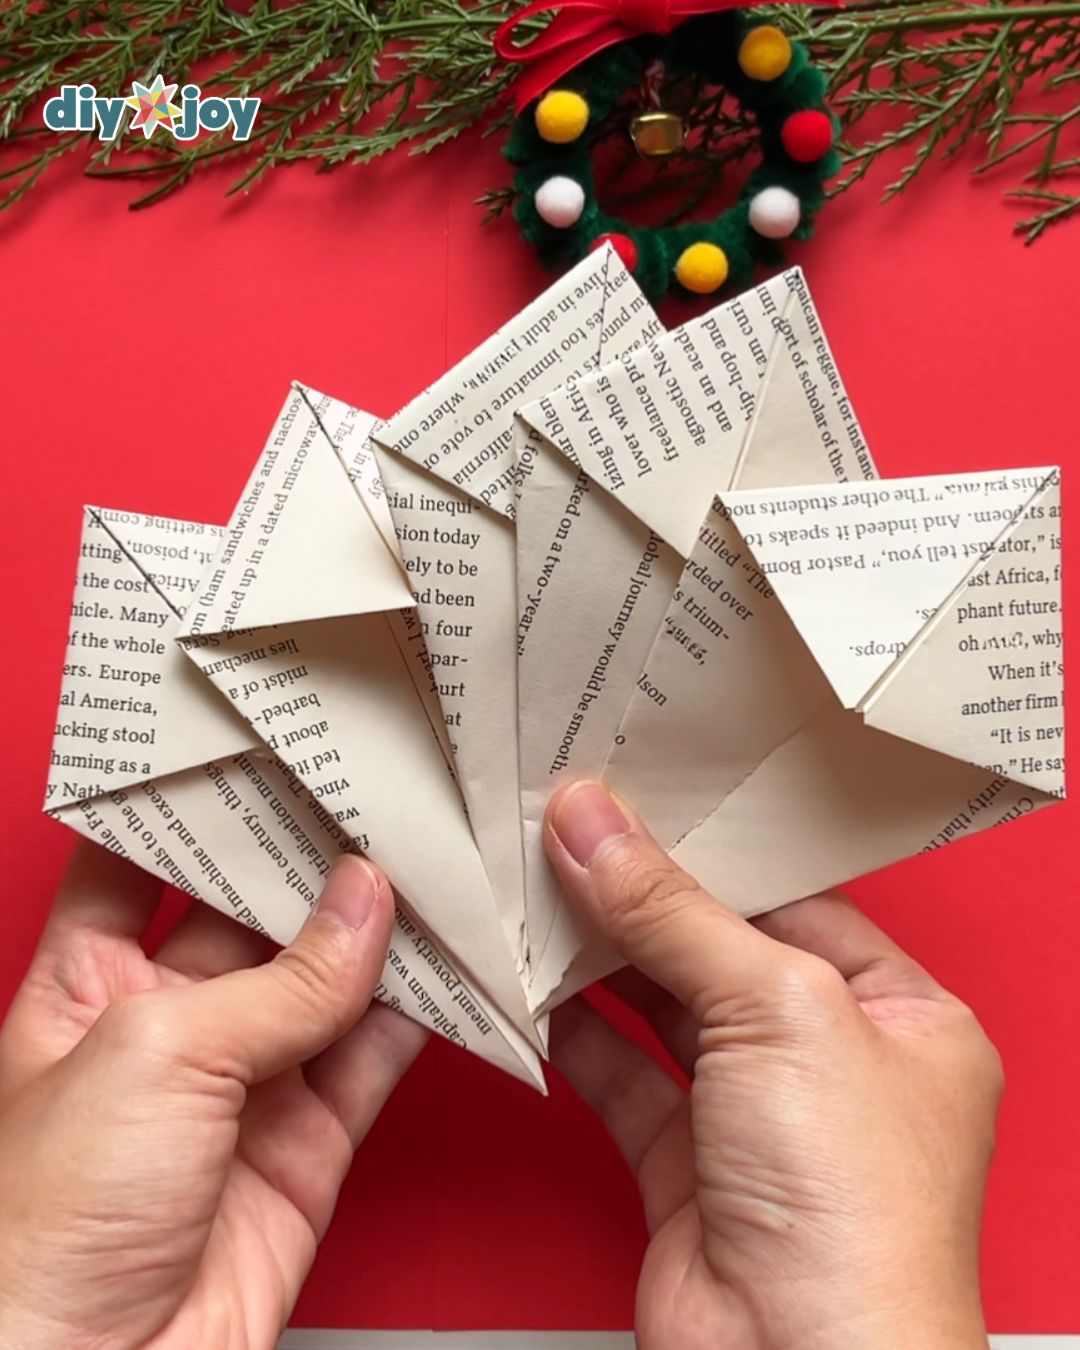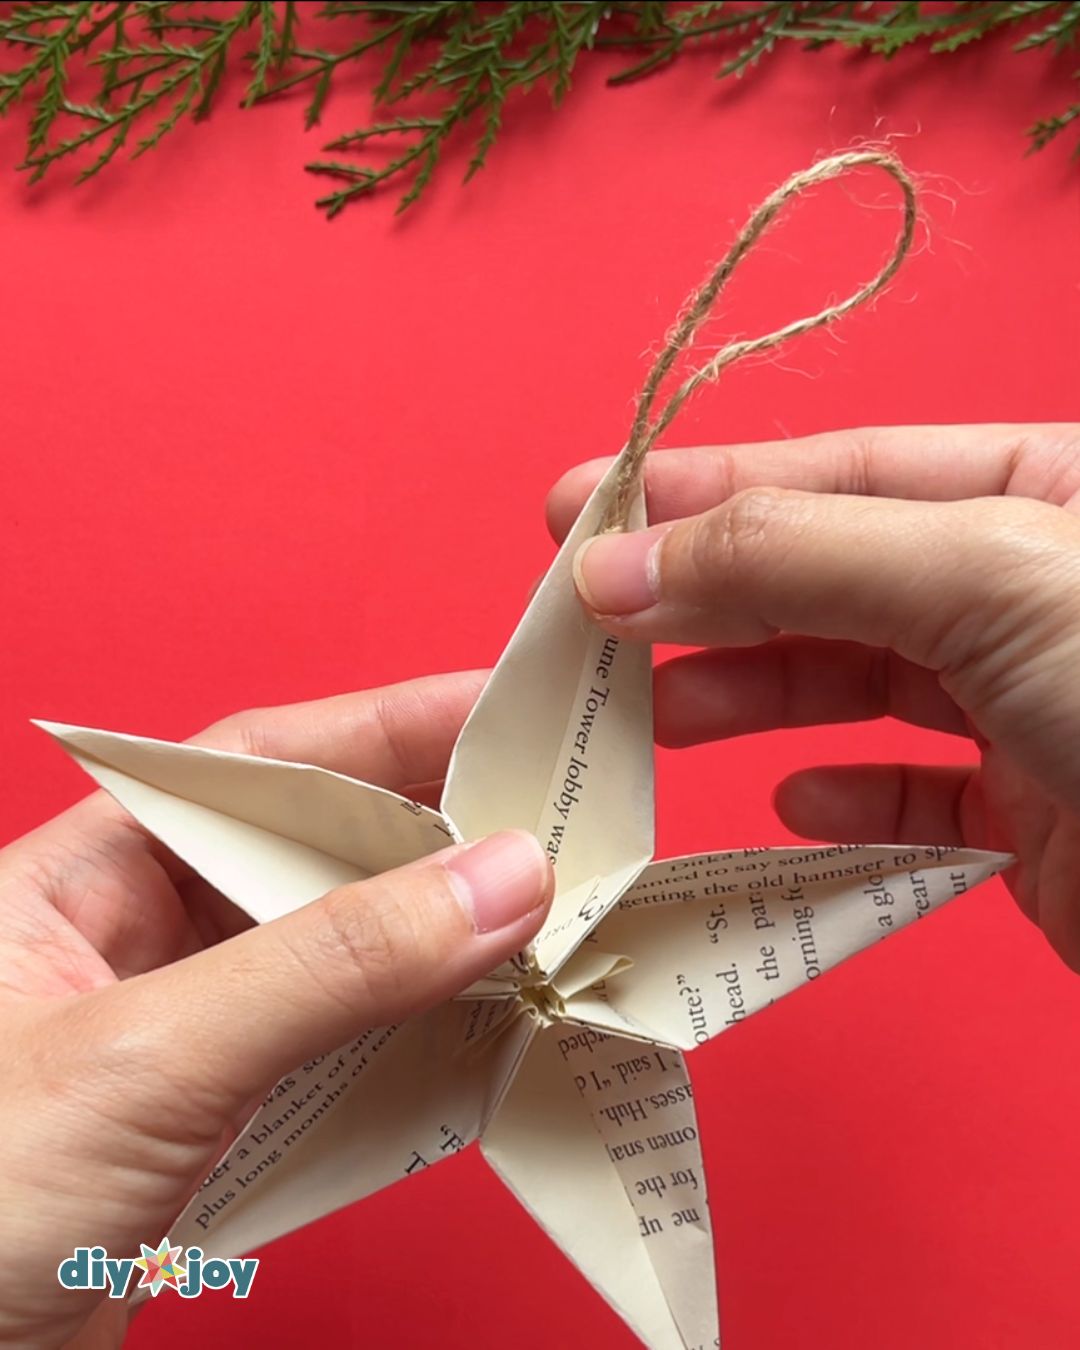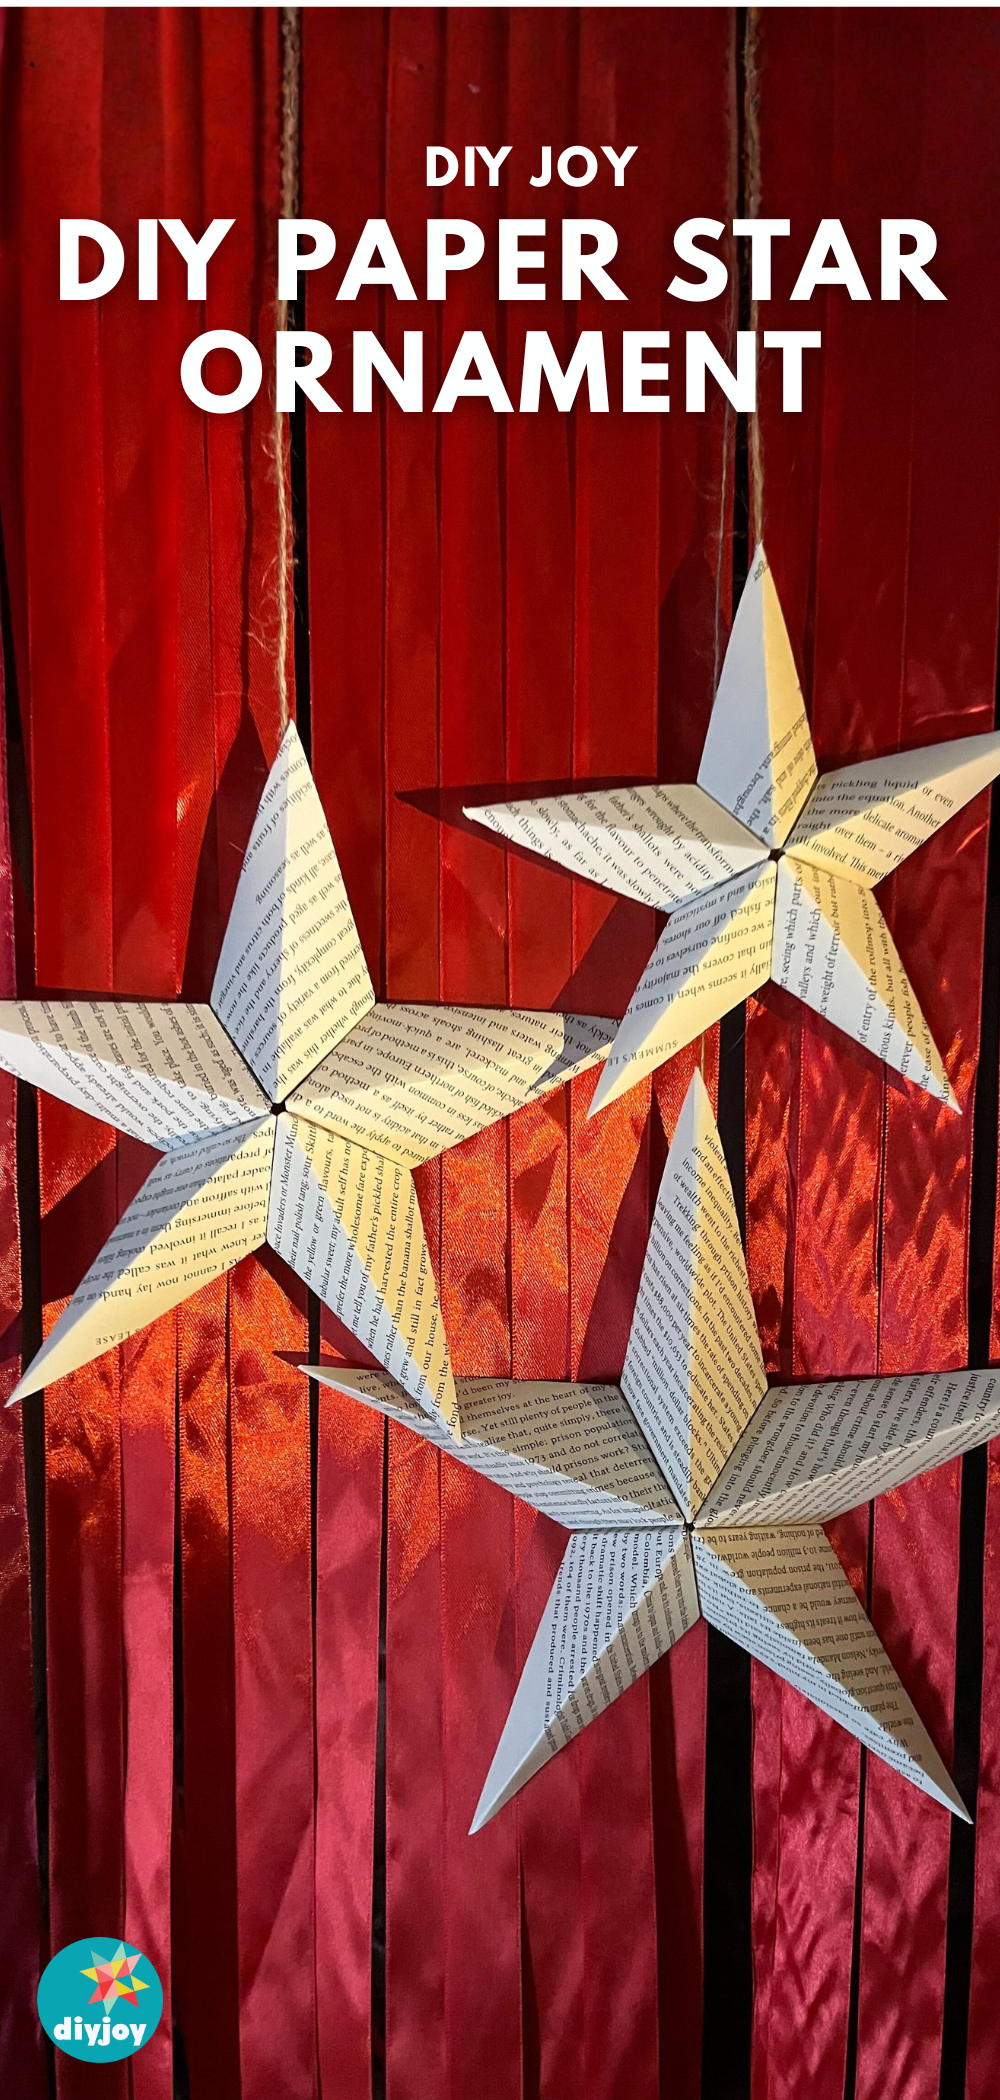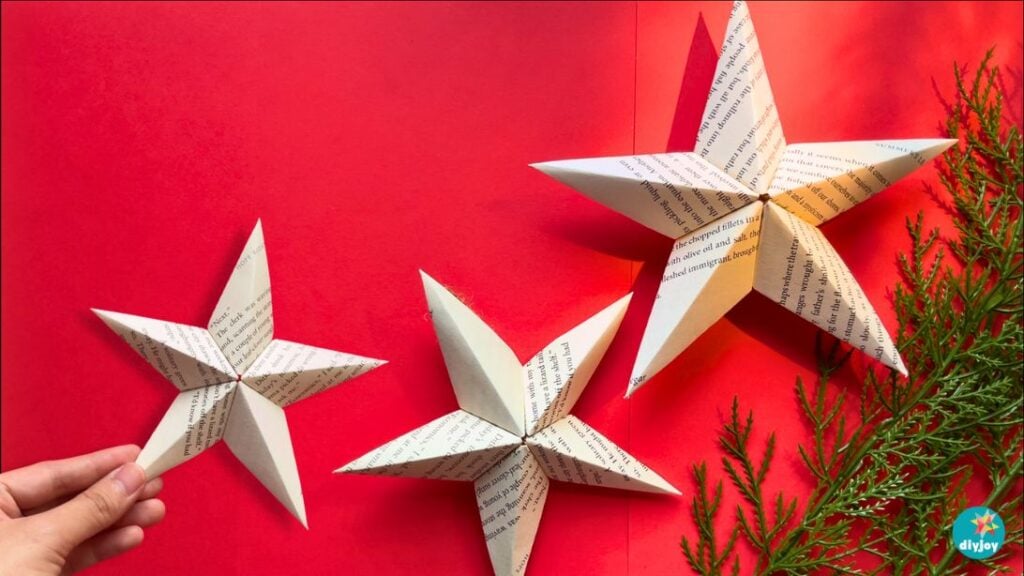
Don’t know what to do with old, no-longer-wanted books that you have? You can give them to friends, donate to charities, or turn them into beautiful Christmas decorations! This DIY paper star ornament is a beautiful 3D star that you can hang on your walls or use to decorate your christmas tree. It’s super easy to make and is totally beginner-friendly!

RELATED: 7 Cheap & Easy DIY Ornaments to Upgrade Your Christmas Decor
We had plenty of old books at home that are just collecting dust. Nobody wants to read them and some pages are already stained. So, as a creative, I took all of them and decided to turn them into home decorations. I got my creative hands ready and started crafting! One of the book page crafts that I made is the DIY Book Flower Vase. It turned out so pretty and can be used to showcase all your dried flowers or paper flowers. If you haven’t checked that out, make sure you do. I still had remaining book pages, so I turned them into this 3d paper star. I absolutely love this paper craft. It’s so easy and looks absolutely stunning.
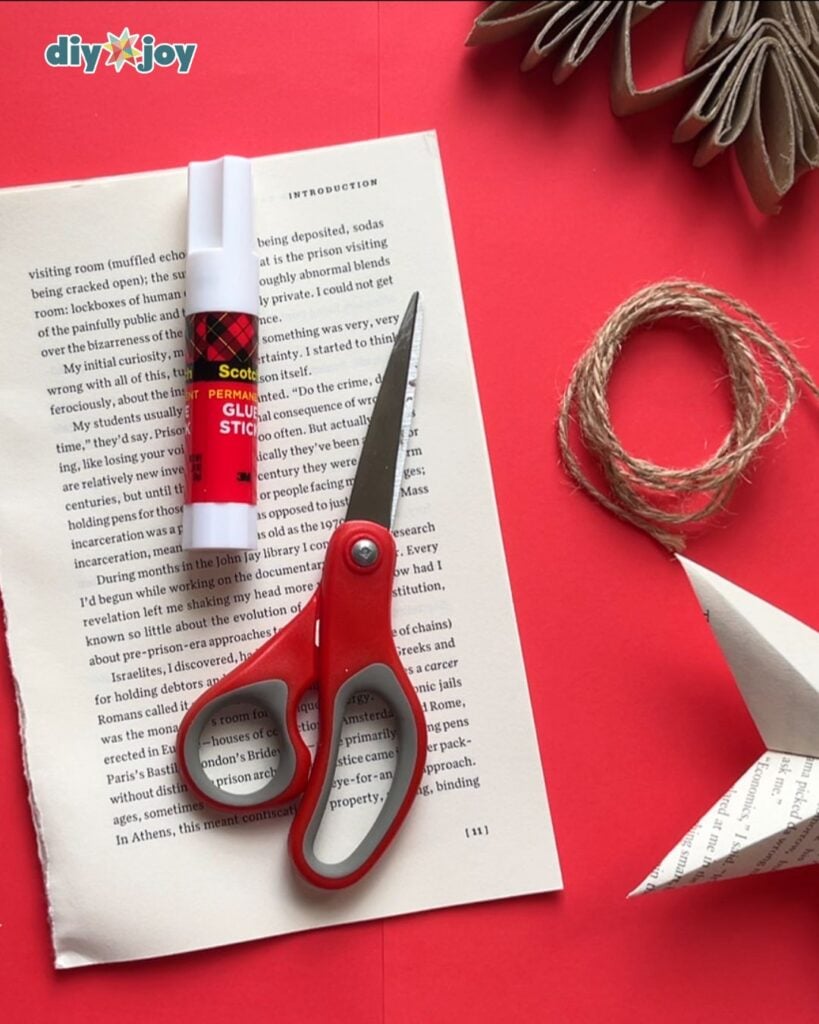
If your family or friends are looking for easy Christmas crafts to make this year, this project is definitely it! It does not require a lot of materials. Just book pages, scissors, and glue. I bet you will all have fun making these paper stars. Keep on reading or watch the video below for the full instructions. Happy crafting!
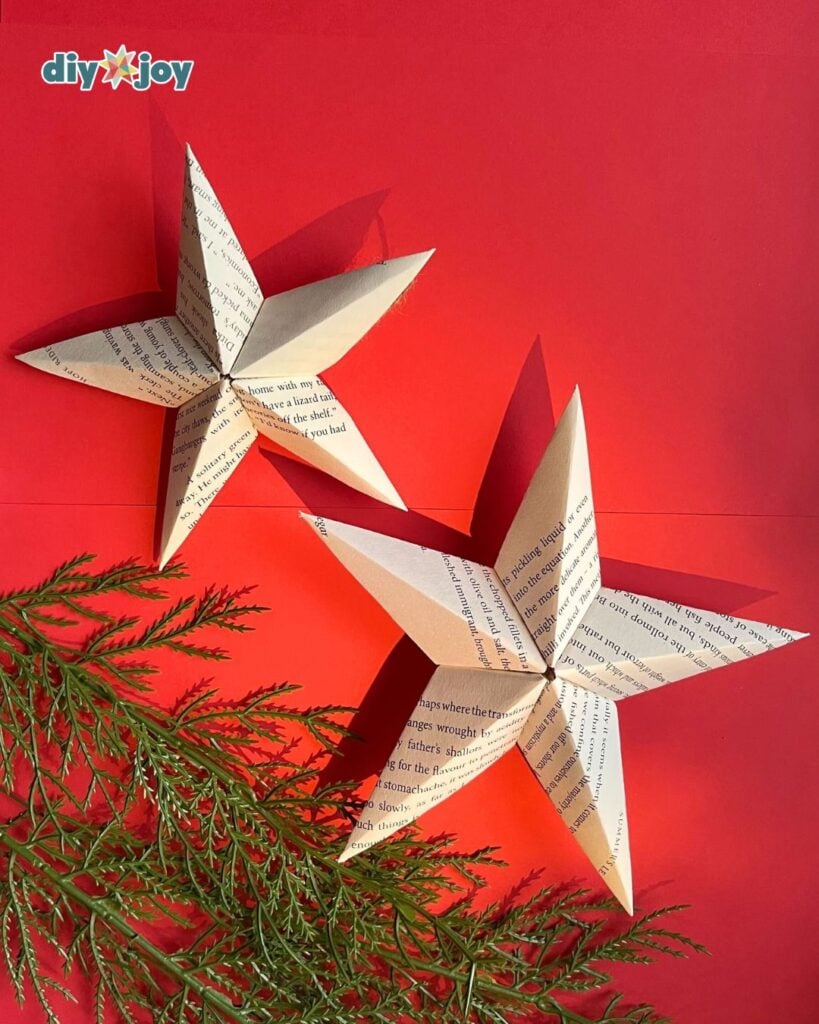
How to Make a Paper Star
Learn how to turn book pages into a 3D star with this easy step-by-step tutorial.
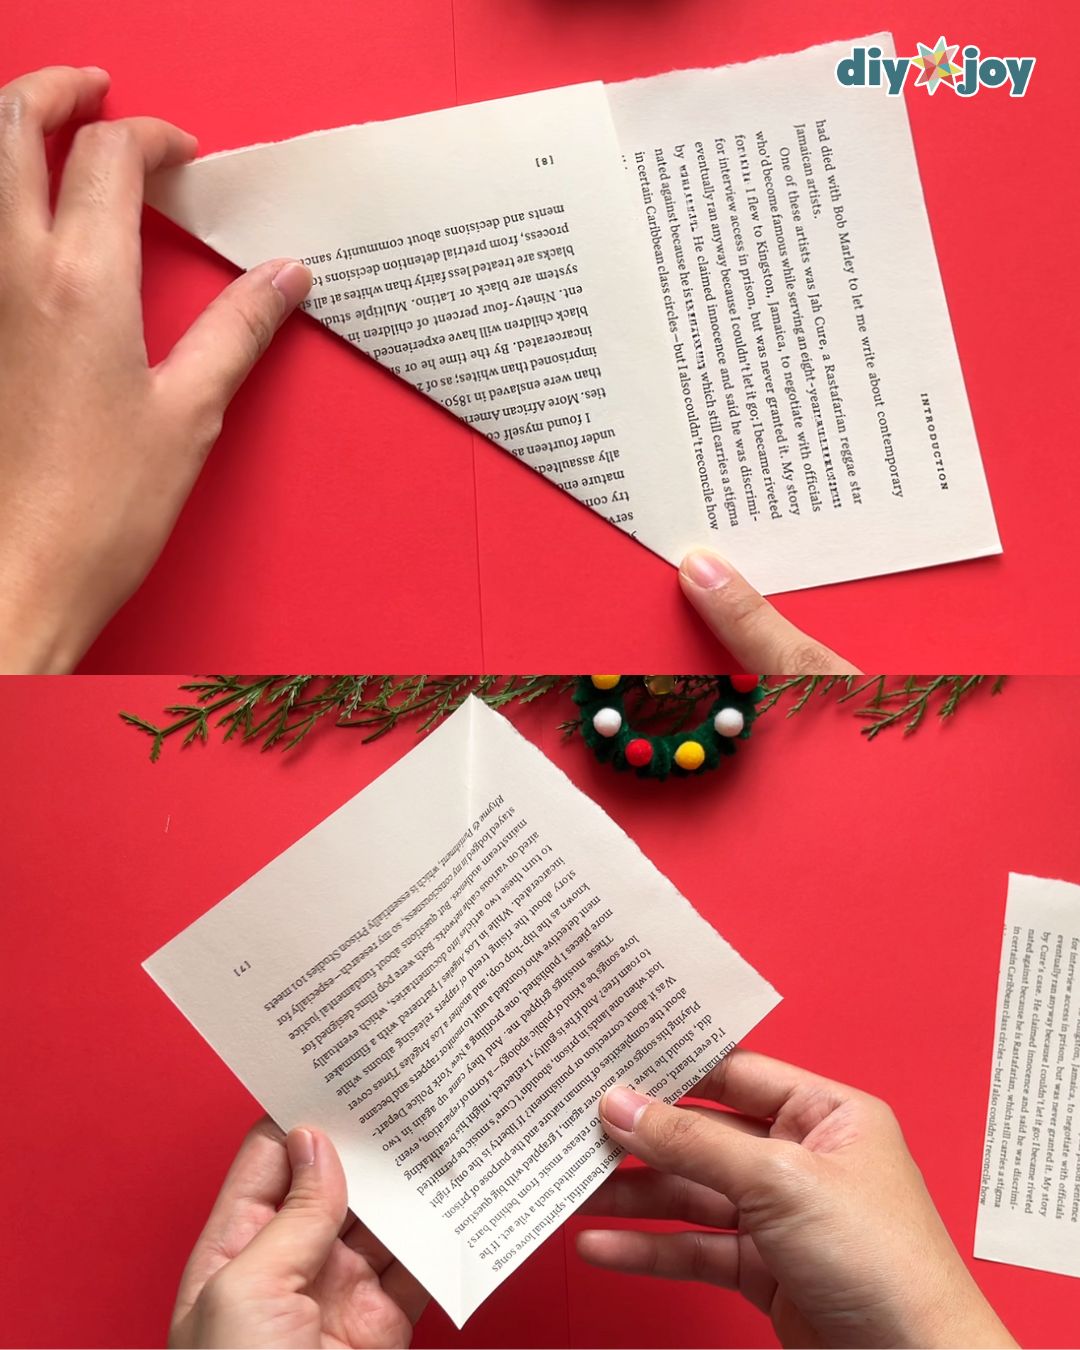
Making a square
Fold the corner of a book page to the other side to make a triangle. Cut the excess.

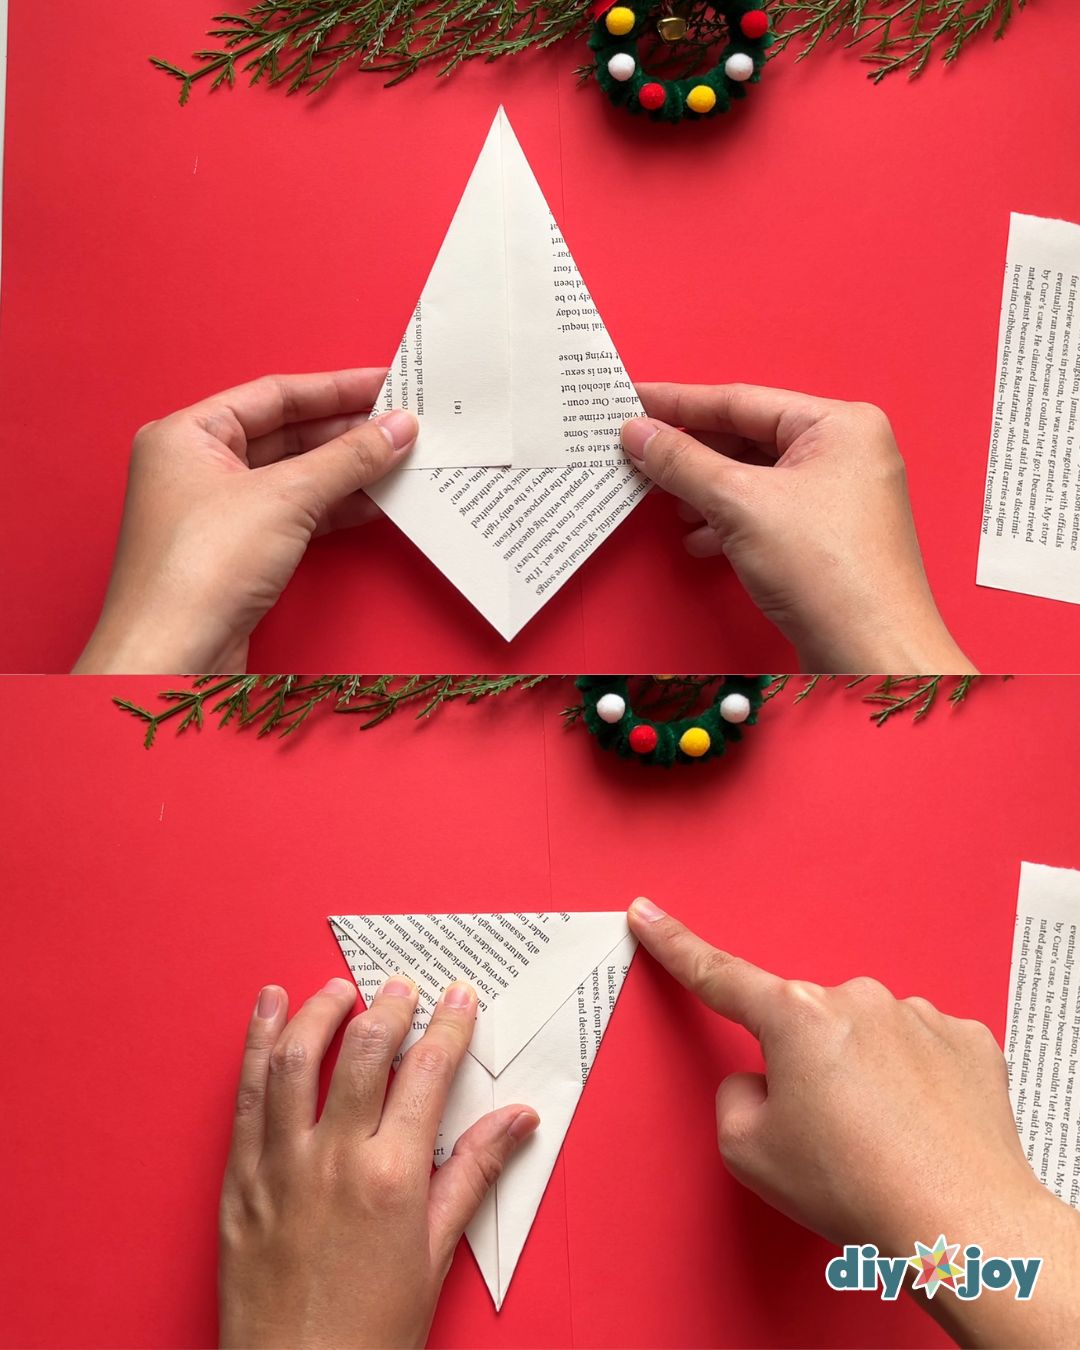
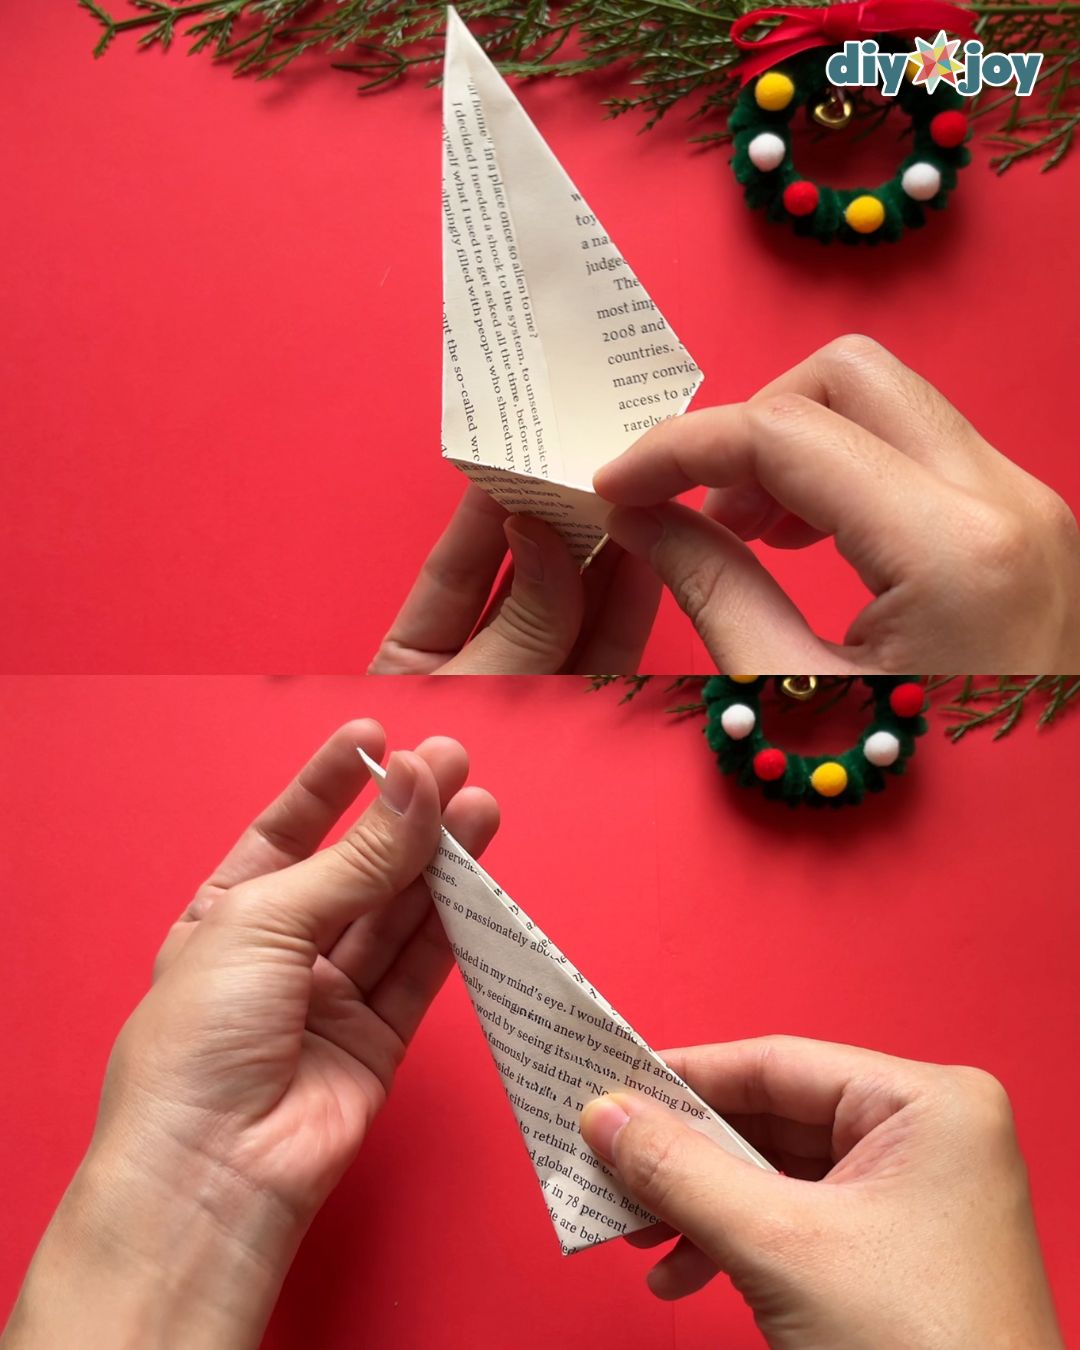
Fold the sides toward the center. Rotate then fold the top part.

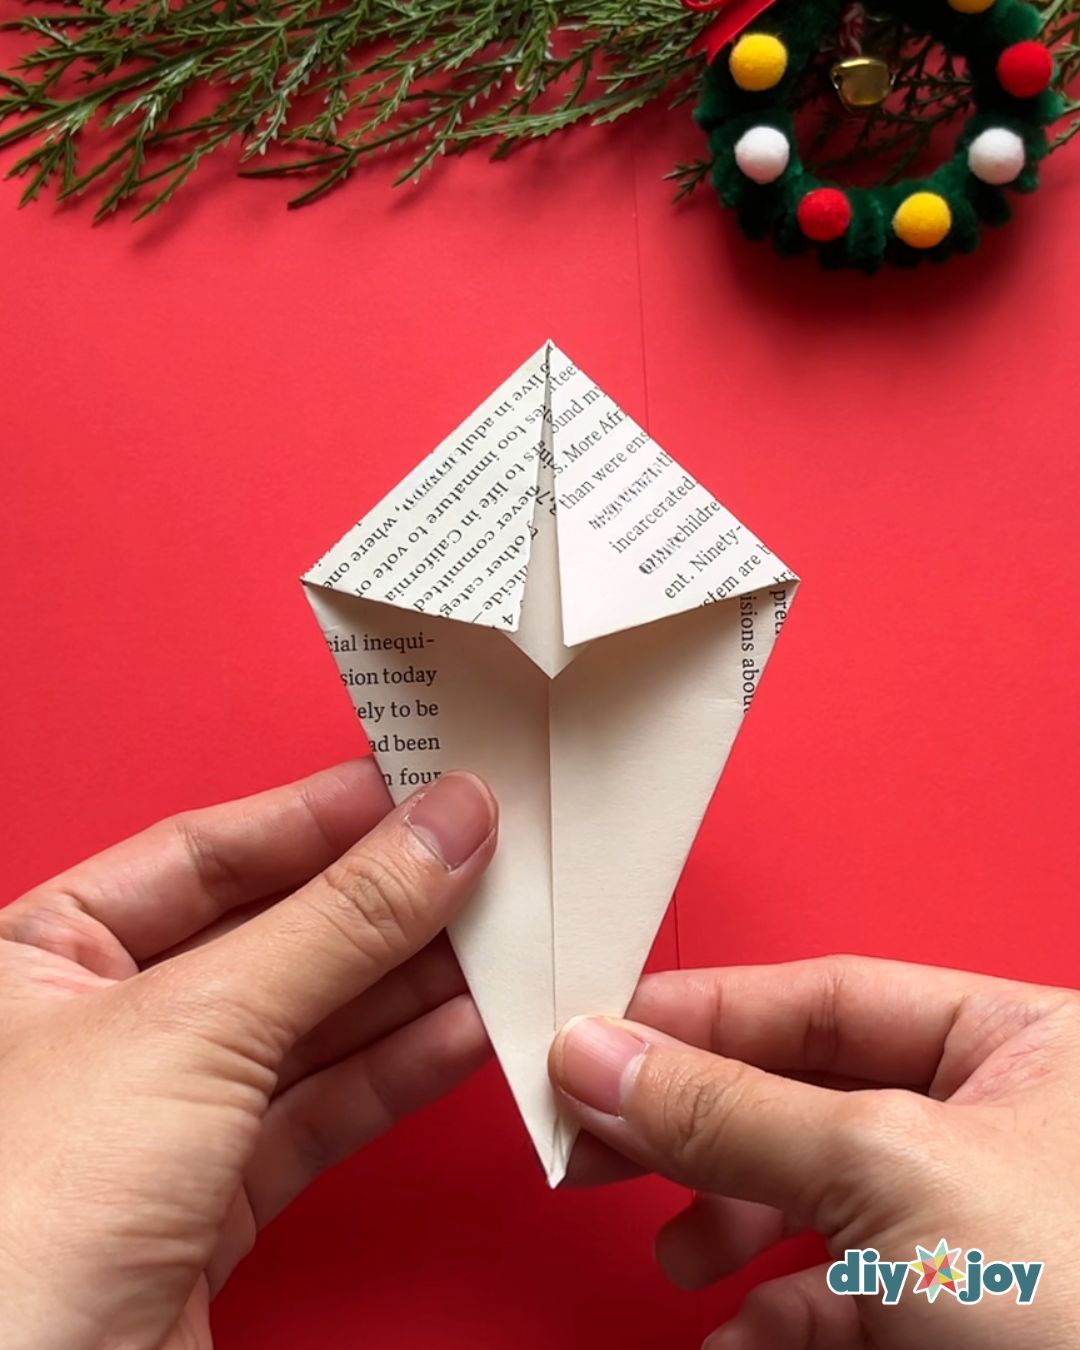
Fold the top corners toward the center.

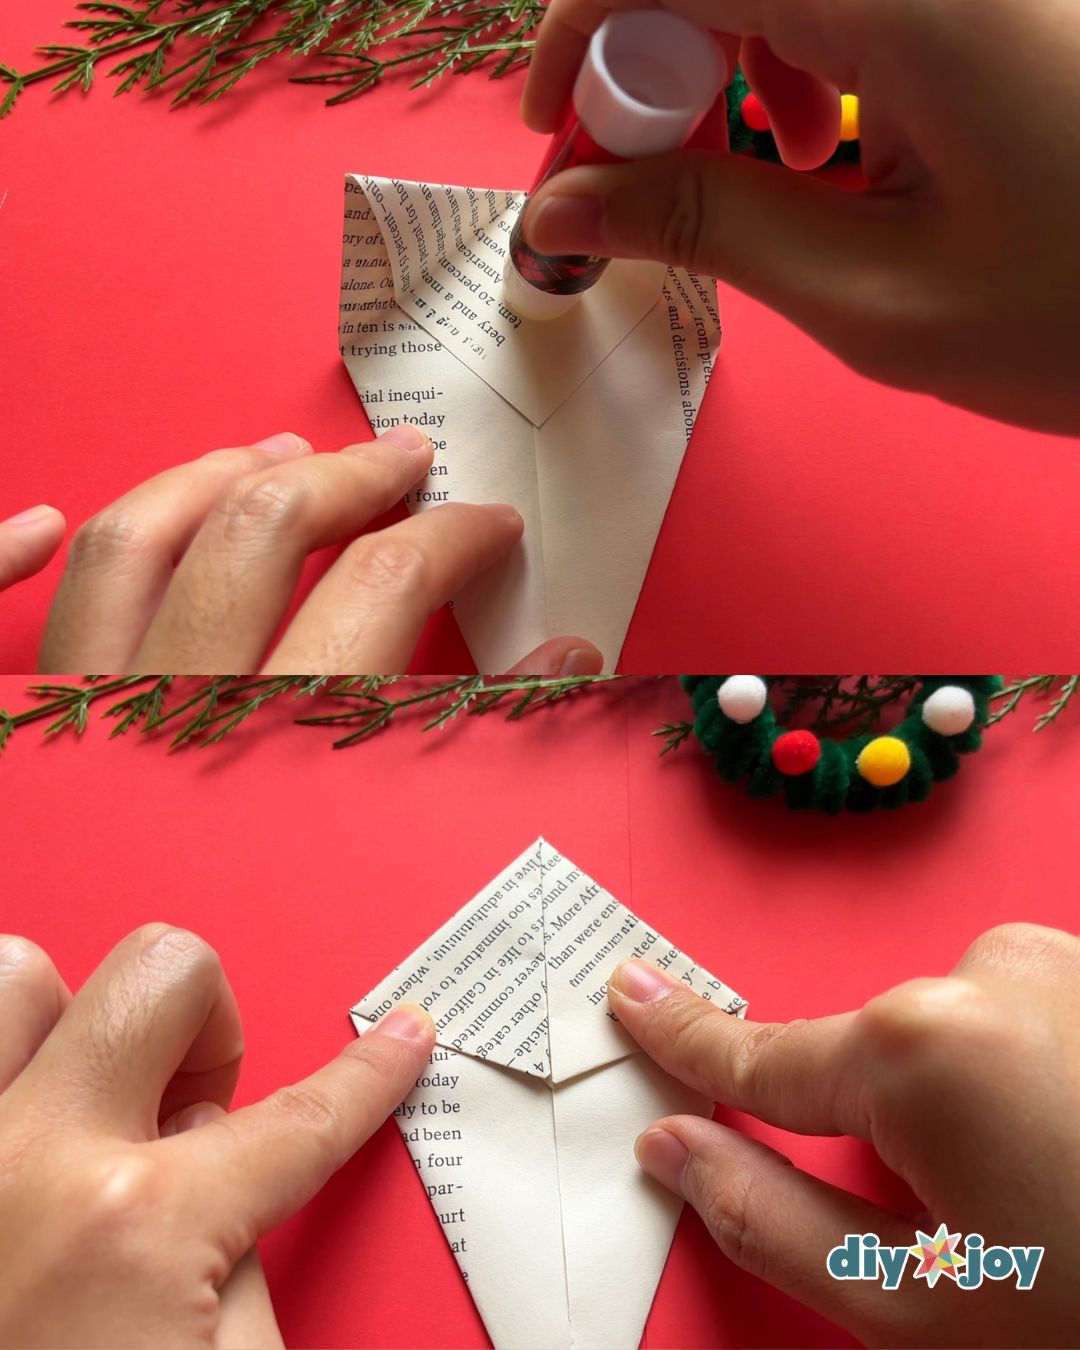
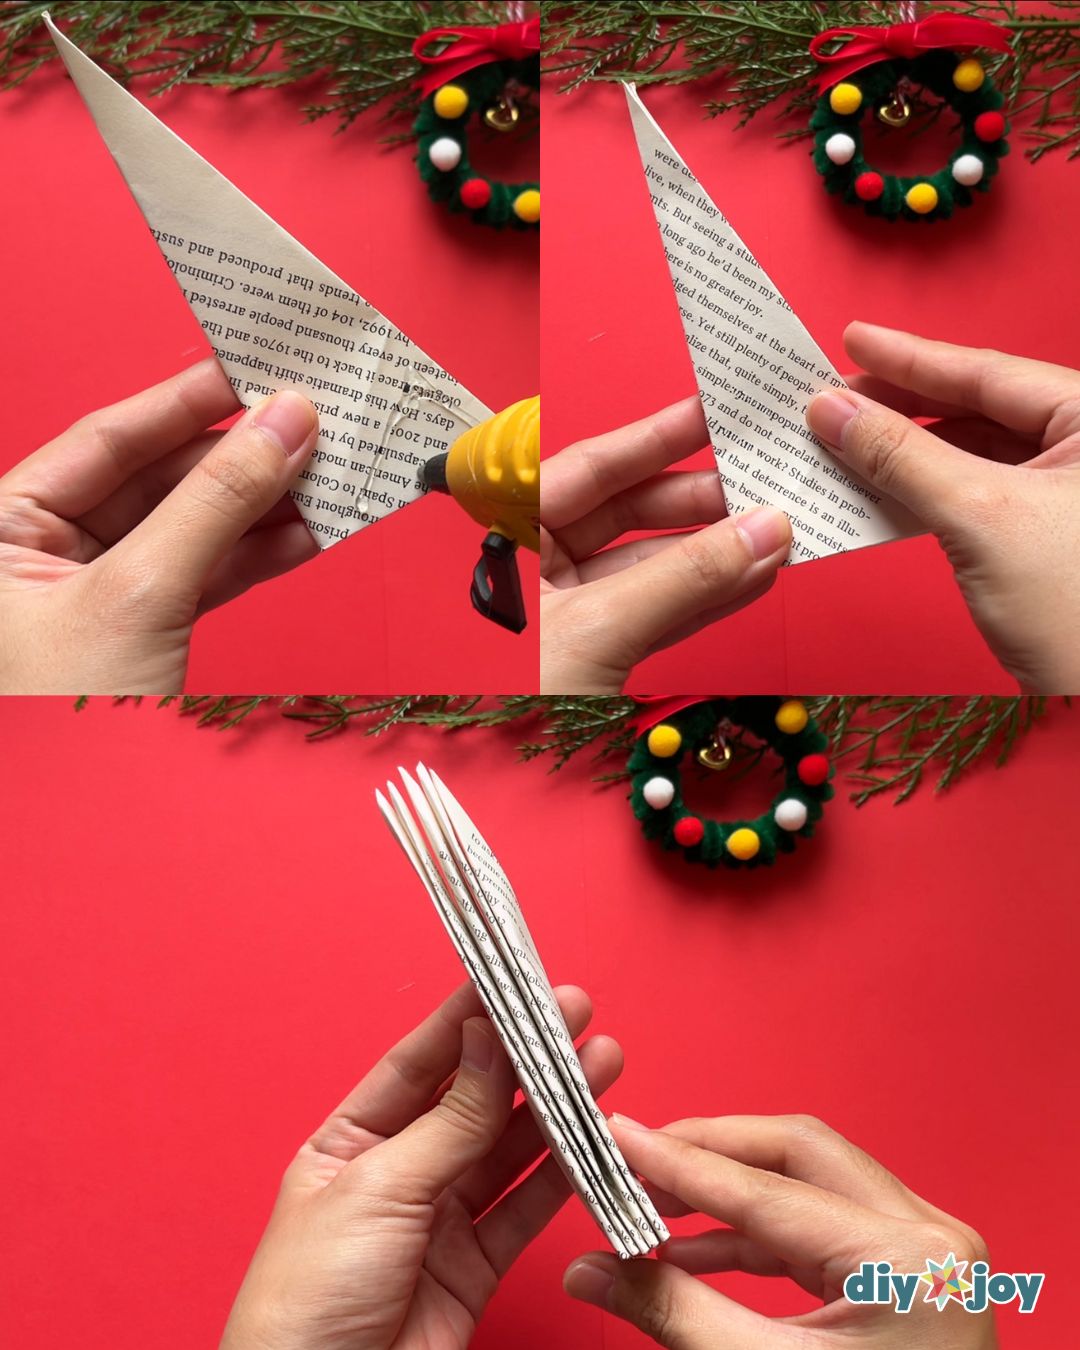
Unfold the top part. Apply glue to keep the folds in place.

Make 5 pieces.

Take one piece, unfold the bottom part, then flatten. Repeat with the other pieces.

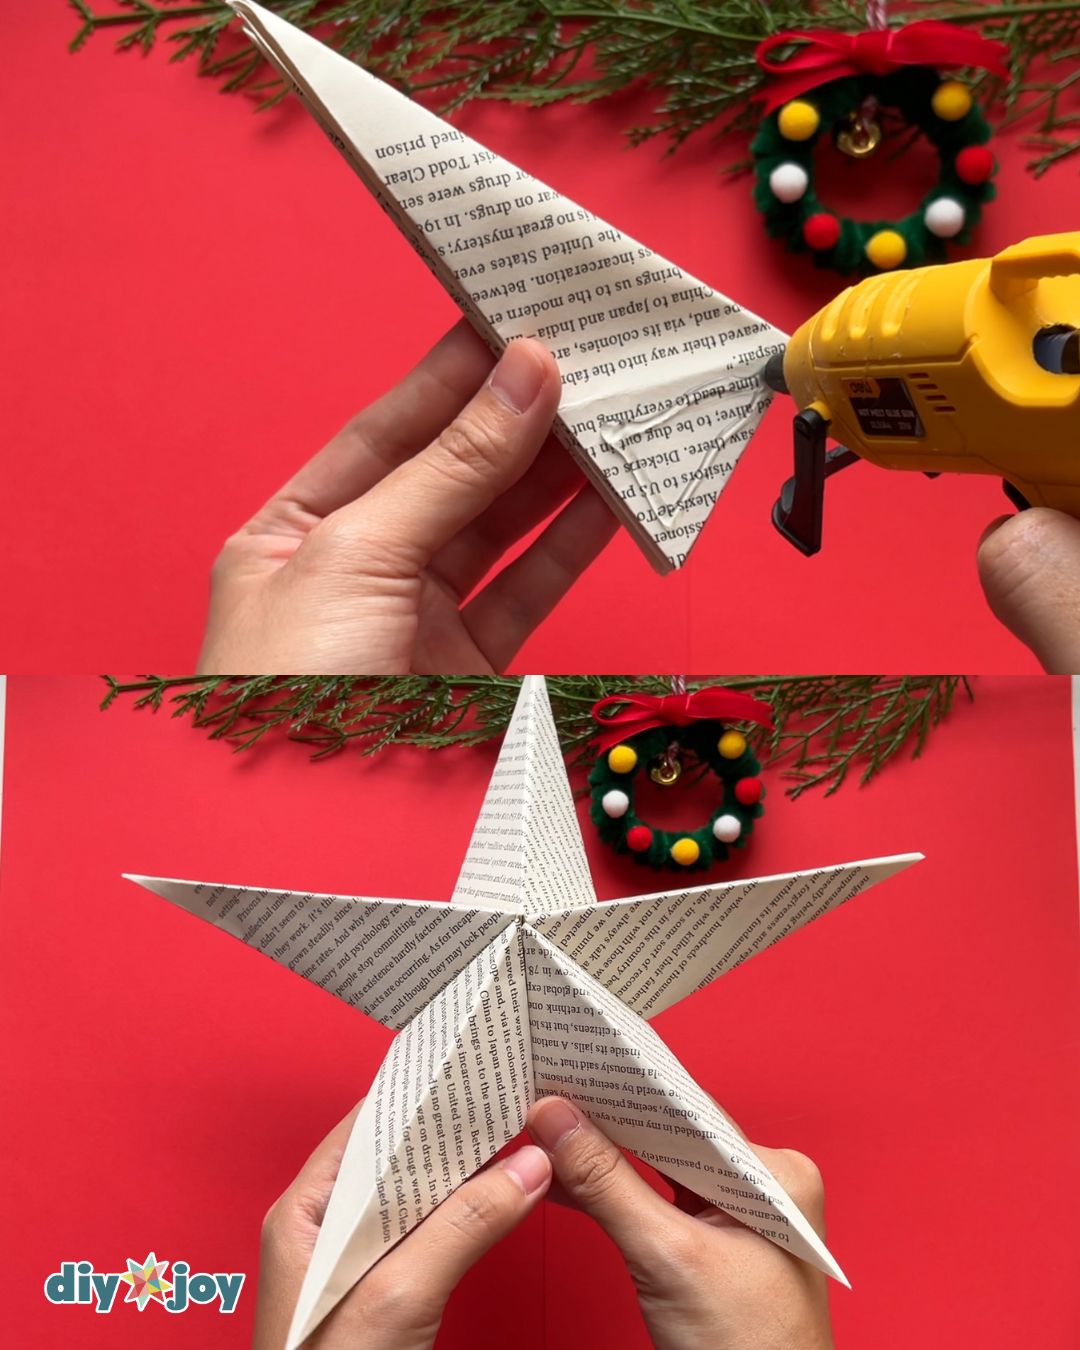
Glue the pieces together.

Glue the two ends together to make a star.

Add a string for hanging.

Tools
- glue gun
- scissors
Materials
- old book pages
- string or jute twine
- glue stick
Creative Ideas and Variations
- Paint. Make colorful stars by painting the book pages.
- Decorate. Add glitters, beads, sequins, ribbons, or cut-out paper to design your stars.
- Variety. Make stars in different sizes for variety.
![]()
Crafting Tip
Fold the paper as flat as you can. Use a bone folder to make sharp creases.
