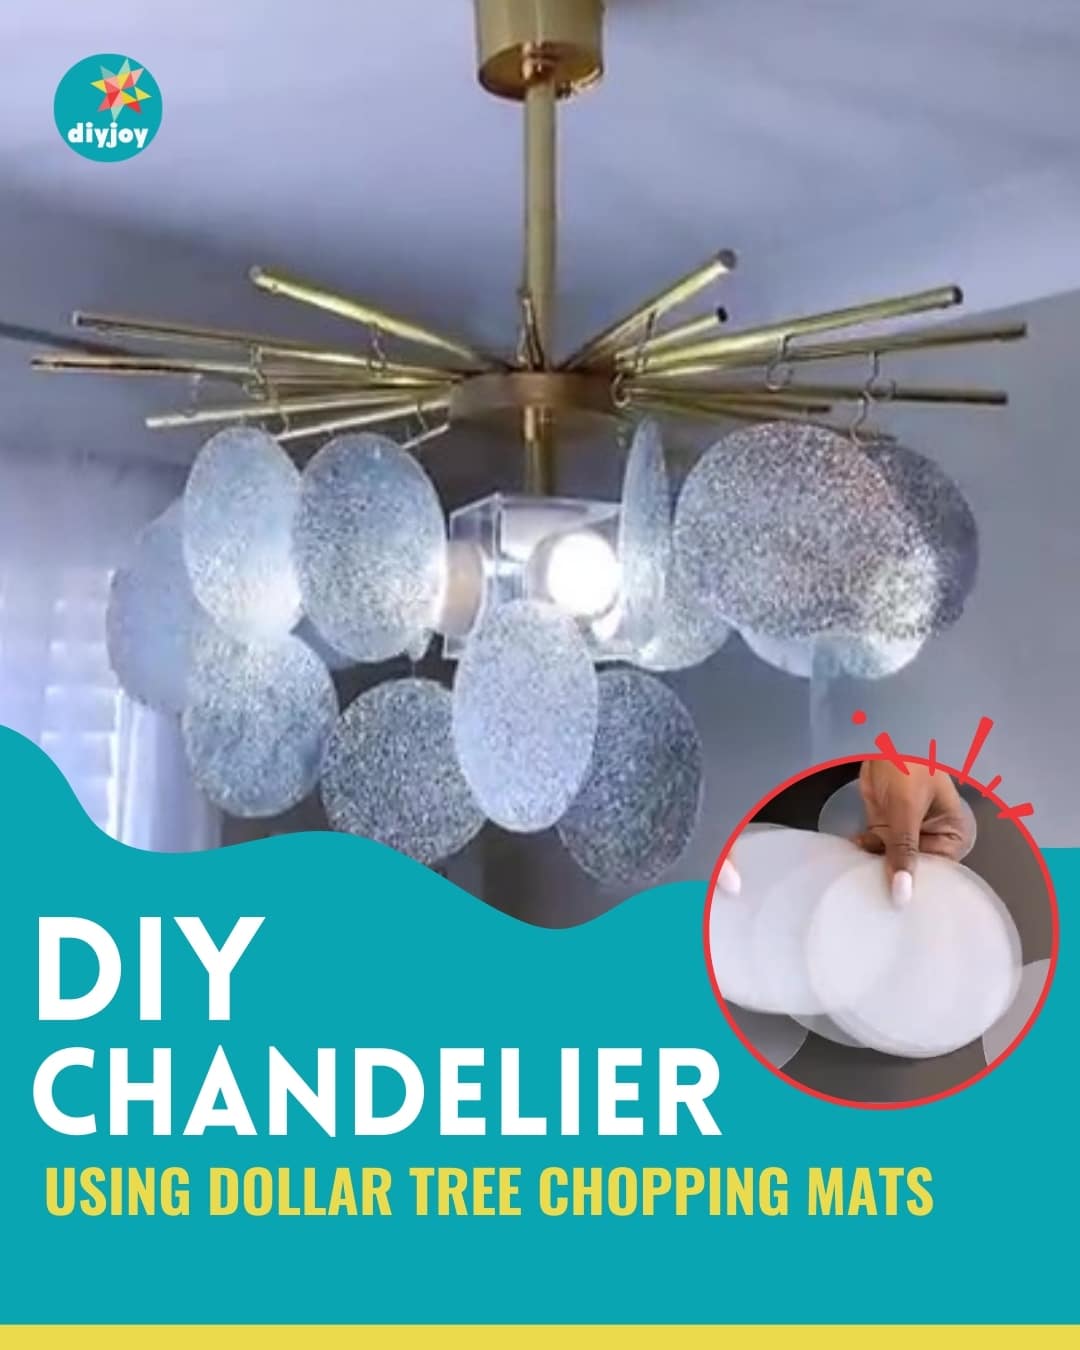
Who says you need to spend a ton of bucks to make your home beautiful? This DIY chandelier from Yoduvh Essentials is a gorgeous lighting fixture you can make without breaking the bank. Can you believe you’ll only need Dollar Tree items for this DIY? It’s so simple to make, yet the outcome is so beautiful.
RELATED: DIY Chandelier Cage Using Chicken Wire Tutorial
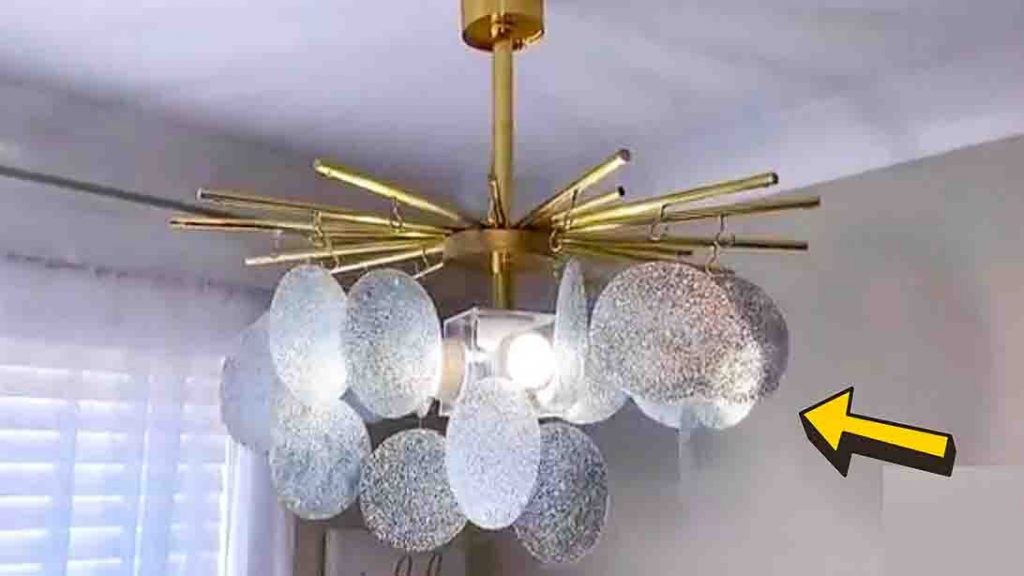
This chandelier looks like something you can buy from expensive stores, and no one would ever believe it’s made from chopping mats. Make this a weekend DIY with your family or friends today! Watch the video tutorial below to learn the step by step instructions.
Materials:
- 3 packs of chopping mats
- wooden dowels
- lid from an empty container
- empty masking tape roll
- glitter
- mod podge
- cup hooks
- fishing line
- zip ties
- gold spray paint
- gold contact paper
Directions:
Step 1
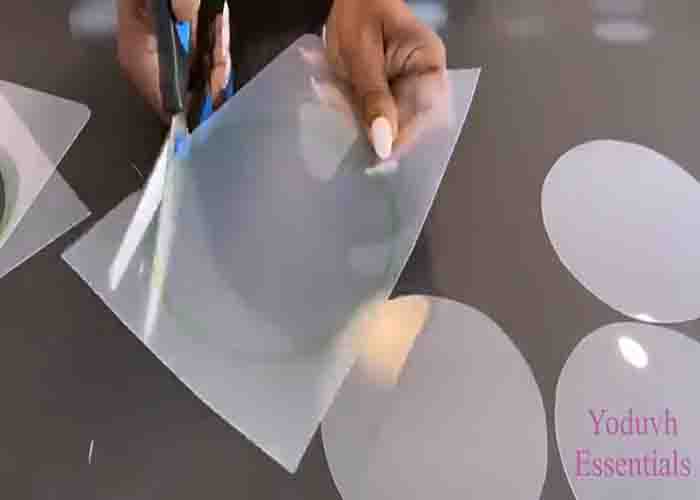
Trace the circles in the chopping mats using a lid from an empty can, then cut them out. Next, cover the rough side of the circles with gloss Mod Podge, then sprinkle some glitter over them. Let them dry for one hour. After this, shake off the excess glitter, then punch a hole in each circle for the hang. Set them aside. Next, cover the dowels with gold contact paper, then attach a cup hook to each. (Cover a bigger dowel as well with gold contact paper, and attach a cup hook on the top, this is going to be suspended from the ceiling holding all the weight.)
[social_warfare]
Step 2
Now, spray the lid with gold spray paint, and make a hole in the middle. Place the smaller dowels around it and secure them with zip ties and hot glue. After this, attach the bigger dowel right in the center where the hole is, and secure it with zip ties and hot glue as well. Next, attach an acrylic square box to the bigger dowel in the middle (this will hold the remote control push lights). Now, hang the circles by using a fishing line. Cover the empty masking tape roll with the golden contact paper and attach it to the very top of the chandelier. Finally, mount the chandelier to the ceiling.

DIY Chandelier Using Dollar Tree Mats Tutorial