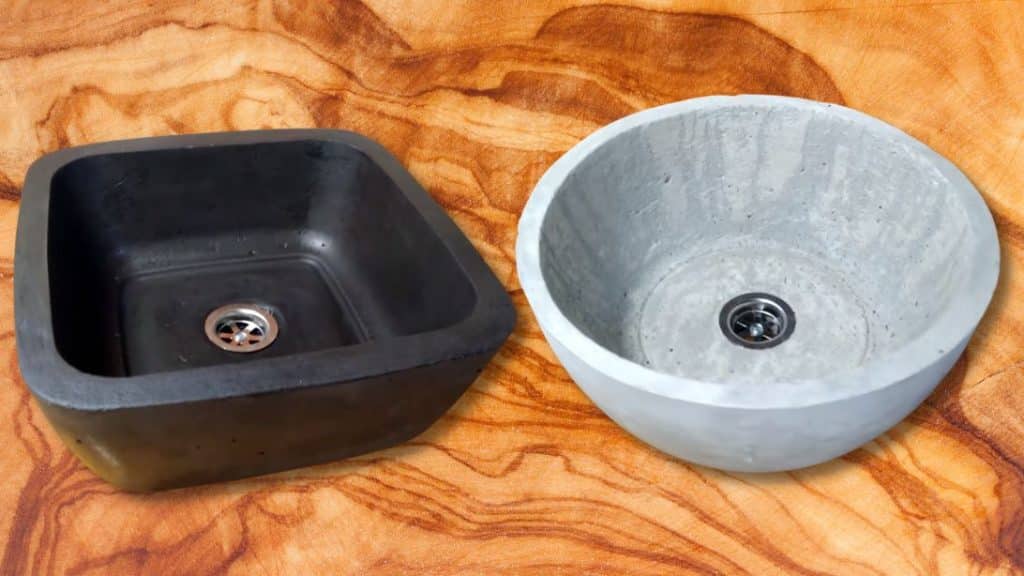
Cement finishes have become popular over the years. From walls to fixtures, a lot of people have been leaning into this kind of design to make their homes more modern. But sometimes, they don’t come cheap. So here is a DIY concrete sink tutorial by S&Vdesign that will help you achieve the look while staying within your budget. Watch the video below for the full instructions.
Materials:
- 2 same size water containers with a smooth surface
- utility knife
- metal or any object you can use as formwork that will hold one container above the other
- hot glue
- plasticizer
- microfiber (for reinforcement)
- solution dyes (black and white)
- cement
- sand
- water
- 2 screw
- grinder
- sink drain
- cement varnish
- brush
[social_warfare buttons=”Facebook,Pinterest,Twitter,WhatsApp”]
Instructions:
Step 1:
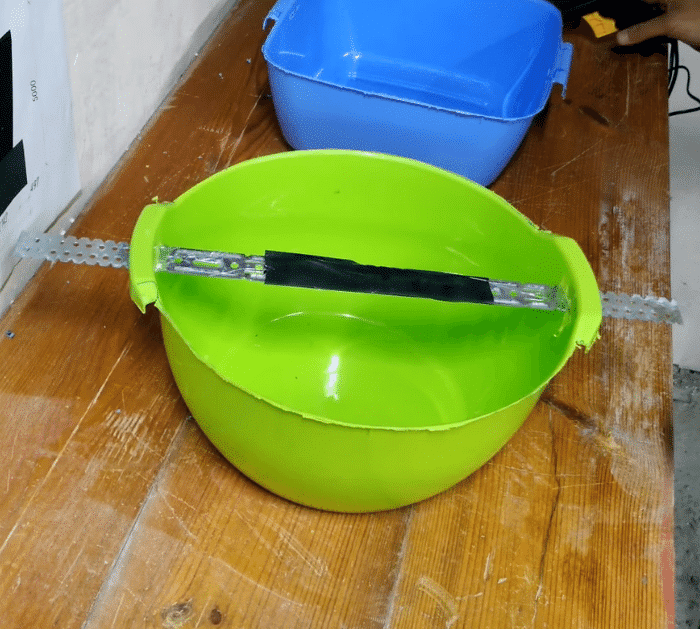
If your water container is curved on the top, cut all the sides carefully using a grinder and leave 2 handles on opposite sides.
Step 2:
Using a utility knife or the grinder, cut a small line at the bottom of the handles. Once done, insert the metal strip with both ends extended and secure it with hot glue. The ends will be used as hooks later on. This will be the formwork for the sink.
Step 3:
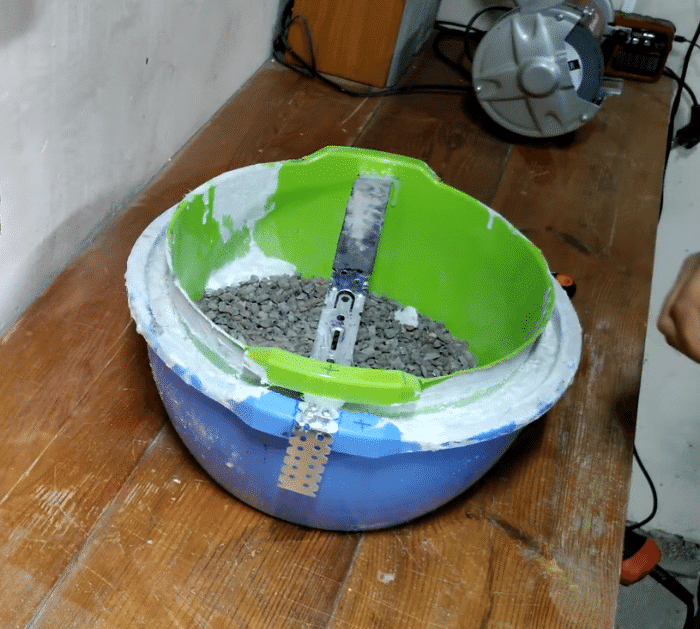
Combine plasticizer, microfiber, solution dye, cement, sand, and water in a different container. Get the other container and mark the sink bottom and the middle of the handles using a marker. Pour the solution into the container up until the mark. Once done, place the formwork on top according to the marks and secure with a screw. Place aggregates or objects on the bottom of the formwork container so it won’t move. Pour the mortar and vibrate to remove air bubbles. Let it cure for 3 days.
Step 4:
Once it’s cured, dismantle the formwork. You can use hot water to easily remove the mold. Grind the top of the mold to smoothen, then make a hole in the center for the drain. Remove the dust from the concrete sink and apply cement varnish.


