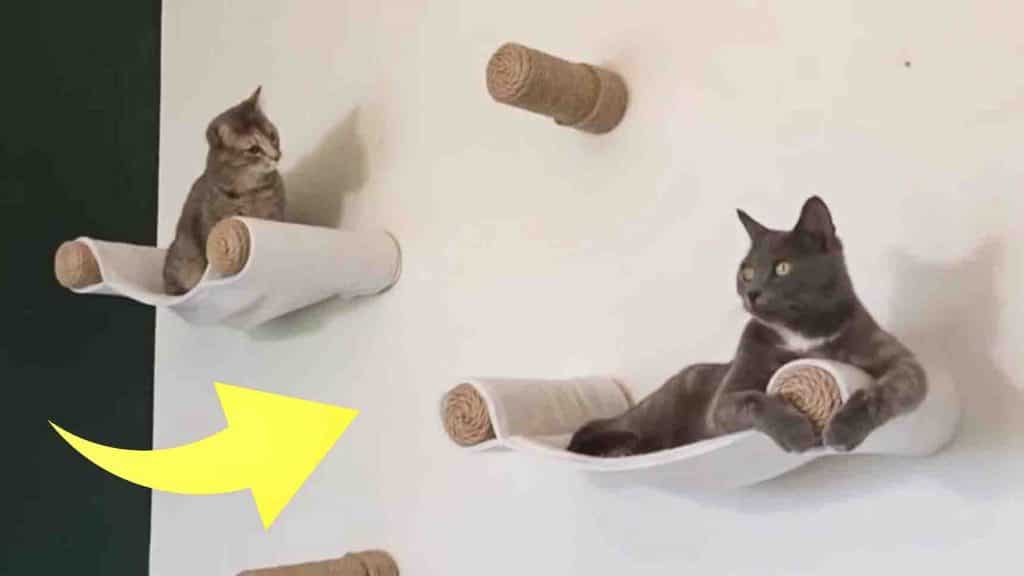
If you have a lot of cats or just simply love cats, then you will surely love this DIY cat hammock from Aaron Fixes Stuff on Youtube. It’s a pretty straightforward tutorial for you to give your cats a new hang-out place. It’s easy, fun, and cheap! Watch the video tutorial below to learn how to make this.
Materials:
- 2″ PVC pipe caps
- PVC pipe
- 1/4 x 2″ lag screw
- 1/4 sisal rope
- hot glue
Directions:
Step 1
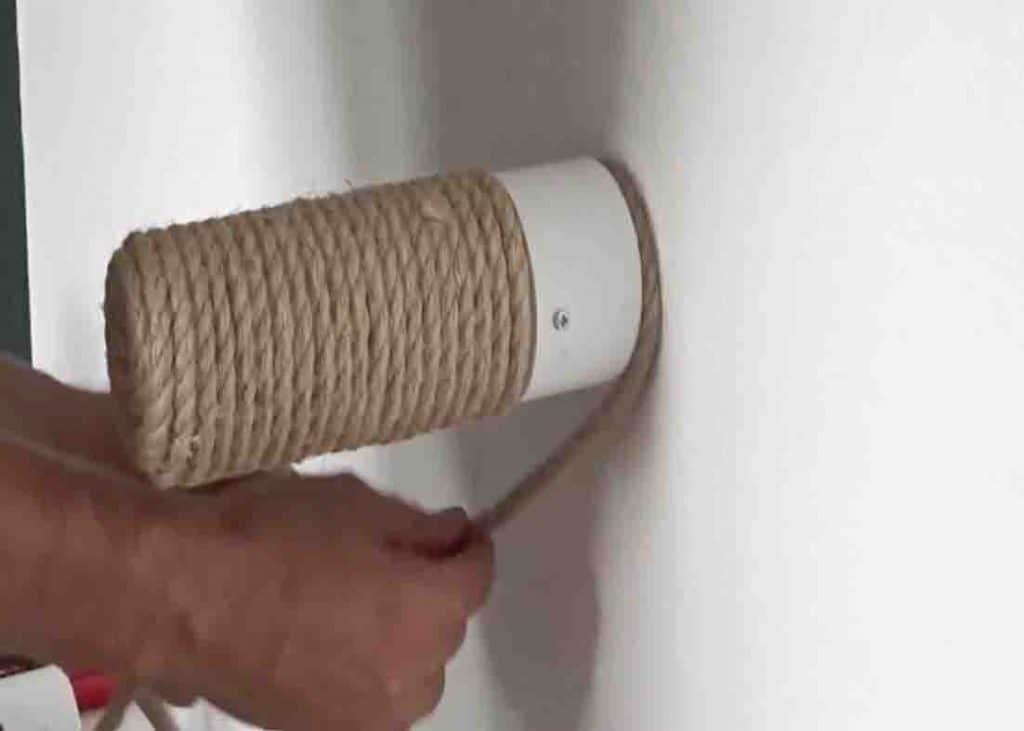
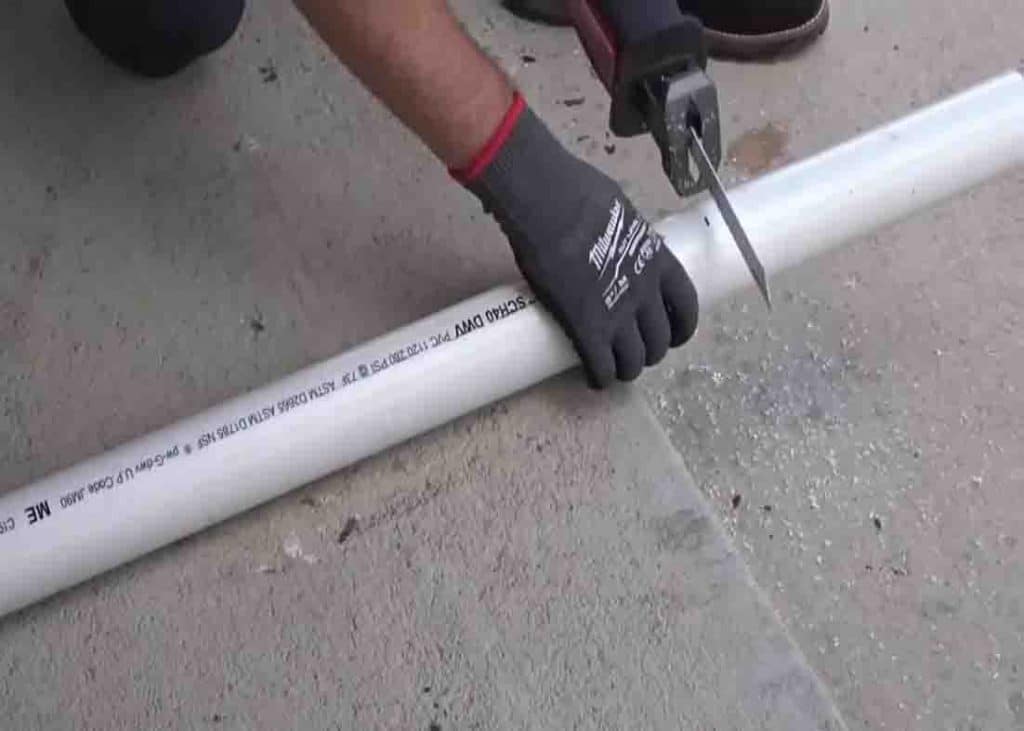
Cut the PVC pipe into varying lengths you want. (6 inches and some 12 in this case.) Next, drill a hole into the center of the 2″ PVC caps. Repeat the process for as many as you needed. After this, use a stud finder to find the stud (this is where you will drill for extra security.) Next, drill the pilot hole into the stud, then put the lag screw through the cap and into the wall. Secure a piece of rope between the cap and the wall and tightened the bolt to make sure that the rope stays secured to the wall. After this, cut a piece of cardboard of the same diameter as the pipe. Put a hole in the cardboard piece. Next, put hot glue on the edge of the rope, then stuck it through the hole in the piece of cardboard. Let it dry. Put hot glue on the perimeter of the PVC pipe, then secure the piece of cardboard into it. When twisting the rope into the PVC pipe, make sure to do it in the right way to prevent the rope from unraveling. Put a bit of glue in every half circle to make sure that the rope stays tight. (Once you reach the outer layer, it is recommended to put glue all the way around.)
[social_warfare]
Step 2
Once you’re in the PVC section, you don’t need to use glue anymore, just wrap the rope as you go. Once you cut the rope, just put some hot glue to secure it. Put the PVC pipe into the cap that was already attached to the wall. Drill two pilot holes into the sides of the cap and the PVC pipe and put a screw through them to keep the cap and pipe secure to each other. Wrap the rope around the cap to hide the screws and once you’re done, put hot glue to secure the rope. After this, you can now attach the sewn cloth that will serve as the hammock for the cats.
