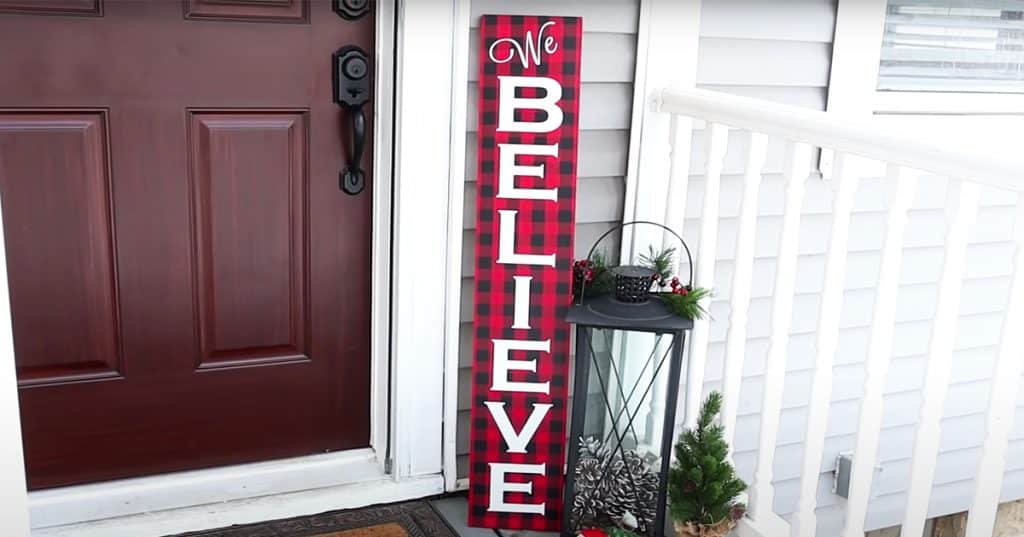
These buffalo check Christmas sign by The Daily DIYer on YouTube is a great holiday welcome sign for the front porch or any occasion. I love the buffalo check pattern, and it looks so festive for the holidays. It’s usually expensive to buy these boards in stores, but it’s so inexpensive to make it yourself at home. Plus, it would be a fun project to work on and be creative. You can choose any other colors, but these are traditional colors for the Buffalo check pattern.
Supplies:
- 1 x 8 Pine board (cut down to 42″ long or a height that fits your space)
- miter saw, optional (to cut down the wood or get it precut)
- sandpaper
- acrylic paint (black and red for this tutorial, or use any other colors)
- painters tape
- one coat polyurethane
- foam brushes
- silhouette cameo or Cricut
Directions:
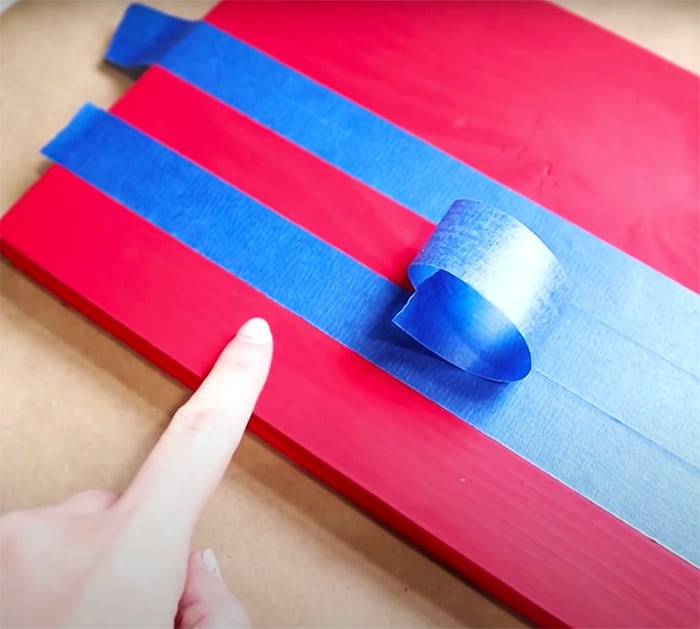
First, take your wooden board and sandpaper it down so it’s easier to paint on. Then, paint two coats onto the whole board with the Crimson red color. Let it dry completely for about 30 minutes to an hour before adding painters tape to get the striped, checkered finish.

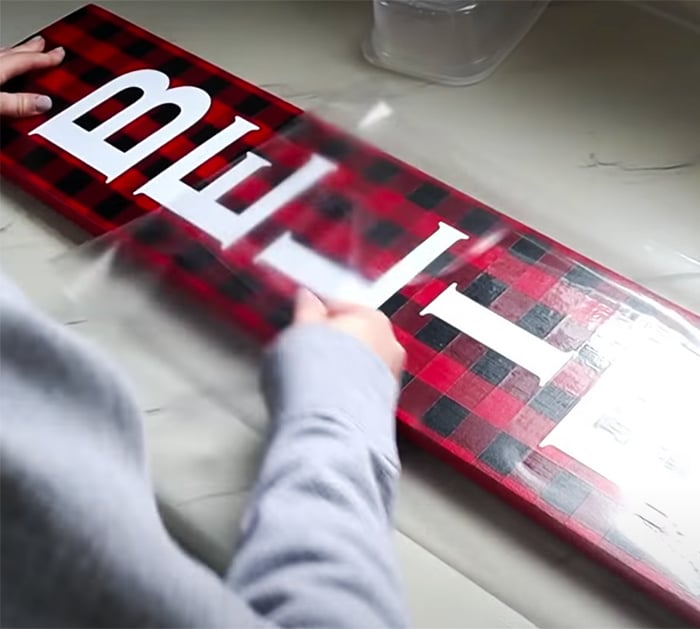
Next, once you’re done painting with the acrylic paint, paint over with Polyurethane one coat to seal the sign. Use a silhouette cameo or Cricut to create the vinyl or free-hand the letters with acrylic paint if you do not have one.

Overall, this is a great tutorial for a wooden sign on the front porch whether is for the holidays or a simple welcome sign. I think the buffalo check pattern is super cute and makes the wooden sign look more expensive. The white pops up more on top of the red and black pattern. This is great for those that are looking for budget-friendly crafts and decor.


