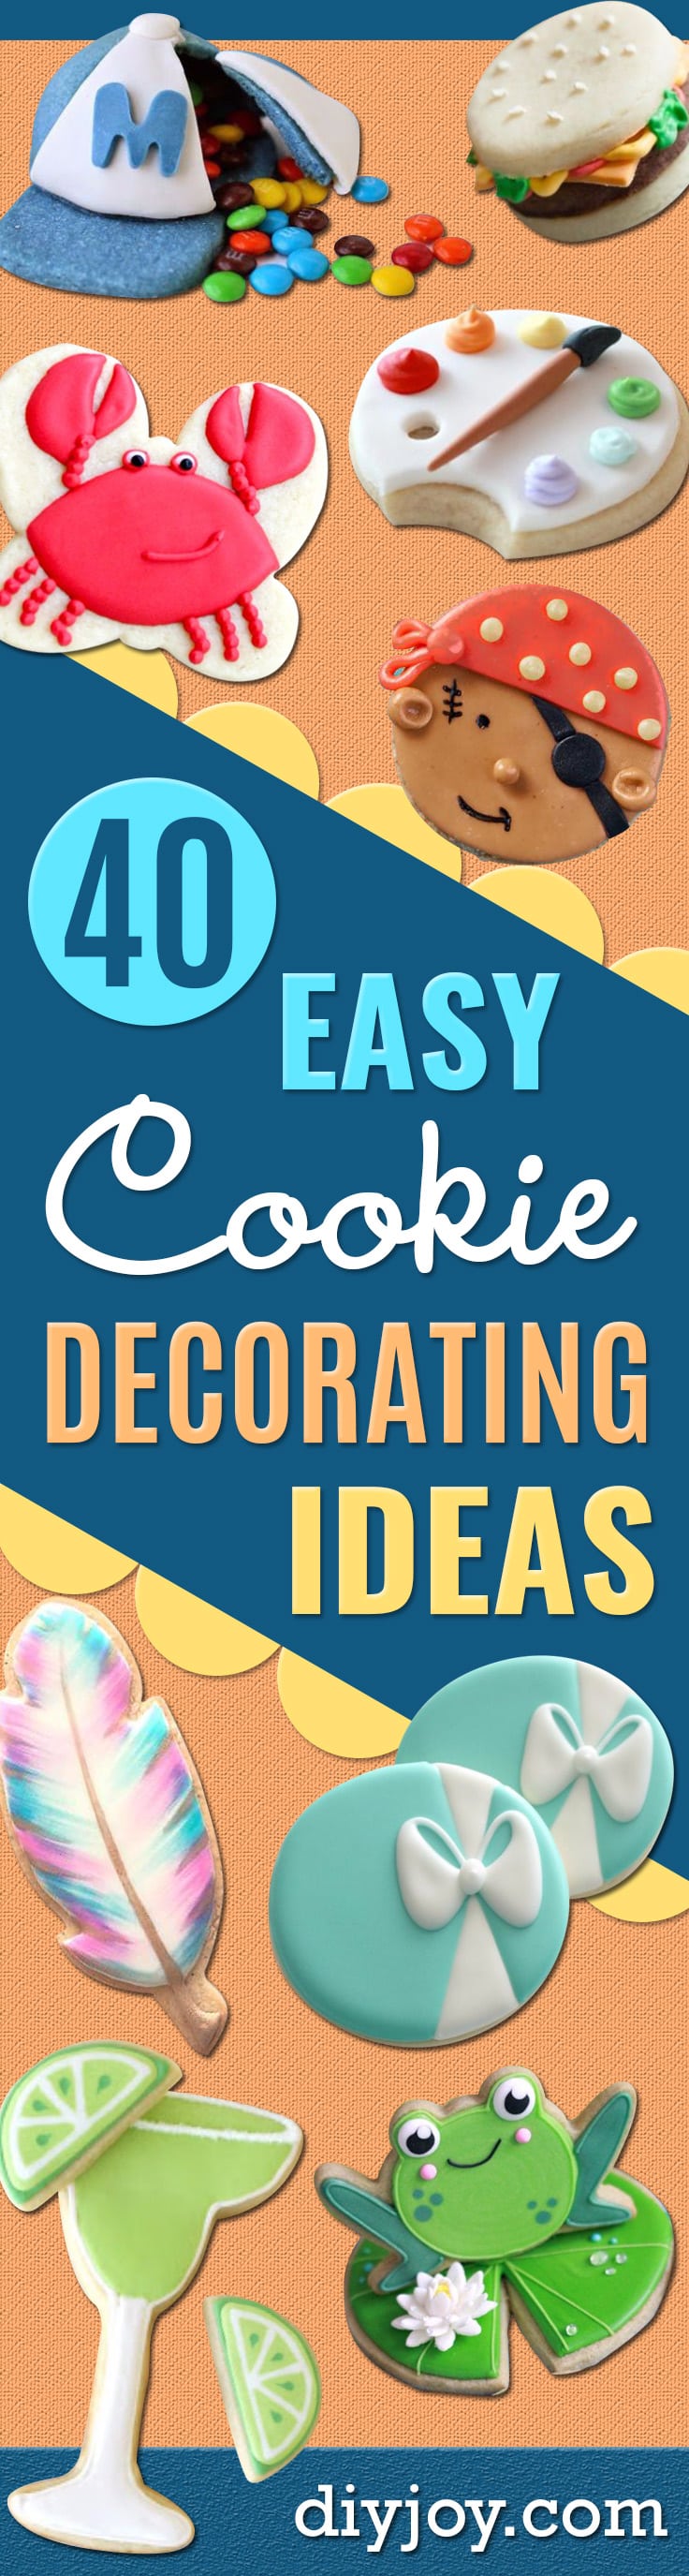
I keep Silpat mats in my kitchen for exactly one reason, and it is cut-out cookies: dough that spreads on a greased sheet holds its edges on silicone, and a shape that holds its edges is half of any cookie decorating project finished before you open the icing. That is really what these 28 easy cookie decorating ideas are about, the small mechanical things nobody tells you. There are royal icing techniques here, outlining and flooding, swirl roses you can pipe a hundred of in an hour, watercolor painted with gel color and alcohol rather than water, fondant for when a perfect circle is beating you, geode cookies built with rock candy, and pinata cookies baked over a curved pan so they crack open and spill candy. Some are a five minute trick. A few will take you a whole afternoon, happily. Perfect for a first batch of sugar cookies, a kid’s party, a cookie decorating table or a school bake sale!
1. Bear Cookies
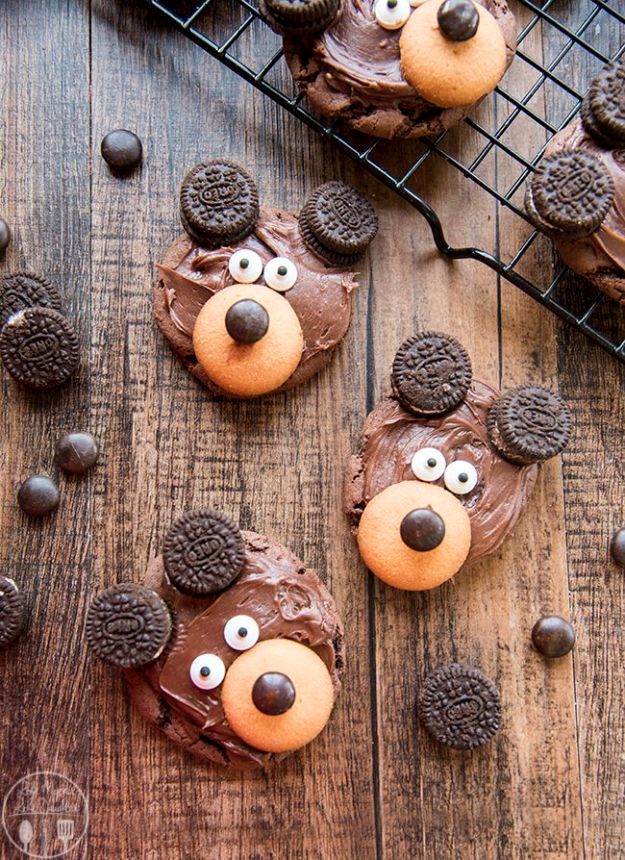
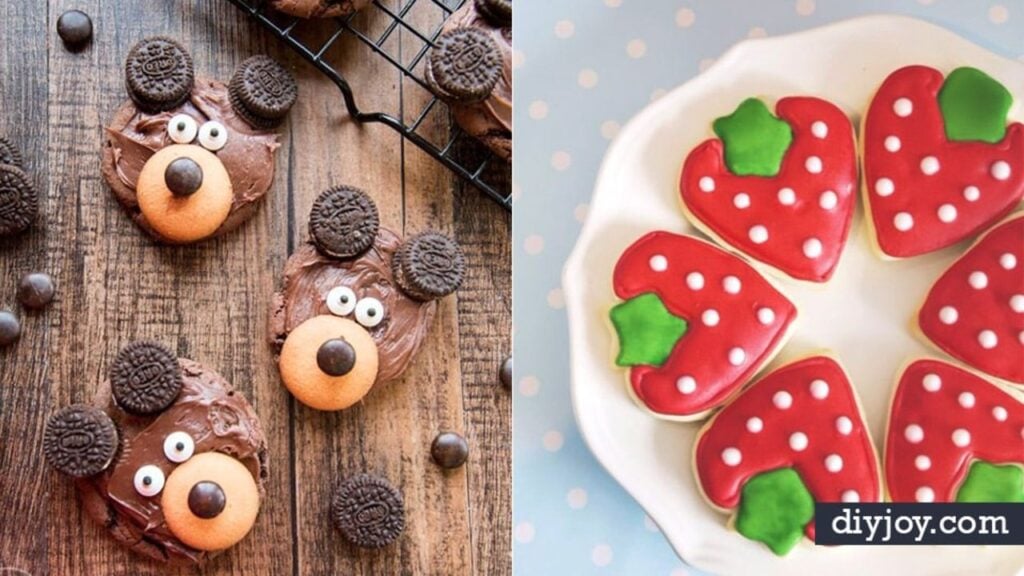
The base is a chocolate cake mix with two eggs and a third of a cup of oil, which makes a thick dough and skips creaming butter entirely. Bake at 350 for about eight minutes and pull them while the tops are just going crinkly. Then it is assembly: chocolate frosting, a mini Nilla wafer for the snout, a brown M&M nose, candy eyes and two mini Oreos pressed in as ears. Twenty four cookies, thirteen minutes of actual work.
Get the full tutorial at Like Mother Like Daughter.
2. Covering Cookies with Fondant and Art Palette Decorated Cookies
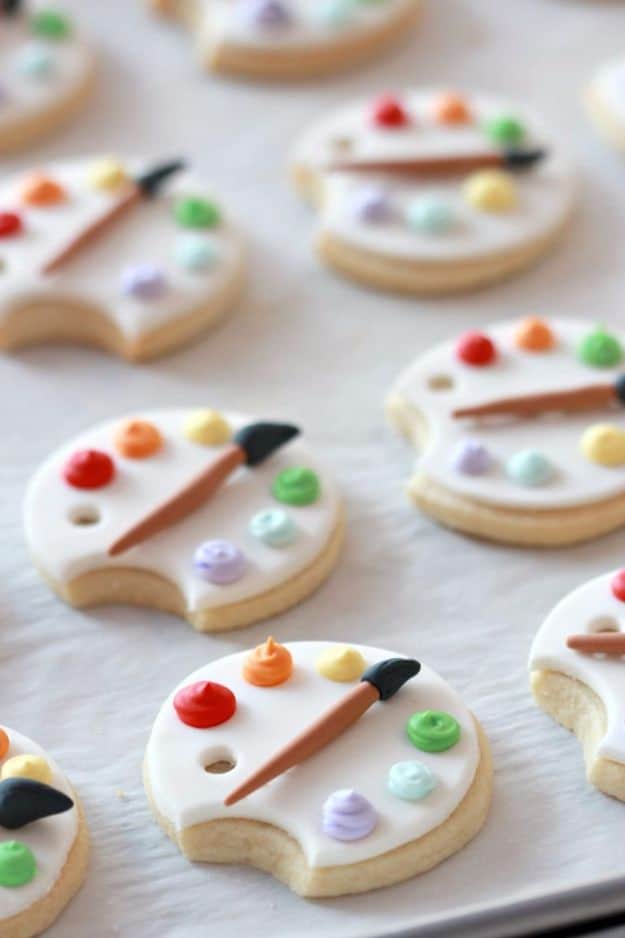
Here is a genuinely useful reason to reach for fondant over royal icing: circles. Flooding a neat circle in royal icing is much harder than it looks, and for a hundred cookies rolling a hundred fondant discs is far faster. That is exactly why this tutorial exists, a set of art palette cookies made for a retiring art teacher, complete with a little fondant paintbrush. Cut the fondant with the same circle cutter you cut the cookies with and the edges line up.
Get the full tutorial at Sweetopia.
3. Stamp On A Cookie
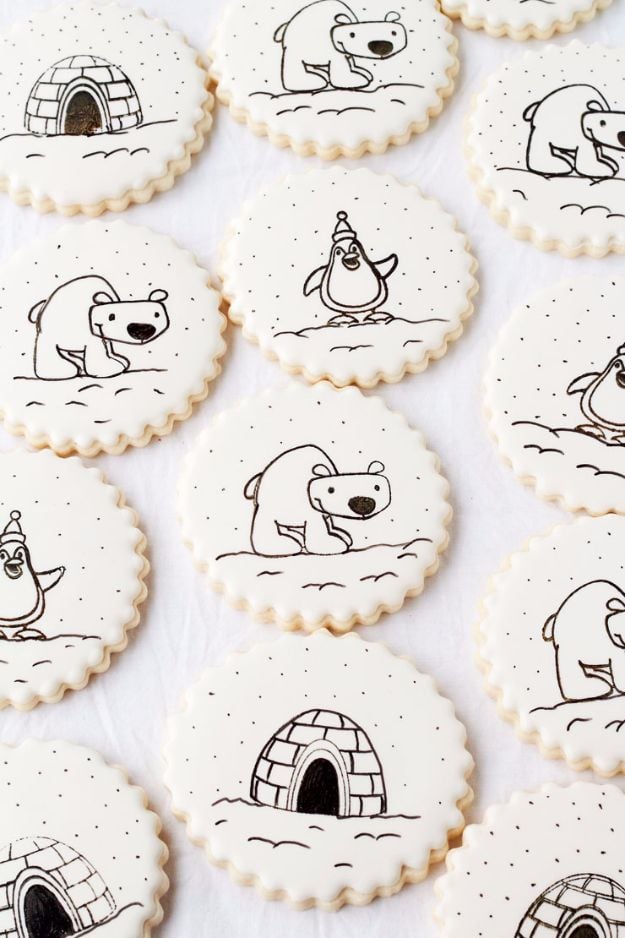
Stamping means you get clean lettering and detail without being able to pipe clean lettering and detail, which is most of us. The icing has to be completely dry first, not nearly dry, or the stamp lifts it. The maker is straightforward about the debate around food and craft stamps and explains why she chose clear stamps on clear blocks: you can see exactly where you are placing it, and they wash properly. Make that choice yourself before you start.
Get the full tutorial at The Bearfoot Baker.
4. Cheeseburger Cookies
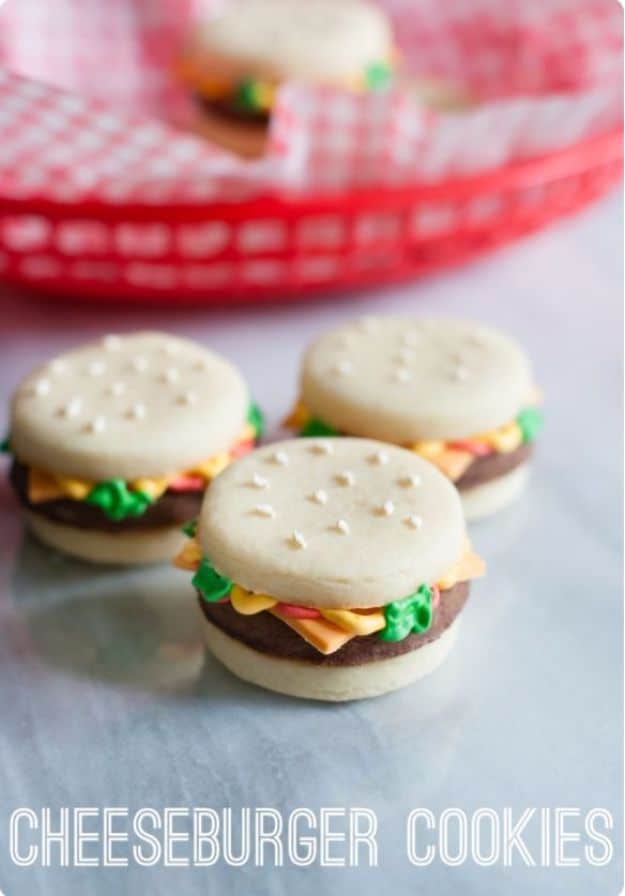
Three cookies stacked, and that is the whole joke: two vanilla rounds as the bun, a chocolate round as the patty, orange fondant squares as cheese and piped green icing as lettuce. They are two inches across, so technically sliders. Bake the cookies the day before, because a warm cookie will not stack. You want twice as many vanilla as chocolate, which is the kind of thing you realize too late if nobody says it first.
Get the full tutorial at Bake at 350.
5. Ladies' Hat Pinata Cookies
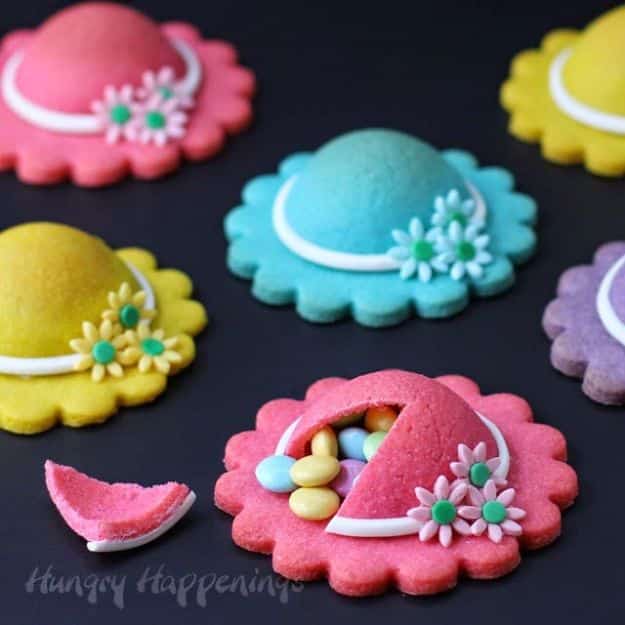
Cookies that crack open and pour candy out, which children find genuinely astonishing. One batch of dough gets divided into four and colored pink, violet, blue and yellow, so the colors are baked in rather than iced on. A scalloped round cutter makes the brims, three quarters of a cup of small candies goes inside, and modeling chocolate flowers go on top. Twelve cookies, 12 to 14 minutes at 350, and about an hour and a quarter with the chilling.
Get the full tutorial at Hungry Happenings.
6. Watercolor Feather Cookies
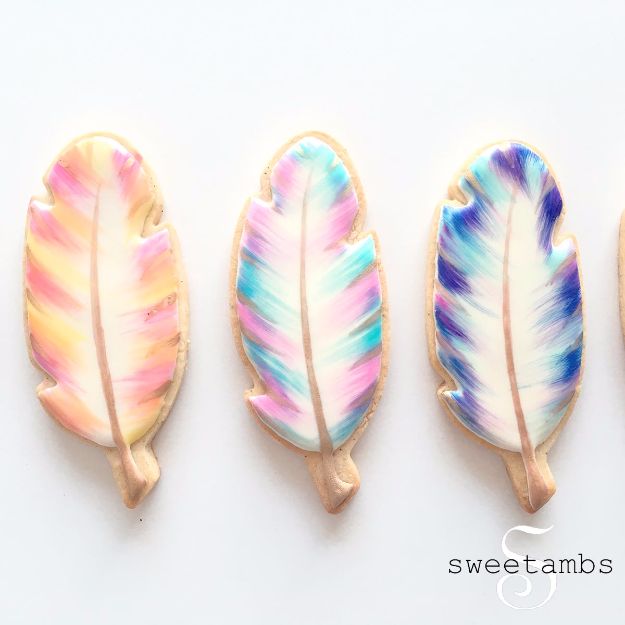
The one technical rule that makes cookie watercolor work: thin your gel food coloring with alcohol or a flavored extract, never with water. Water sits on royal icing and pits it; alcohol flashes off and leaves the color behind. Everything else is a feather cutter, flood consistency icing left to dry properly hard, a soft brush and gold pearl dust for the shaft. A scribe tool cleans up the edges. It looks like the hardest thing here and it is nearly the easiest.
Get the full tutorial at SweetAmbs.
7. Frost Sugar Cookies
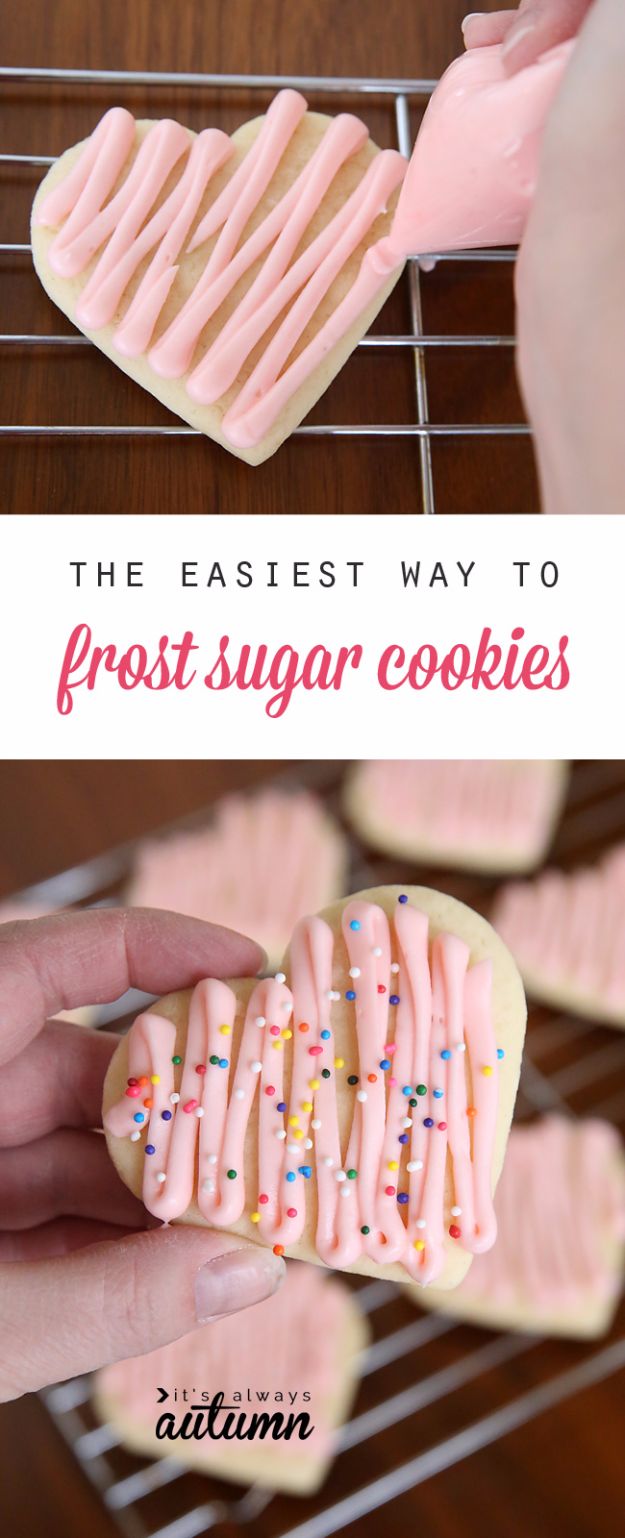
Frosting into a Ziploc, snip the corner, pipe back and forth to fill the cookie. That is it, and it is dramatically faster than a knife because you never pick a cookie up. The detail that actually matters is the size of the hole: too small and coverage takes forever, too big and you go through frosting at a rate. Cut it small, test on one cookie, adjust. Lay every cookie out on sheets before you start.
Get the full tutorial at It's Always Autumn.
8. DIY Cookie Bouquet
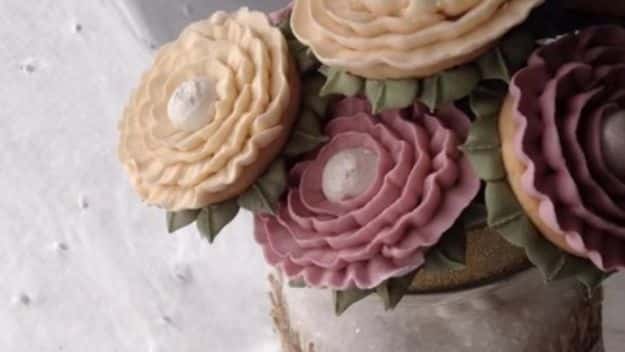
Decorated cookies on sticks, arranged in a container like a bunch of flowers, and this one is ours. I will be honest that they looked intimidating to me before I tried them, and then they were not: I rolled my sleeves up, made them, and they turned out beautifully. Assemble the bouquet after the icing is fully hard, not before, because a cookie tipped on a stick with wet icing runs. It makes a better birthday gift than most things you can buy.
Get the full tutorial at DIY Joy.
9. Geode Heart Cookies
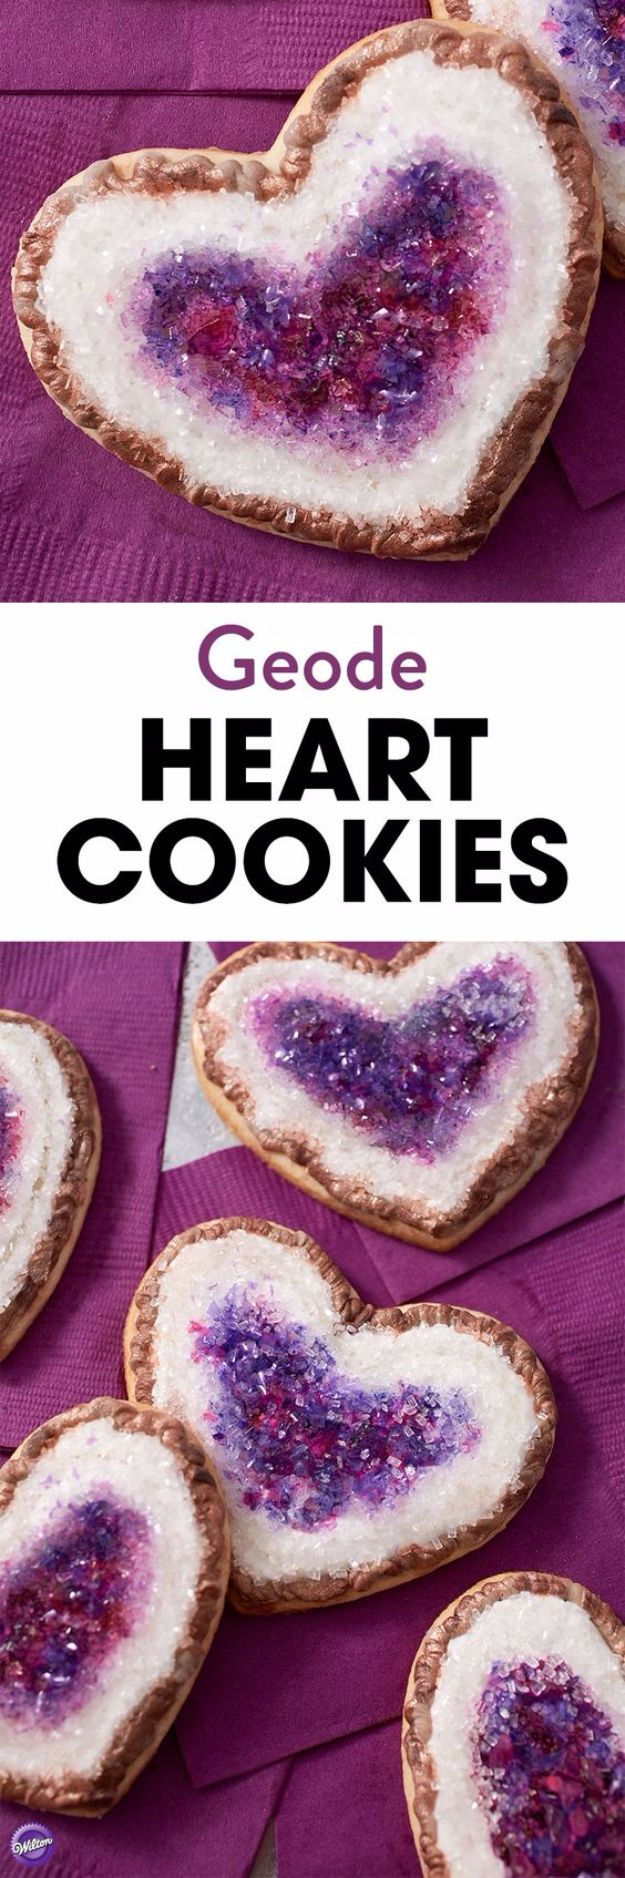
Rock candy is the whole illusion. A 3 1/4 inch heart cutter, dough rolled to an eighth of an inch, then a jagged brown zigzag piped around the inside edge and left ten minutes to dry before thinned white icing floods the middle. Rock candy pieces get set into the icing while it is wet, with violet and burgundy color and piping gel worked around them. Pearl dust and sparkling sugar finish it. It photographs better than almost anything here.
Get the full tutorial at Wilton.
10. Tiffany Blue Icing
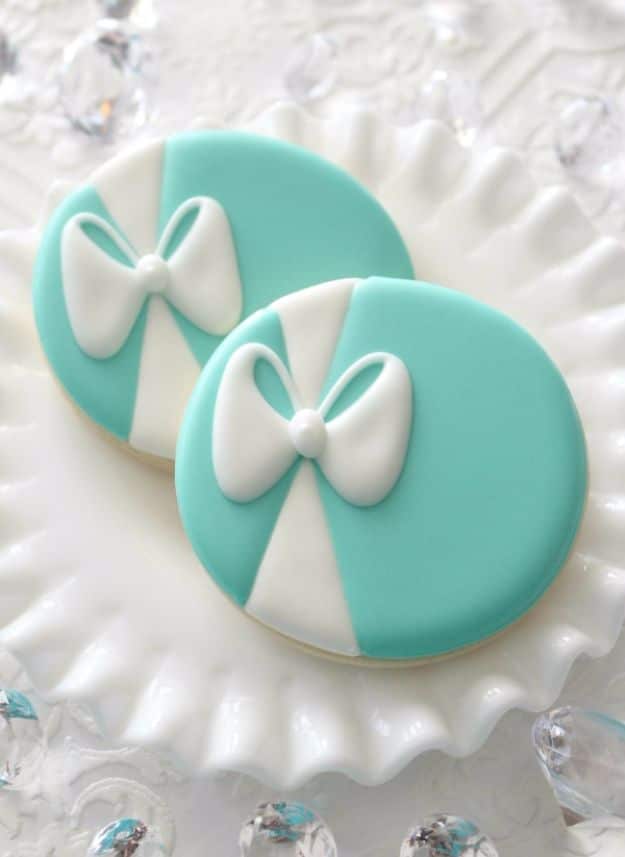
Matching a specific brand blue is harder than mixing a color you like, because your eye knows immediately when it is slightly off. This is the tutorial for getting there, and the useful part is the proportions rather than any technique. Mix icing color a day ahead if you can: gel colors deepen as they sit, so the shade you approve at ten at night is not the shade you will have at eight the next morning.
Get the full tutorial at Sweet Sugar Belle.
11. T-Rex Dinosaur Cookies
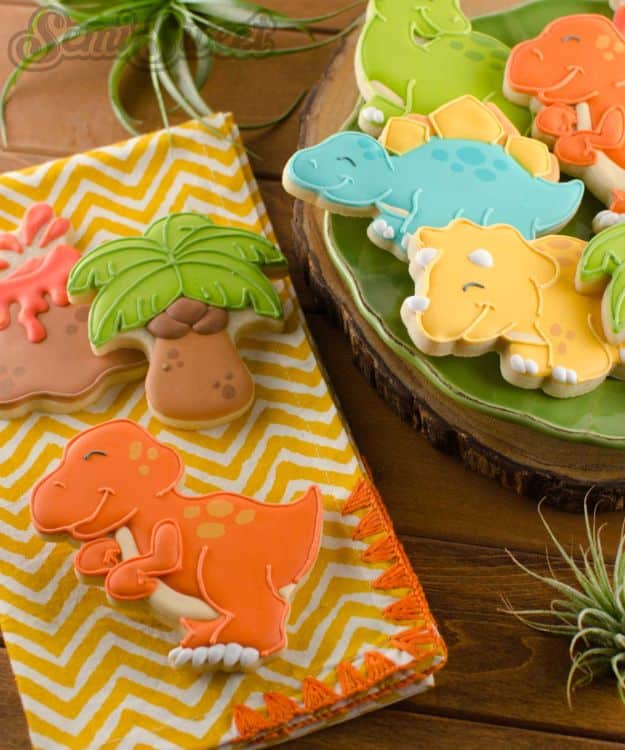
A dinosaur is a shape that punishes freehand, which is why the maker traces the design with a small projector shone onto the cookie. It sounds like overkill and it is the single biggest jump in accuracy available to a home decorator, for about the price of a set of cutters. If a projector is a step too far, a stencil does most of the same job. Royal icing, outlined and flooded in sections so the colors do not bleed.
Get the full tutorial at Semi Sweet Designs.
12. Ruler Sugar Cookies
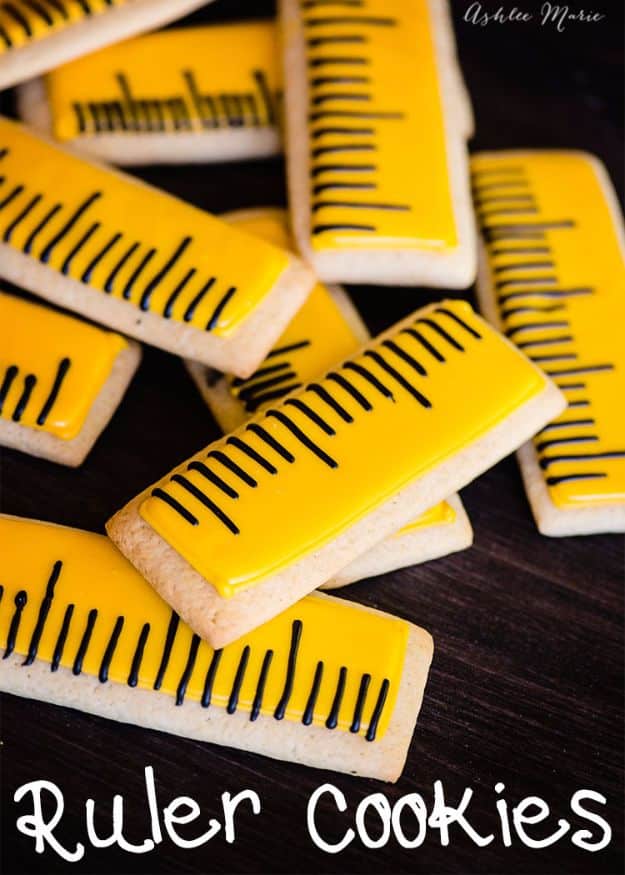
Back to school cookies, and the dough is the interesting bit: a full cup of sour cream in it, plus nutmeg, which gives a softer and more flavorful cookie than the standard cut-out. It needs three to four hours in the fridge, so this is not a same-hour project. Roll to a quarter inch and cut rectangles one and a half by five inches. Bake twelve minutes and pull them at the first hint of gold, then pipe the ruler markings.
Get the full tutorial at Ashlee Marie.
13. Bite Sized Fruit And Veggie Cookies
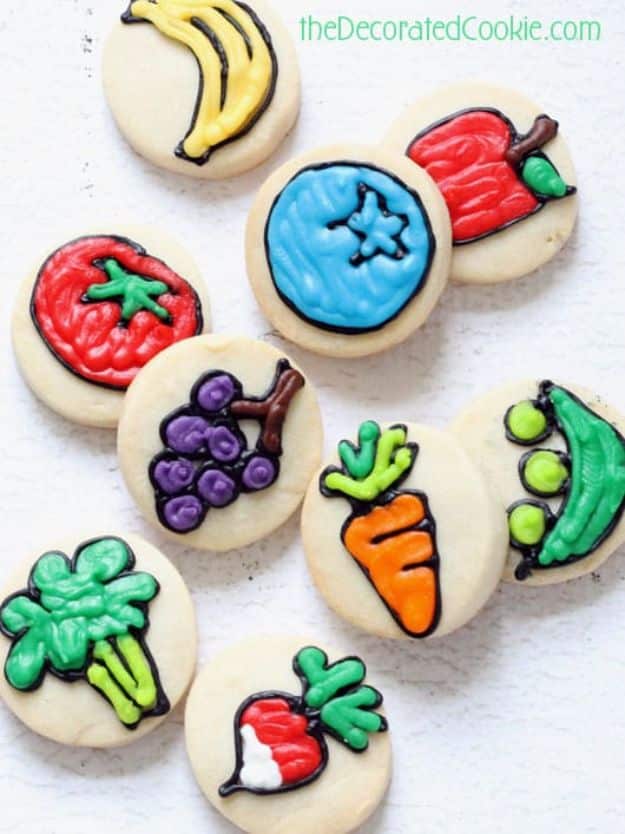
A one and a half inch circle cutter and a lot of small fruit and vegetable faces, which is the cleverest thing about it: at that size a strawberry is a red circle with dots, and a tiny carrot is three lines. Small cookies forgive imprecision in a way big ones do not. Tips 2 and 3 do everything, and you only mix the colors you actually need. They read as a spring platter and they take a fraction of the icing.
Get the full tutorial at The Decorated Cookie.
14. Matcha Sugar Cookie
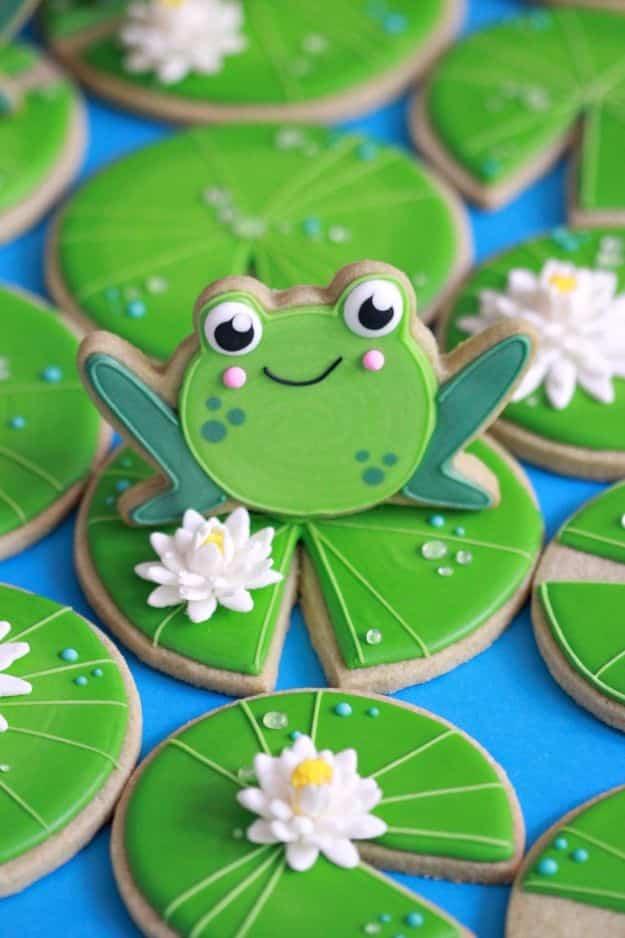
Four teaspoons of matcha in five cups of flour gives you a cookie that is green all the way through, so the color is not sitting on top in icing. Two warnings from the recipe that apply to every cut-out you ever make: do not overmix the butter and sugar, because the air you beat in is what makes a cookie spread, and leave the baking powder out entirely if you want the shape to hold. Here it becomes a frog on a lily pad.
Get the full tutorial at Sweetopia.
15. Surfboard and Wave Cookies
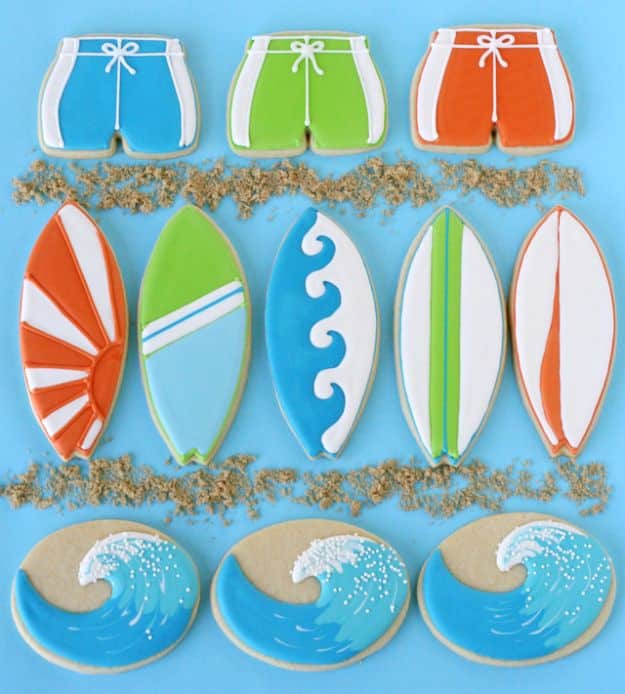
Longboard shapes sketched from photographs of vintage surfboards, which is the honest answer to where good cookie designs come from: somebody looked at the real object first. Each board gets a different stripe pattern so the set does not look mass produced. The wave design is credited to another decorator, with permission, and it is the simple one of the pair. Made originally for a baby shower, and they work for any beach or summer party.
Get the full tutorial at Glorious Treats.
16. Hammerhead Shark Cookies
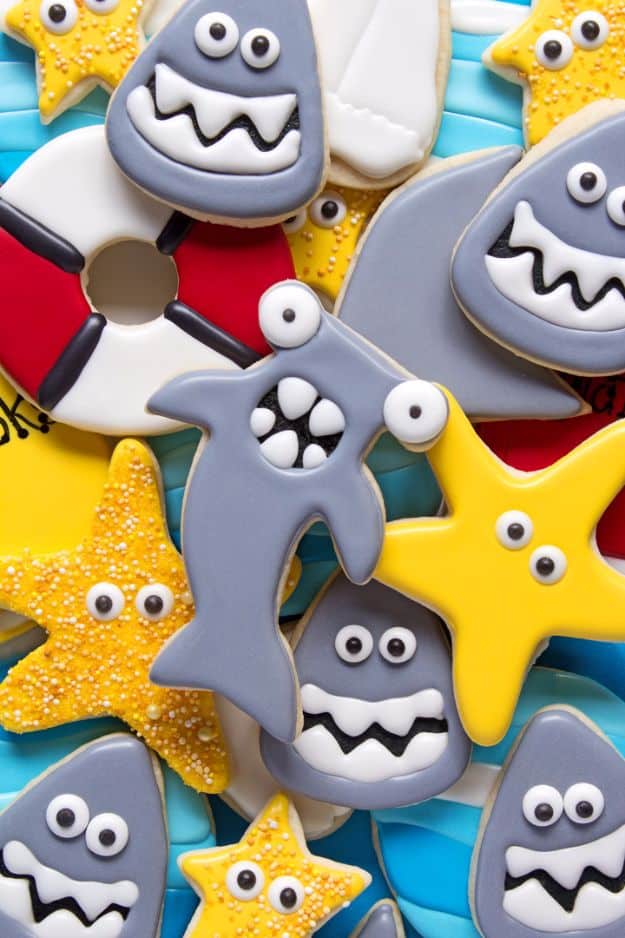
Royal icing transfers are the technique to take from this one, and they change how you decorate everything else. You pipe small details on parchment or wax paper, let them dry completely hard, then peel them off and place them on a finished cookie. No wobbly piping directly onto a curved surface, and you can make fifty of them in advance on a quiet evening. There is a video, which is the right format for this.
Get the full tutorial at The Bearfoot Baker.
17. Paris Themed Decorated Cookies
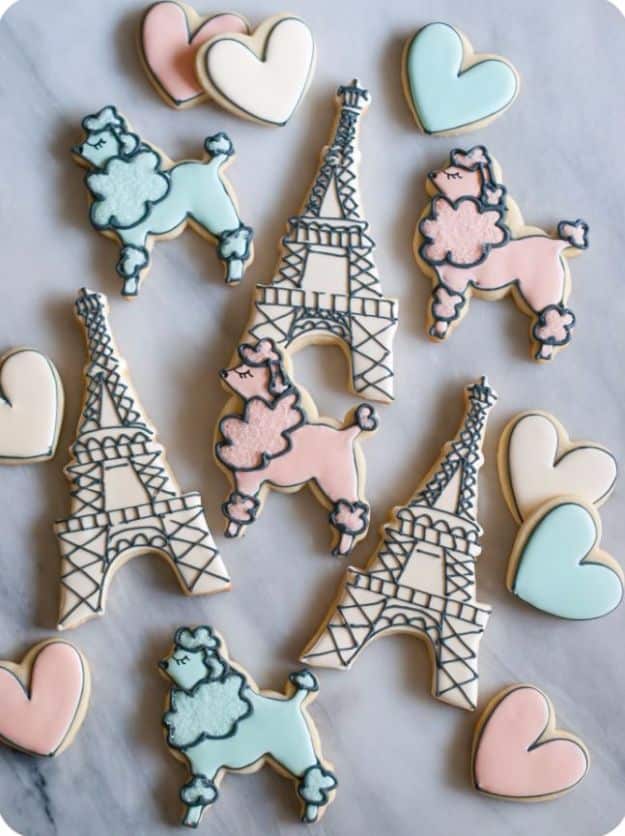
An Eiffel Tower, a heart and a poodle, in ivory mixed with soft pink and turquoise for muted shades rather than primary colors, which is most of why this set looks expensive. The maker admits to years of avoiding the Eiffel Tower because of all those diagonal lines, then solved it by working from a whimsical drawing instead of a photograph of the real thing. Outline, flood with thinned icing, sanding sugar on the poodles.
Get the full tutorial at Bake at 350.
18. Candy Filled Baseball Cap Pinata Cookies
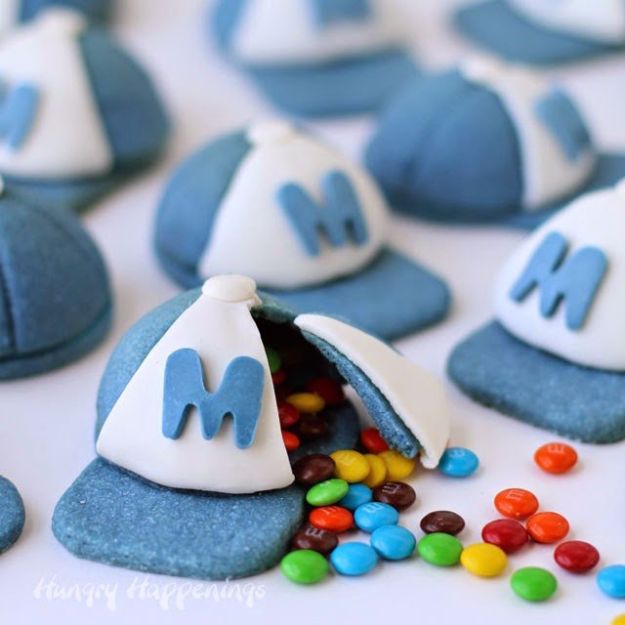
These are three dimensional, and the way you get there is baking the dough draped over the back of a curved pan, a cake ball pan in this case, so the cookie sets into a dome. Then two domes join around a handful of candy. Any size cake ball pan works. Color the dough in your team’s colors before baking rather than icing them afterwards, and fill them with candy that matches. Worth knowing: the maker took three years to get around to these.
Get the full tutorial at Hungry Happenings.
19. Pirate Cookies
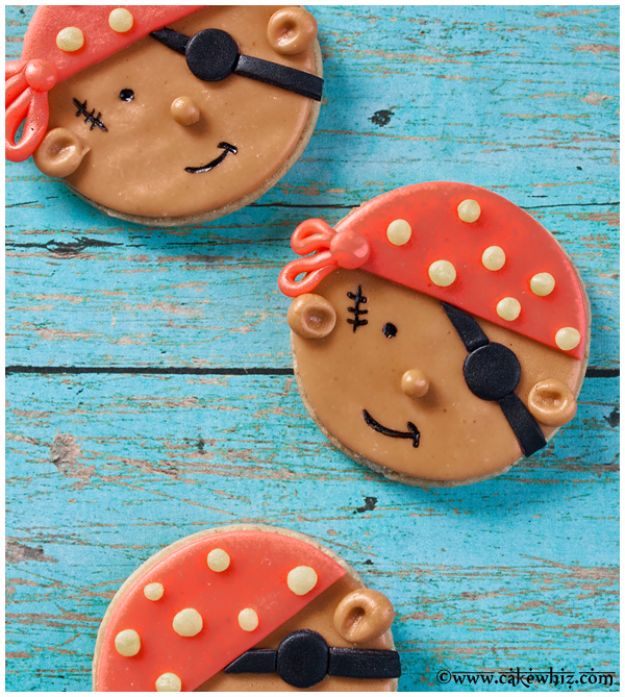
Six round sugar cookies, a cup of marshmallow fondant in brown, red, yellow and black, two tablespoons of corn syrup and two of water, and that is the entire supply list. No specialty cutters at all: every piece of the pirate is cut with plain circle cutters and a knife. Corn syrup glues fondant to cookie, water glues fondant to fondant. Seventy minutes for six, and it is the most achievable character cookie on this list.
Get the full tutorial at Cake Whiz.
20. Adorable Crab Cookies
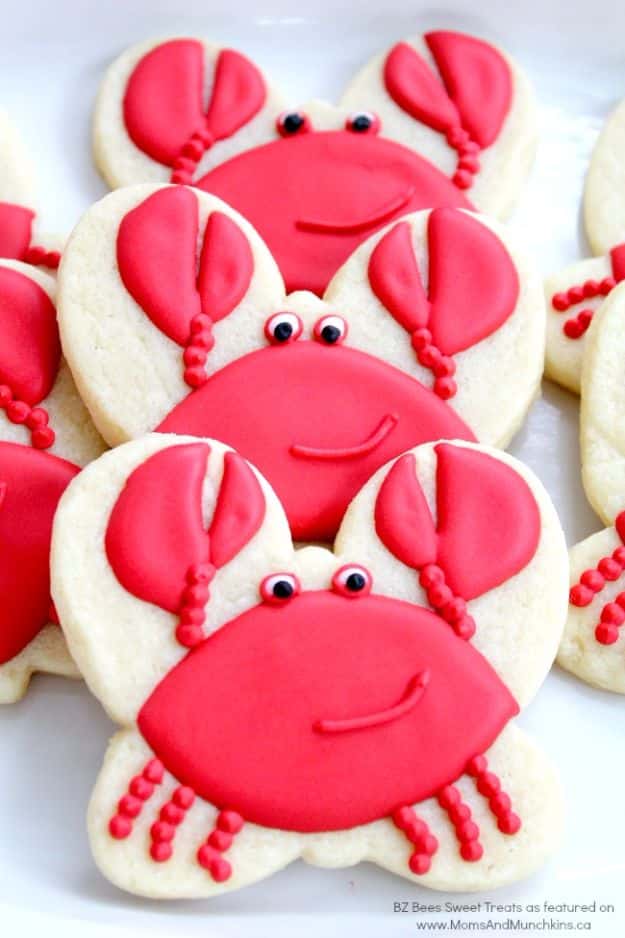
A butterfly cutter, used upside down as a crab, which is the best kind of improvisation: no crab cutter existed and the order was due in two days. One bowl of icing, one color, Americolor Super Red, thinned to medium consistency so it is looser than piping but does not run off a spatula. A dozen took under an hour. Start with three or four drops of red and let it develop, because red icing keeps deepening after you mix it.
Get the full tutorial at Moms & Munchkins.
21. Brown Butter Heart Cookies
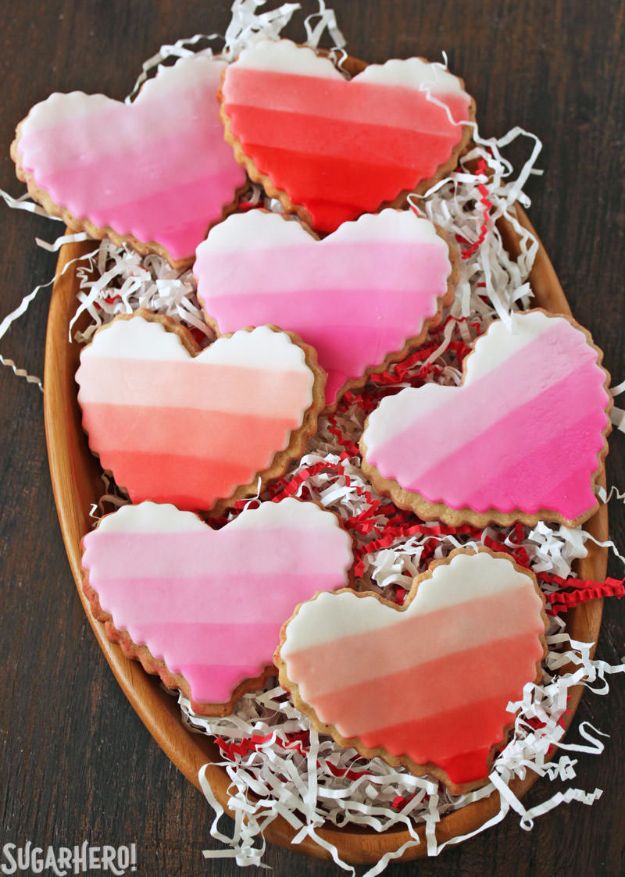
Browning the butter is the entire point and it takes eight to ten minutes of standing at the pan, scraping the bottom, until it goes golden and smells like toffee. Let it cool to room temperature before the sugars go in or you will end up with a puddle. Two tablespoons of cornstarch in the flour keeps the crumb tender. The fondant is homemade from six ounces of mini marshmallows and powdered sugar, then painted. Twenty four cookies.
Get the full tutorial at SugarHero.
22. Nursing Sugar Cookies

Graduation cookies for a nursing school class, iced as blue scrubs with a stethoscope, syringes, bandages, pill capsules and white hearts carrying an EKG line, which is a useful reminder that the most wanted cookie sets are usually occasion sets nobody sells in a shop. If you make one of these, the reliable move is two or three simple shapes repeated in one color palette rather than six clever ones, because a matched set reads as professional and a mixed tray reads as practice.
Get the full tutorial at Jordan's Easy Entertaining.
23. Simple Royal Icing Roses
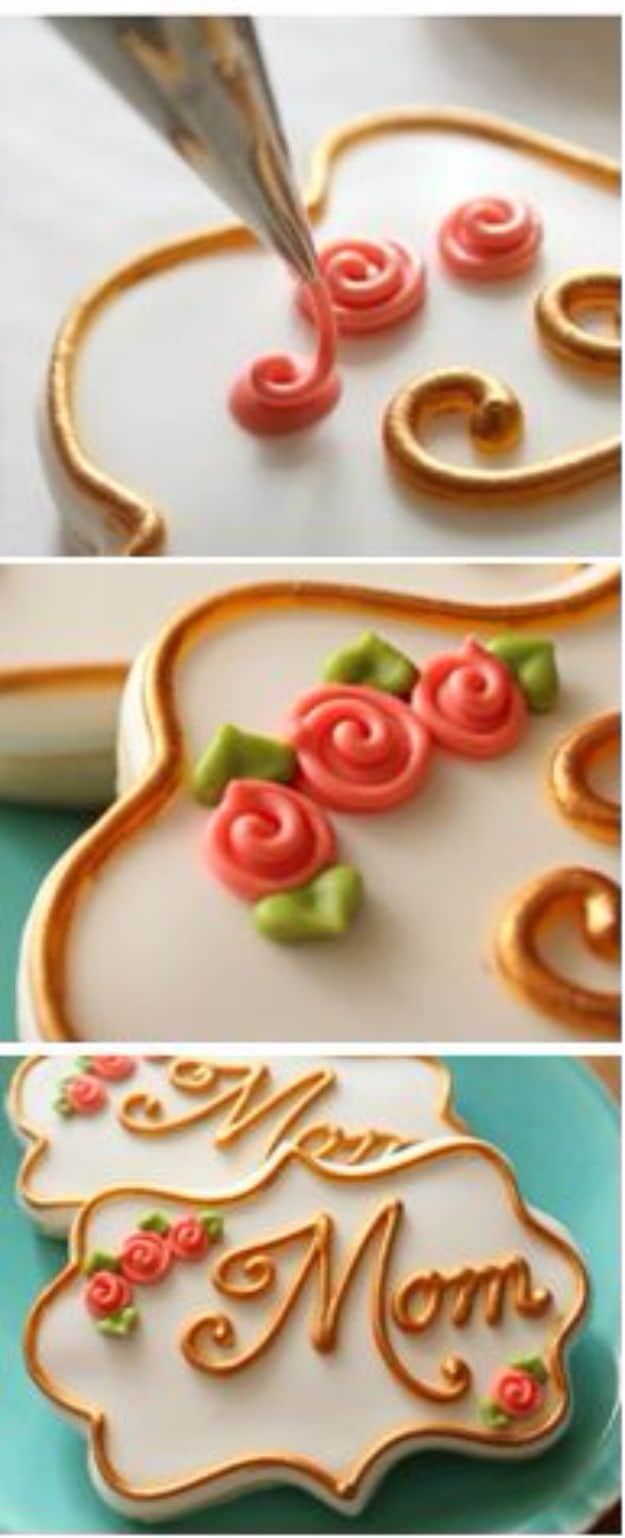
Flood icing dots first, left until they are set firm but not necessarily bone dry, then a swirl piped on top of each one with a #1.5 tip starting in the middle and going counter-clockwise. Leaves last with a #65 tip. The reason to let the dots set is specific and worth knowing: pipe onto a wet base and the swirl sinks into it and vanishes. These are cleaner and more sophisticated looking than swirl roses, and they use up leftover icing.
Get the full tutorial at Sweet Sugar Belle.
24. Simple Swirl Roses
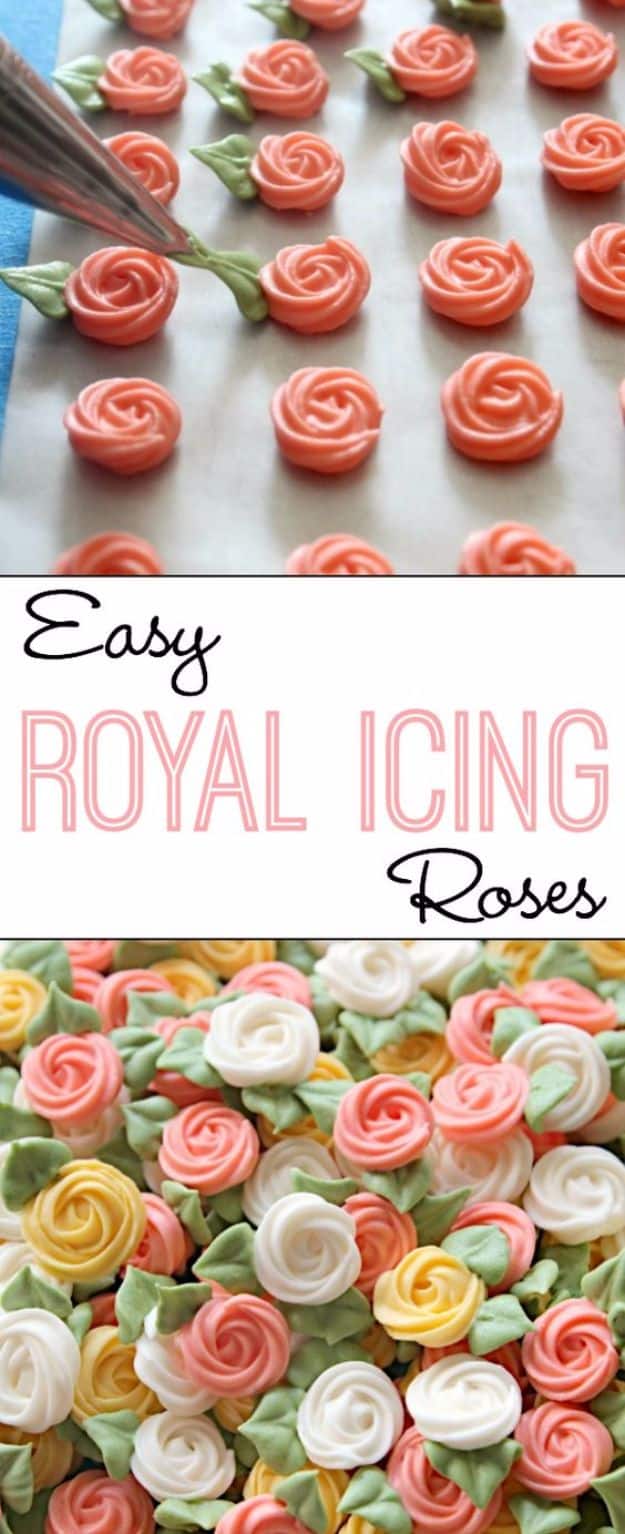
Stiff royal icing, a #13 star tip, and wax or parchment paper taped down to a cookie sheet so it does not travel. Pipe a dollop the shape of a Hershey Kiss, then swirl the icing up and over it. If you end up with a little point on top, flatten it against the side with a toothpick. The maker made hundreds in under an hour. A #65 leaf tip afterwards is optional. Make a batch and keep them.
Get the full tutorial at Sweet Sugar Belle.
25. Brush Embroidery On Cookies
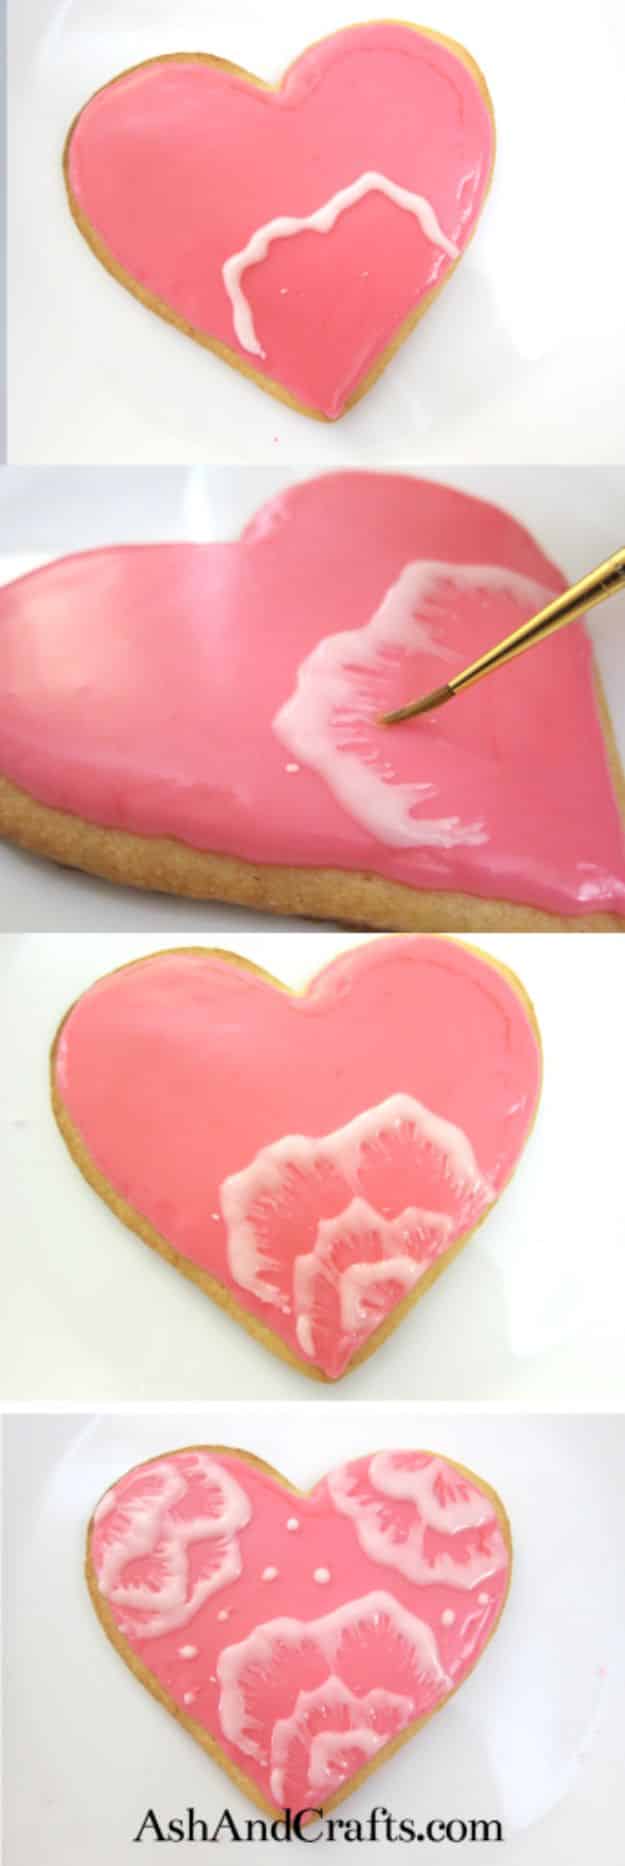
Brush embroidery is the technique that makes a cookie look like fabric, and it is the one worth learning if you only learn one from this list. Piped icing gets pulled inward with a damp brush while it is still wet, so every petal ends up with a soft feathered edge and a solid outer line. The whole effect depends on working fast, one petal at a time, before the icing skins over.
Get the full tutorial at Ash and Crafts.
26. Sprinkle Sugar Cookies
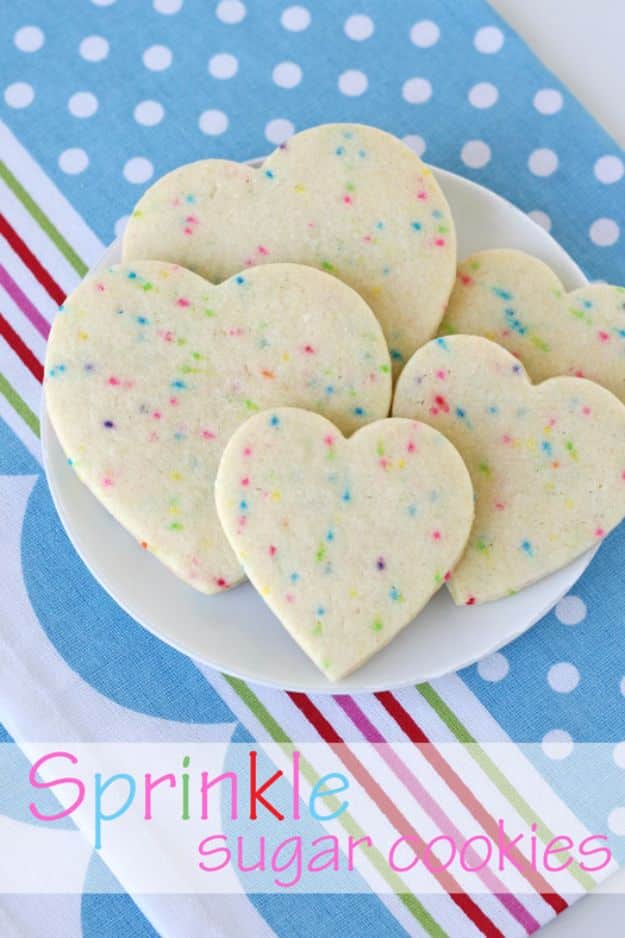
The sprinkles go in the dough, not on top, which is the entire idea: two tablespoons of non-pareils whisked in with three cups of flour and a teaspoon of baking powder. Chill the dough as flat disks in a Ziploc rather than as balls, because a flat disk chills through in thirty minutes and a ball takes hours. Ten minutes in the oven and the shape holds beautifully. Twenty four cookies from one batch.
Get the full tutorial at Glorious Treats.
27. Nerdy Cupcake Cookies

Cupcake shaped cookies topped with Nerds candy instead of piped sprinkles, which is a substitution worth remembering any time you want texture without more icing work. Candy sticks to wet flood icing and needs no skill at all. Made originally for teacher appreciation week, and the maker is cheerfully honest that they arrived a month late, which is the most relatable thing on this page.
Get the full tutorial at Semi Sweet Designs.
28. Margarita Cookies
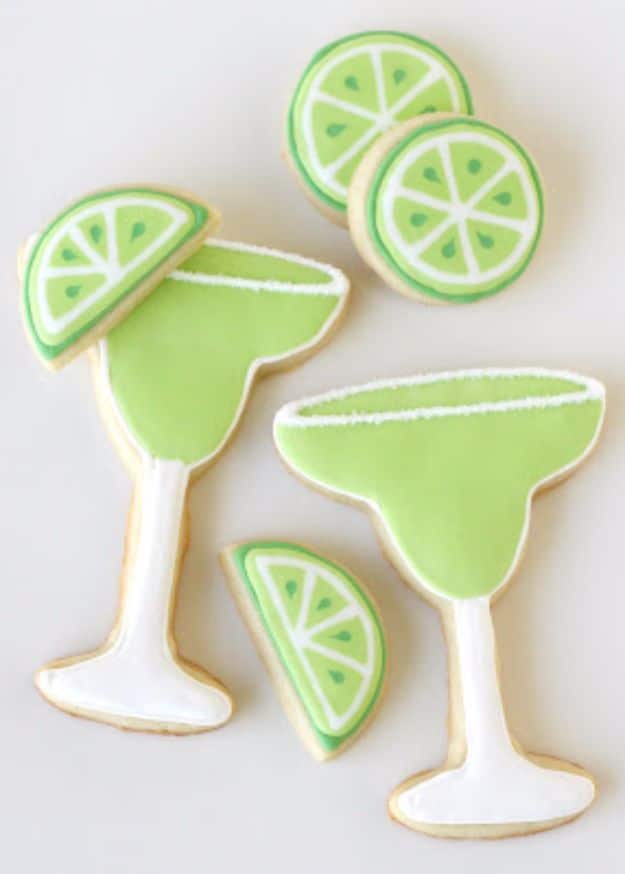
Here is the best tip on this page, and it is one line: replace some of the water in your royal icing with lime juice. The icing sets exactly the same and it actually tastes of lime, which solves the standing problem that royal icing tastes of nothing. Outline the glass with thick white icing and a #2 tip, flood the stem, then fill the drink. Salt on the rim is sanding sugar.
Get the full tutorial at Glorious Treats.