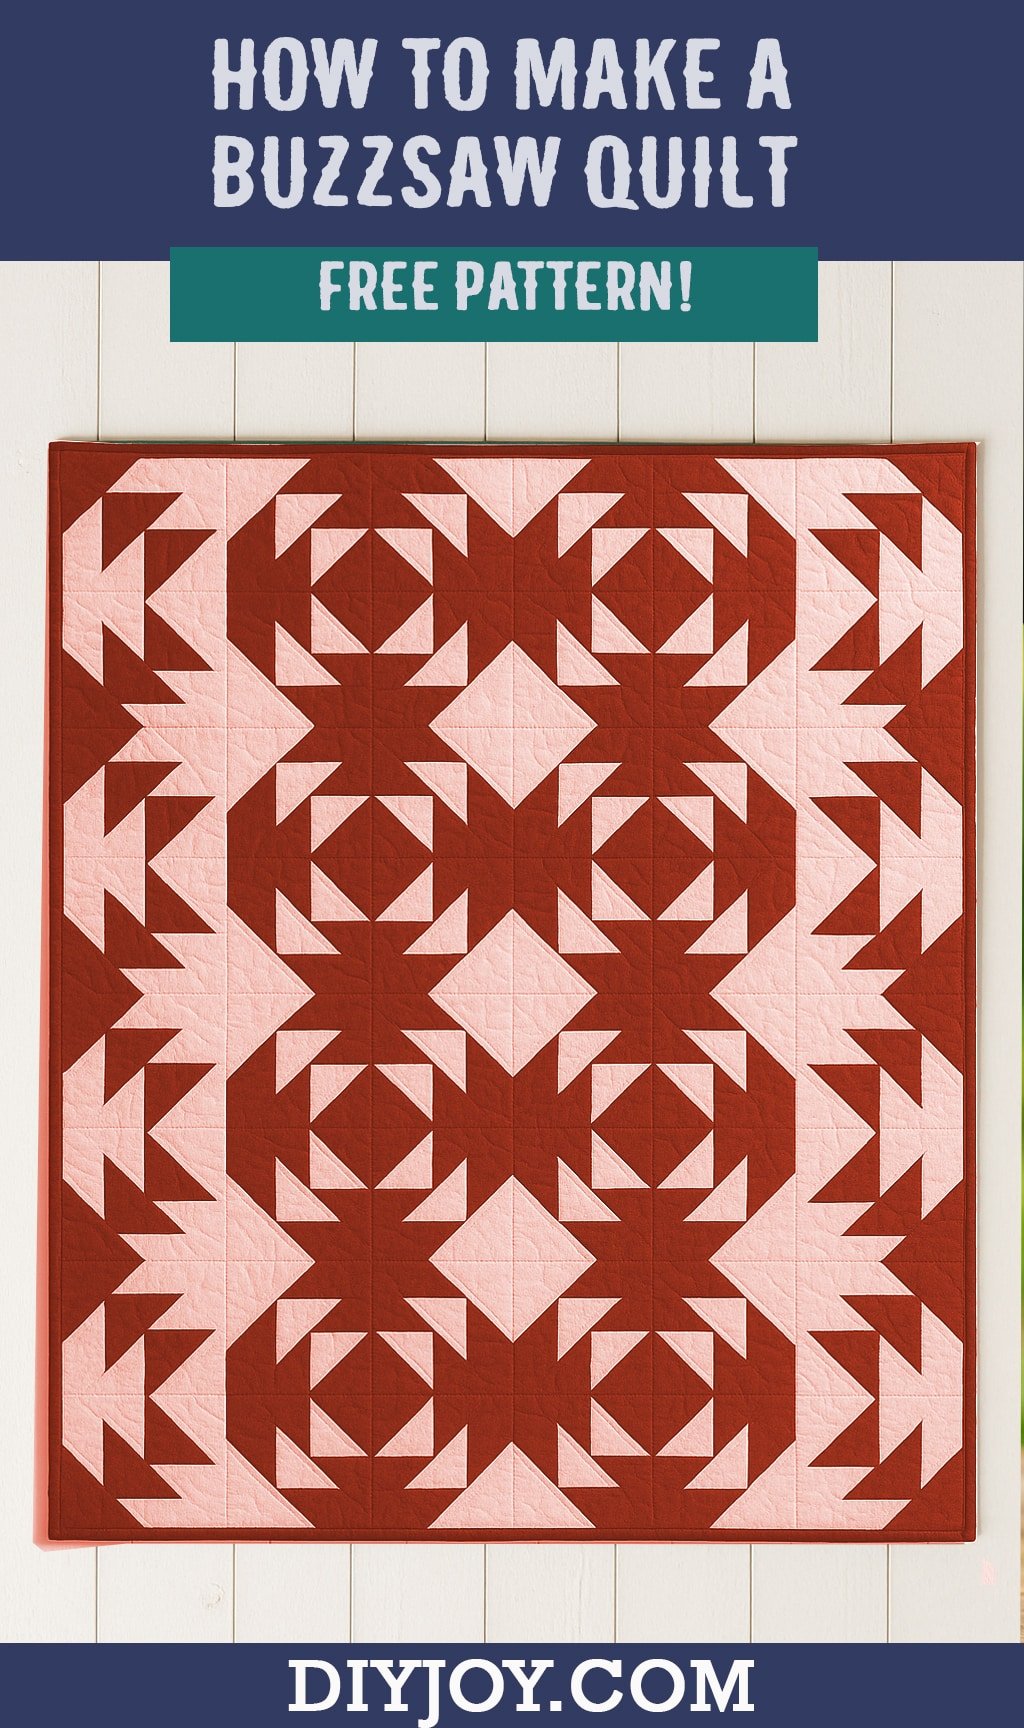
Looking for a bold, modern quilt that’s deceptively simple but packs a visual punch? Let me introduce you to the Buzz Saw Quilt—a dynamic design inspired by the mind-bending geometry of M.C. Escher. It is also known as the tessellating star block, and I absolutely love it because this pattern is so versatile, which is something I love in my quilts!
Don’t let the sharp edges fool you—this quilt block comes together with basic shapes and beginner-friendly piecing techniques. Whether you’re a seasoned quilter or just diving into your first project, this quilt is a fun and addictive make. All you need are two contrasting fabrics and some patience (okay, and maybe a podcast or two in the background).
Here’s how to make your own Escher-style Buzz Saw quilt from start to finish. Be sure to watch the video tutorial to see exactly how this quilt is made. My guide is simply to follow along with while making and to give you the basics. This quilting video tutorial is fantastic and from one of my favorite YouTube creators – watch it here.
Table of Contents
Supplies You’ll Need:
• Two contrasting quilting cottons (light and dark work best but you can mix darks if you like)
• Rotary cutter and mat
• Quilting ruler
• Pencil or fabric marker
• Sewing machine
• Iron and pressing surface
• Batting and backing fabric
• Quilt binding
Step-by-Step Tutorial
1. Pick Your Fabrics
Choose two high-contrast fabrics—one for the “saw blade” and one for the background. Think bold solids or small prints. This is what gives the quilt its dramatic, geometric vibe.
2. Cut Your Strips and Squares
Cut equal-width strips from both fabrics. Sub-cut these into squares (example: 5″x5″). These squares will become your half-square triangles (HSTs).
3. Make Half-Square Triangles (HSTs)
• Pair one dark and one light square, right sides together.
• Draw a diagonal line on the back.
• Sew ¼″ on both sides of the line.
• Cut along the drawn line.
• Press open to reveal two HSTs.
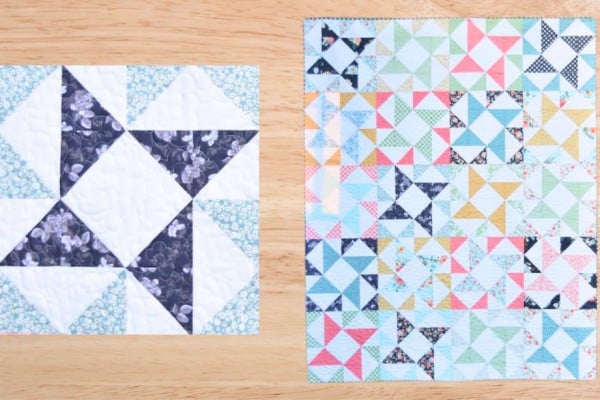
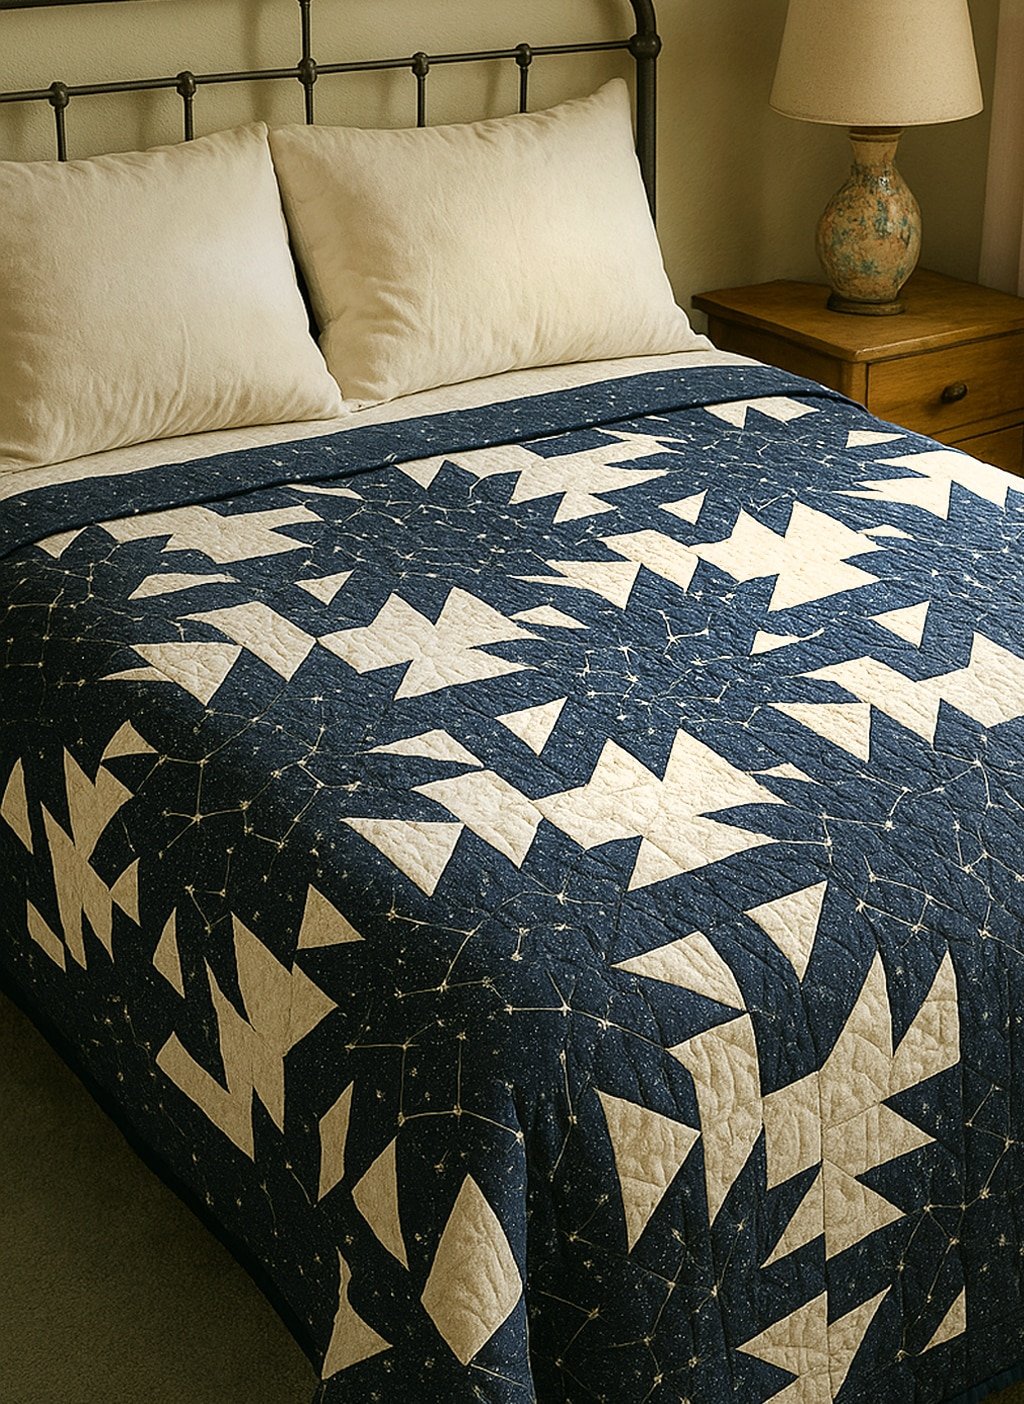
4. Lay Out the Buzz Saw Block
Take four HSTs and rotate them to form a buzz saw or spinning blade pattern. It should look like it’s moving. Arrange the dark sides so they create the visual “saw” shape.
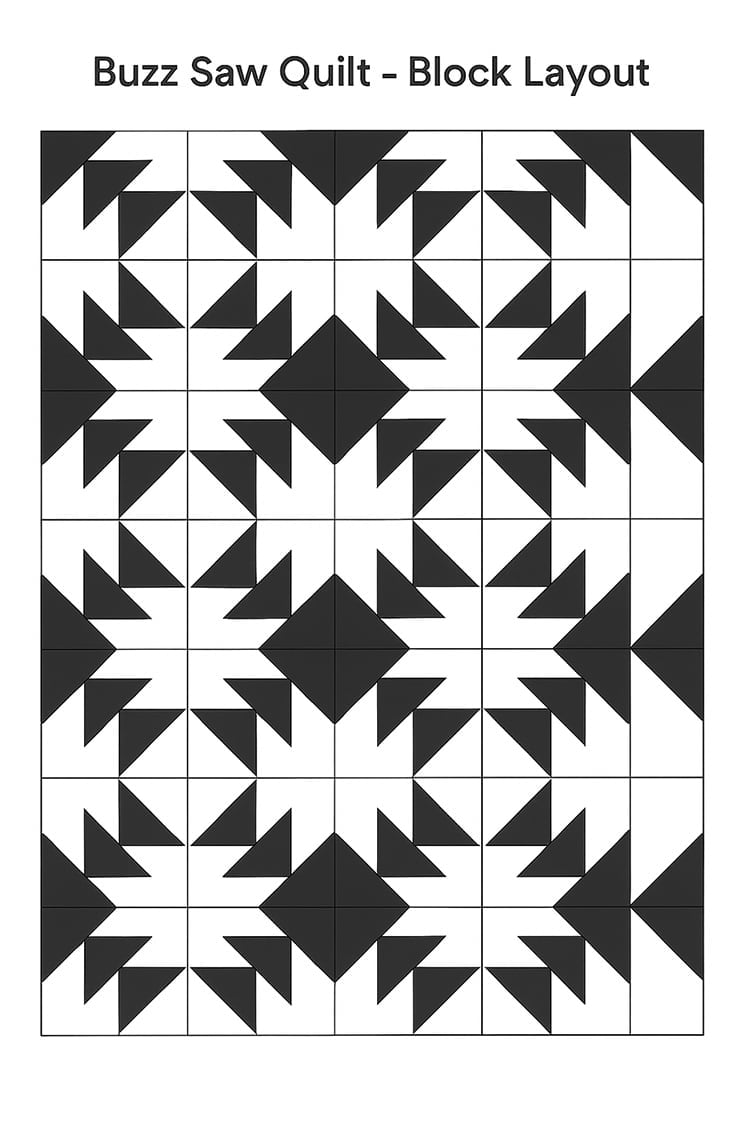
Download FREE Buzz Saw Quilt block Layout PDF
5. Sew Your Blocks
Sew your four HSTs into a square block. Press seams flat. Make as many blocks as you want for your finished quilt size.
6. Assemble the Quilt Top
Arrange your blocks in rows, keeping the buzz saw rotation going. Sew blocks into rows, then sew rows together.
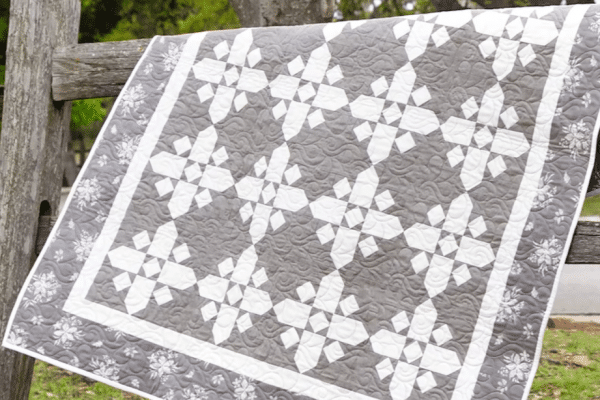
7. Add a Border (Optional)
Want to frame it out? Add a border in a matching or contrasting fabric to pull it all together.
8. Quilt It
Make your quilt sandwich: backing, batting, and your quilt top. Quilt in straight lines or echo the sharp edges of the saw design. Keep it modern and minimal, or go wild with free-motion quilting.
9. Bind and Finish
Trim the edges and bind your quilt. Hand stitch or machine stitch the binding down—and you’re done.
I love this because while it definitely does not look like it, it is actually so quick and simple to make! In the following tutorial, Laura shows us the steps necessary to make this beautiful quilt. Now go see for yourself why it is my latest obsession, and give it a shot! This project is nice because you can make a big quilt or a very small one, the choice is up to you. The pattern is called buzzsaw because it looks like the blade on just that, a buzzsaw. Really pretty when you put a bunch of these quilt blocks together.
As Laura from SewVeryEasy points out, you can make it in any size, using any type of fabric you want (including scraps), and for any occasion (for example, a red and green version for Christmas or dark reds, oranges and yellows for a fall-themed version).
FREE Pattern Download -.PDF Instructions for Buzz Saw Quilt
Buzzsaw Quilt Tutorial