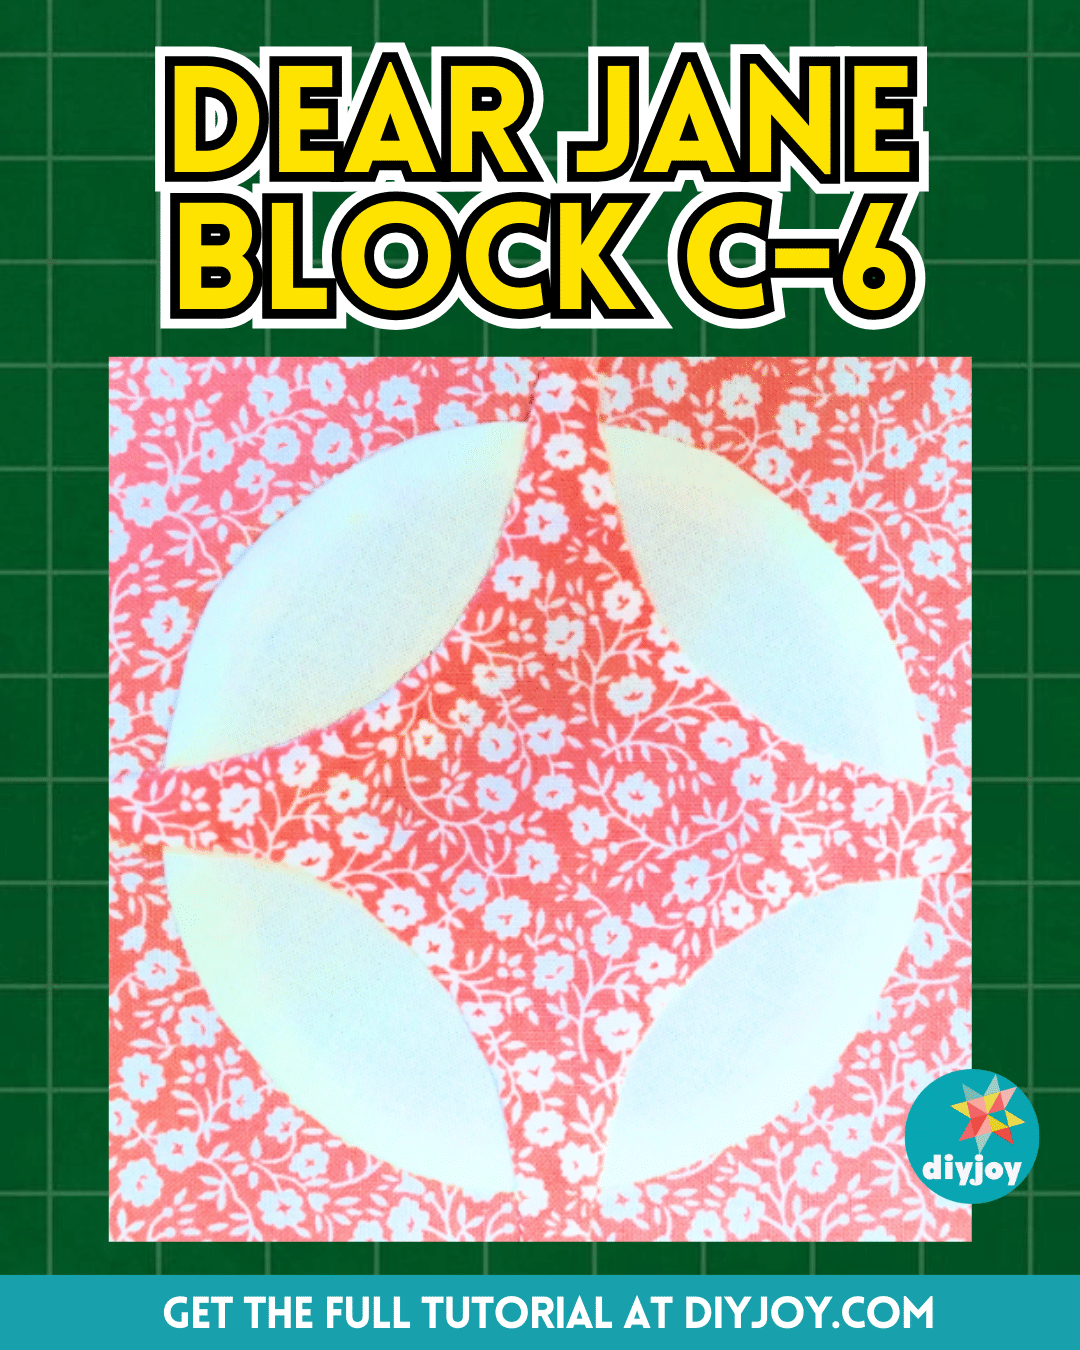
Easy Dear Jane Block C-6 Tutorial

Image credit: Teresa DownUnder via YouTube
When I saw this pretty quilt block by Teresa DownUnder on YouTube, I was immediately intrigued, and I initially thought that this one might be difficult to piece together. But, when I watched the video tutorial, I was so surprised to learn that it was super easy and that even beginners can perfect it on the first try.
RELATED: Beginner-Friendly Rays Quilt Block Tutorial
What made this quilt block easier to make is that it uses a paper piecing technique and requires only 2 fabrics, a print one and a plain one. I highly recommend that you give this quilt block a try, I bet you will enjoy making this project. Learn how now by watching the video tutorial below.
Materials for Dear Jane Block C-6:
- Print fabric
- White fabric
- Freezer paper
- Marking pen, pencil, or chalk
- Ruler
- Scissors or rotary cutter and a cutting mat
- Needle and thread
- Fabric pins
- Iron, for pressing
- Sewing machine
- Pattern (Click here to download the pattern)
How to Make Dear Jane Block C-6:
Step 1
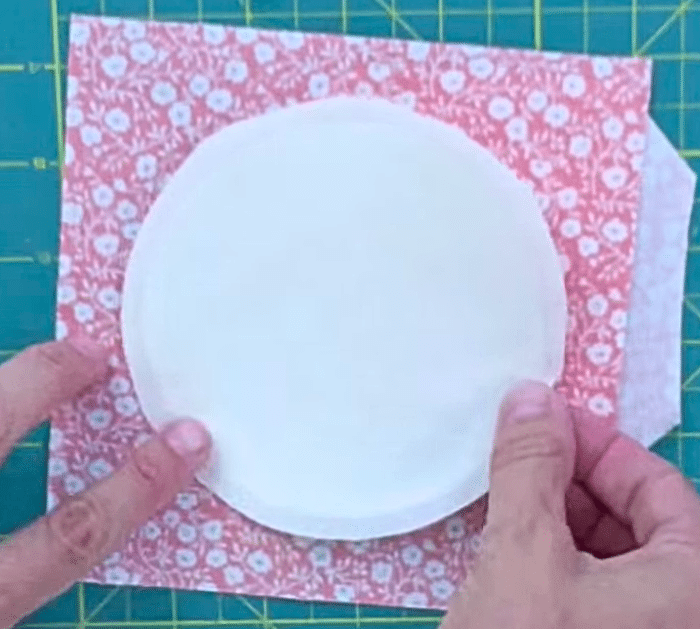
Cut out 2 circles with a 2⅛ inch radius on freezer paper, then trace the block’s cross pattern on one of the freezer paper circles, and cut out the corners following the drawn line. Press the freezer paper circle on the wrong side of a piece of white fabric, press the cross pattern on the right side of the print fabric, and cut a 5⅕ or 6-inch square in the print fabric.
Step 2
Cut around the circle leaving a ¼ inch of seam allowance, then cut around the cross shape leaving ¼ inch seam allowance, and place the white circle centered on the background square. Pin and baste them together, then applique the circle and fold the fabric in as you go.
Step 3
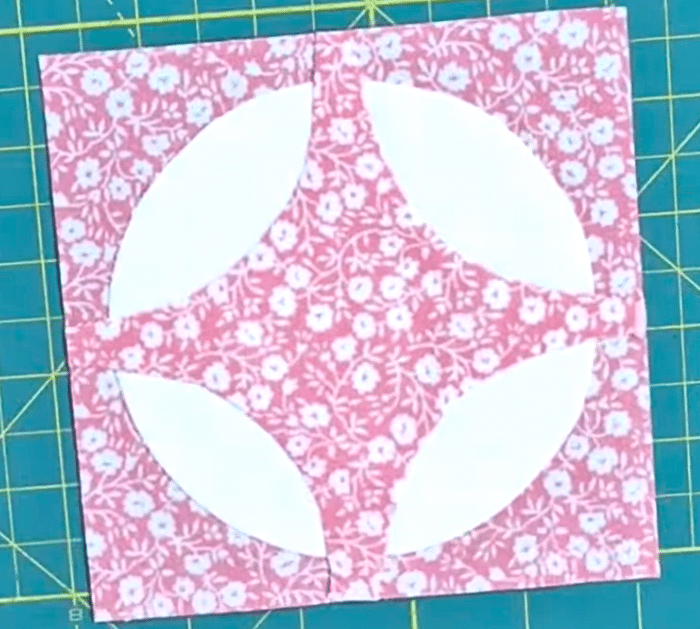
Press it with your fingers, then pick up each stitch slightly behind the previous one, and remove the basting. Baste the cross to the background leaving enough space to fold the fabric in, then make small cuts around the curves, and fold the fabric in all the way to the freezer paper.
Step 4
Sew around the shape in the same way as before, then use your needle to smooth the fabric as you fold it in, and then remove the freezer paper. Trim the block to 5 inches square, then remove the excess fabric and freezer paper at the back, and you’re done!
*All image credit belongs to Teresa DownUnder via YouTube. Follow and subscribe to her channel for more!
Easy Dear Jane Block C-6 Tutorial


")


