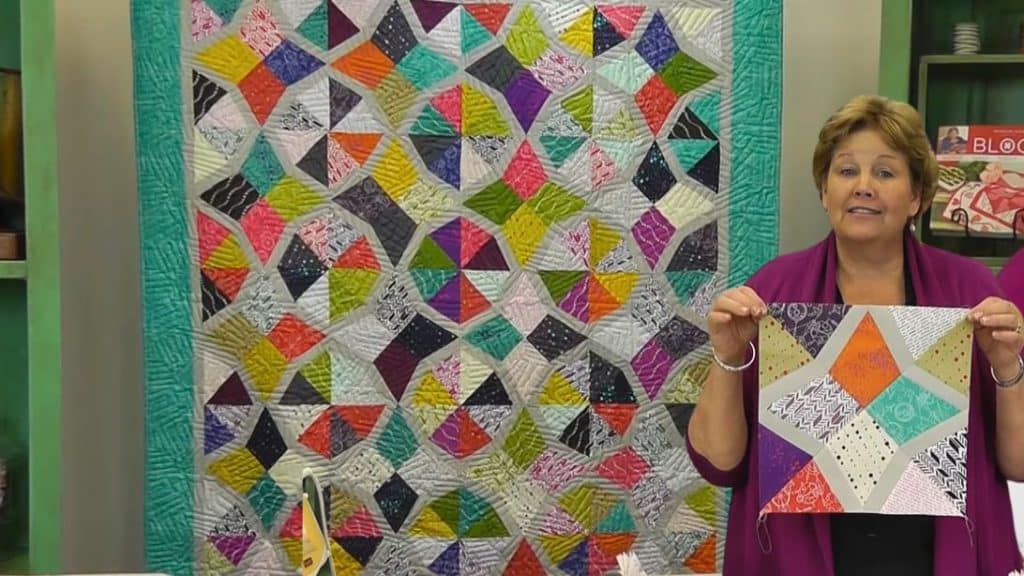
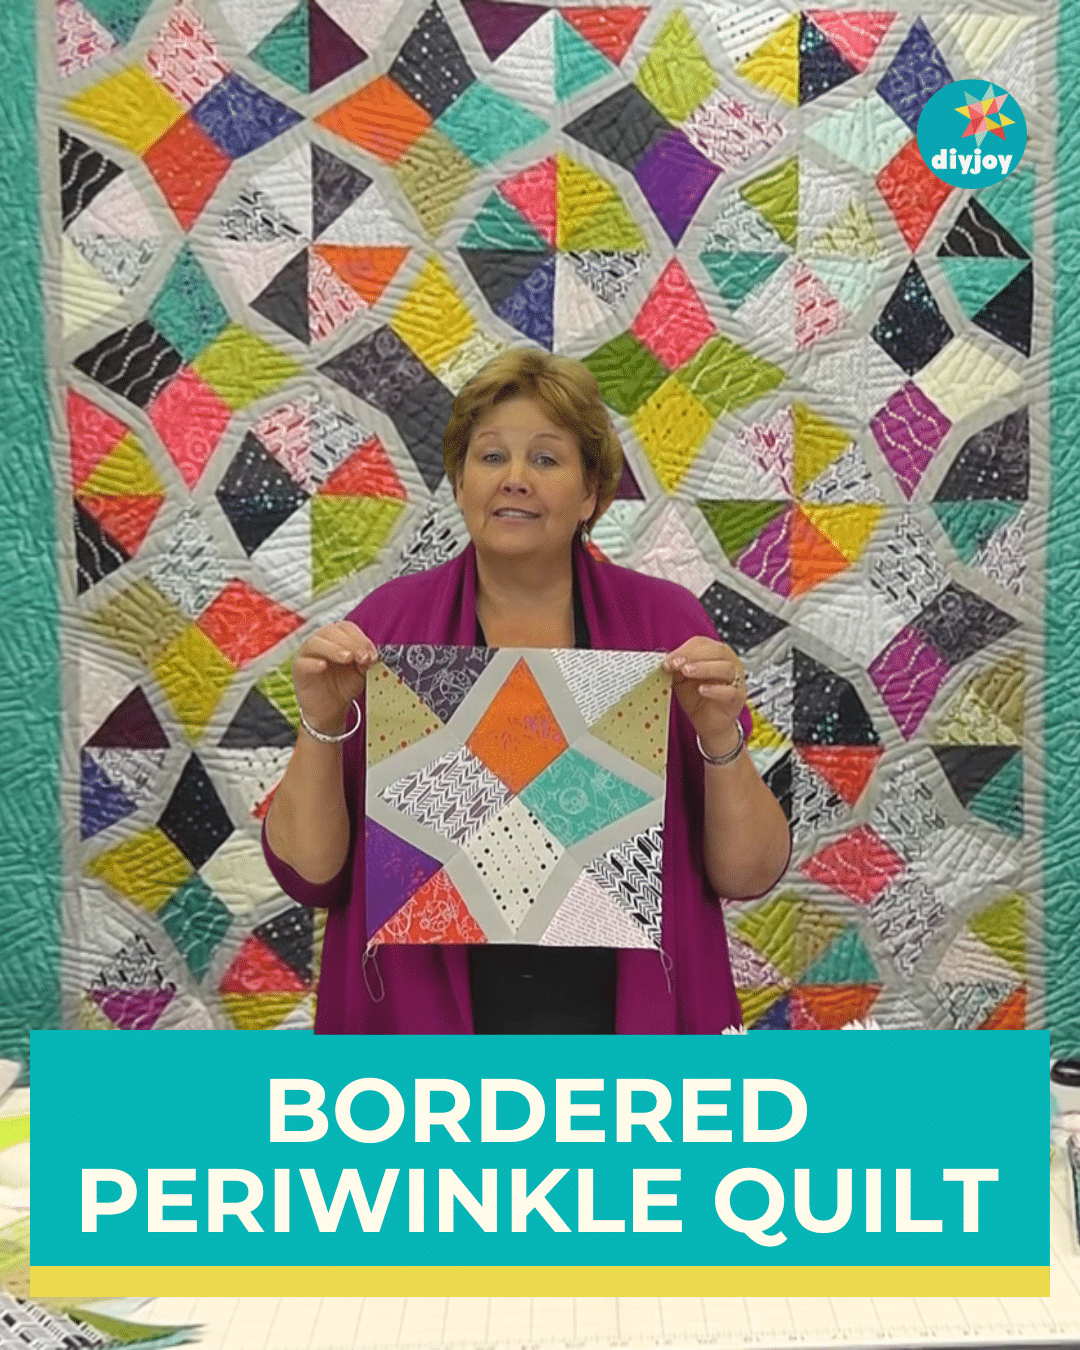
I can’t get enough of these gorgeous periwinkle patterns, and Missouri Star has plenty of them. They have the periwinkle quilt, mini periwinkle quilt, stretched periwinkle quilt, periwinkle plates quilt, and this bordered periwinkle quilt. All of them are beautiful patterns and are fun to make. This one is just like the vintage version, except it is bordered. It gives a nice touch to the old design.
RELATED: Mini Periwinkle Quilt With Jenny Doan
If you tried making any of the periwinkle patterns before, this project will be easier for you. The first thing you need to do is cut the shapes using the periwinkle template, then glue them on the wacky web paper. Sew strips of the sides for the border, then sew the side triangles. Once you have four of these triangles, arrange them together to make the block. How simple is that? Just make sure to line up the triangles. When you sew the blocks together, they will form a circle in the middle. I am sure you’ll have fun sewing this lovely pattern. Watch the video below for full instructions.
Easy Bordered Periwinkle Quilt Pattern Materials
- 1 pack of 40 – 10″ squares
- periwinkle template
- 80 wacky web papers
- 1 1/2 yards of gray borders or 1 roll of 1 1/2″ strips
- 1 1/4 yard of outside border
How to Make Bordered Periwinkle Quilt With Jenny Doan
Step 1:
Pick 4 pieces of 10″ squares and stack them together. Cut the stack diagonally from corner to corner.
Step 2:
Take the big triangles, place the periwinkle template in the center, and cut it out. Keep the side pieces aside.
Step 3:
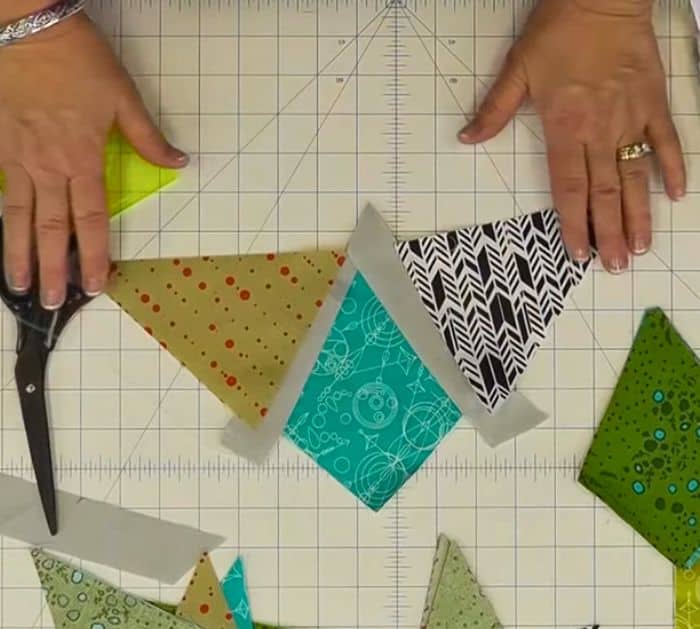
Take your paper and run the glue stick on it. Place the periwinkle on the center, lining up the corner. Cut 28 pieces of 1 1/2″ strips from the gray border fabric. Sew one strip on one side of the periwinkle. Press it flat and trim. Do the same to the other side.
Step 4:
Choose two pieces from the stack of sides and place on the sides of the border. Make sure they fit and sew them to the border with a 1/4″ seam allowance. Once done, trim it with the paper as a guide. Remove the paper from the back. You need four pieces of this finished triangle.
Step 5:
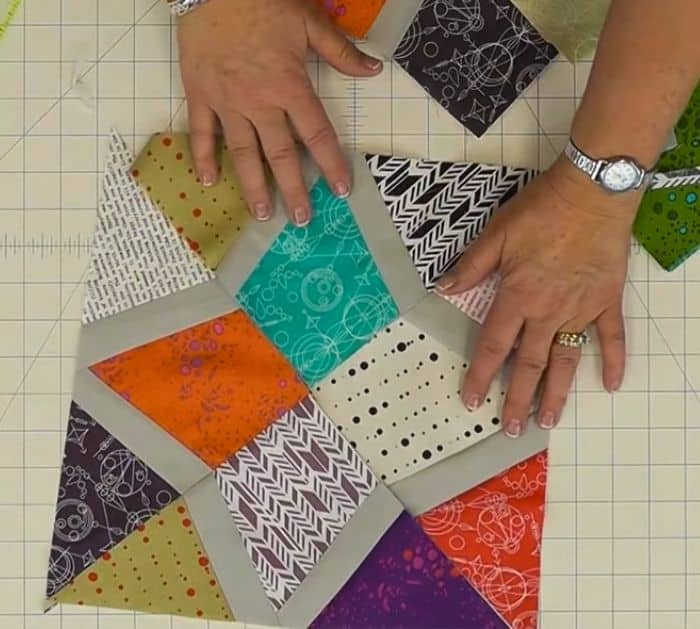
Arrange the four triangles into a block just like in the photo below. Sew them together and press.
You need 5 rows with 4 blocks each.


