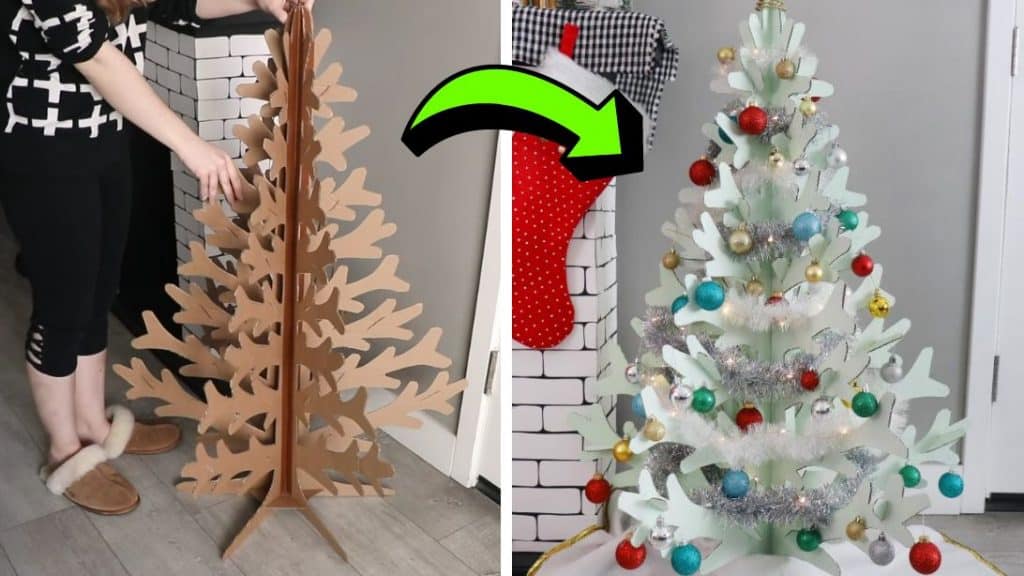
Decorating for Christmas is one of my most-anticipated activities ever! After Thanksgiving, I’m immediately looking forward for Christmas and I’m just too excited for it. When it comes to decorations, I prefer hadnmade ones because it’s so fulfilling and satisfying to see the finish product of all the decor knowing that I made everything by hand.
RELATED: 8 Easy And Creative DIY Christmas Tree Ornaments
This is also more budget-friendly and it is a great excuse to pay the Dollar store a visit, too. This project comes with a free template linked below so it is guaranteed that you can make the exact tree as shown in the video tutorial on your own. You can personalize and design your tree however you want, but for now, check out this video by HGTV Handmade on YouTube, and learn the steps now.
Materials for DIY Cardboard Christmas Tree:
- Large cardboard
- Pencil
- Tape
- Craft knife
- Scissors
- Cutting mat
- Paint
- Paintbrush
- Template (Click here to download the template)
How to Make a DIY Cardboard Christmas Tree:
Step 1
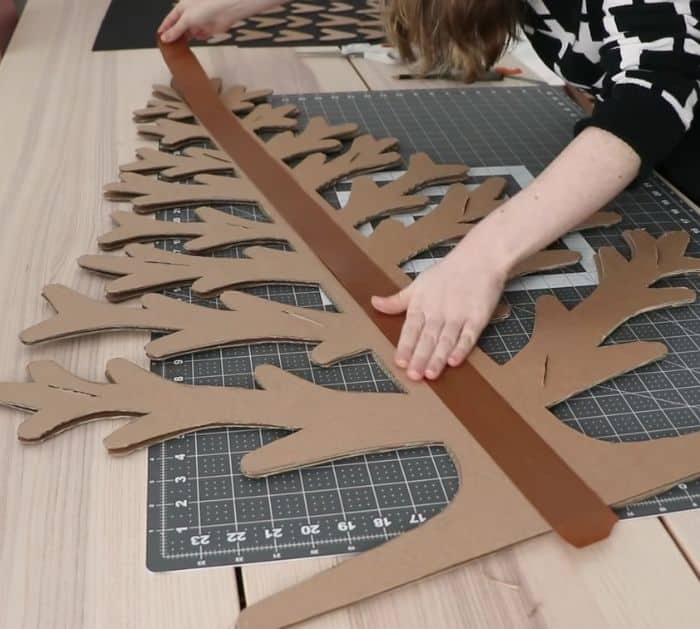
Download and print the template, then cut out the shapes, and tape them together. Carefully cut out the curved sides, then tape the half tree template on a cardboard, and trace the shape. Cut it out, then make a total of 6 tree halves, and set them aside.
[social_warfare]
Step 2
Trace the small piece of template on a cardboard, then cut it out, and make a total of 35 pieces. Tape together 2 cardboard tree halves, then slit the branches where you will insert the small cardboard pieces, and assemble the tree taping them together securely.
Step 3
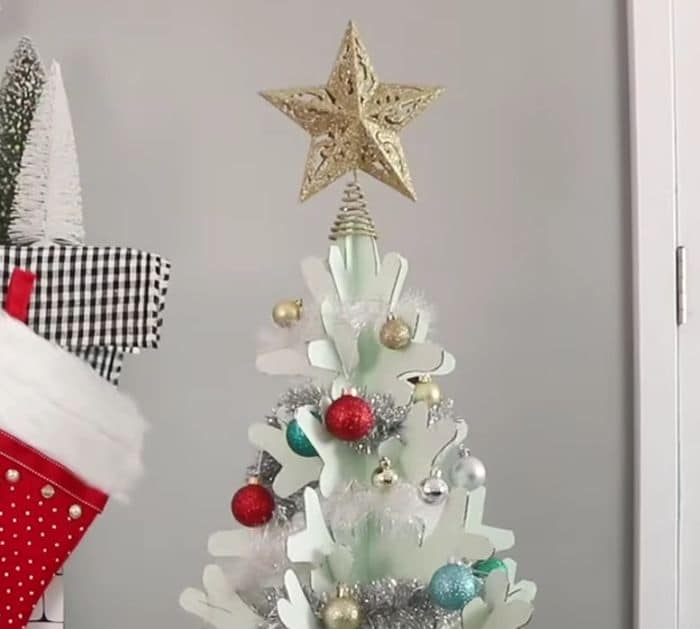
Cut out the base of the tree, then attach it underneath the tree, and insert the small cardboard pieces into the branches as shown in the video. Paint the tree, then let it dry completely, and decorate it however you want.
*All these images are credited to HGTV Handmade via YouTube. Give their channel a visit and subscribe for more!
