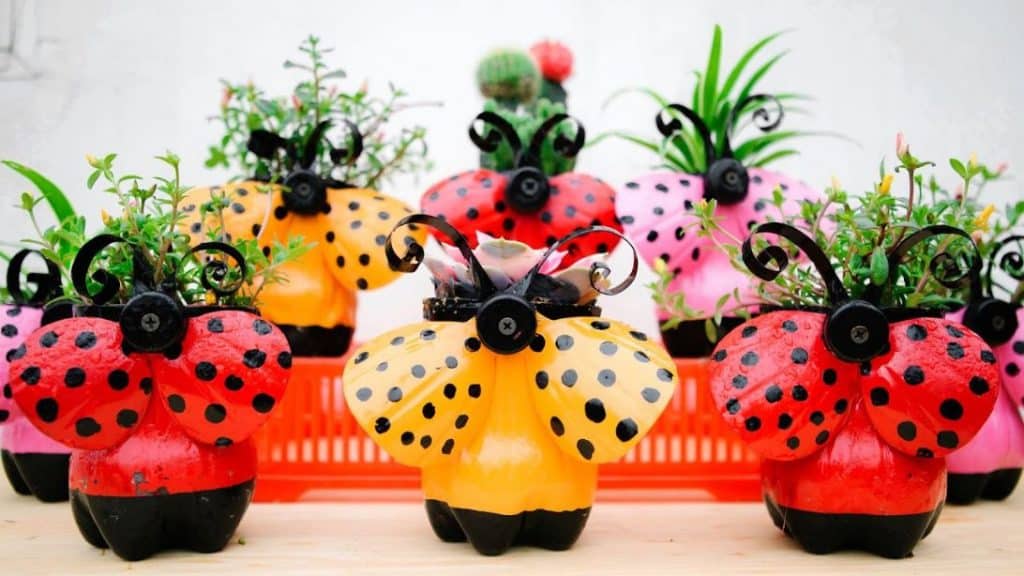
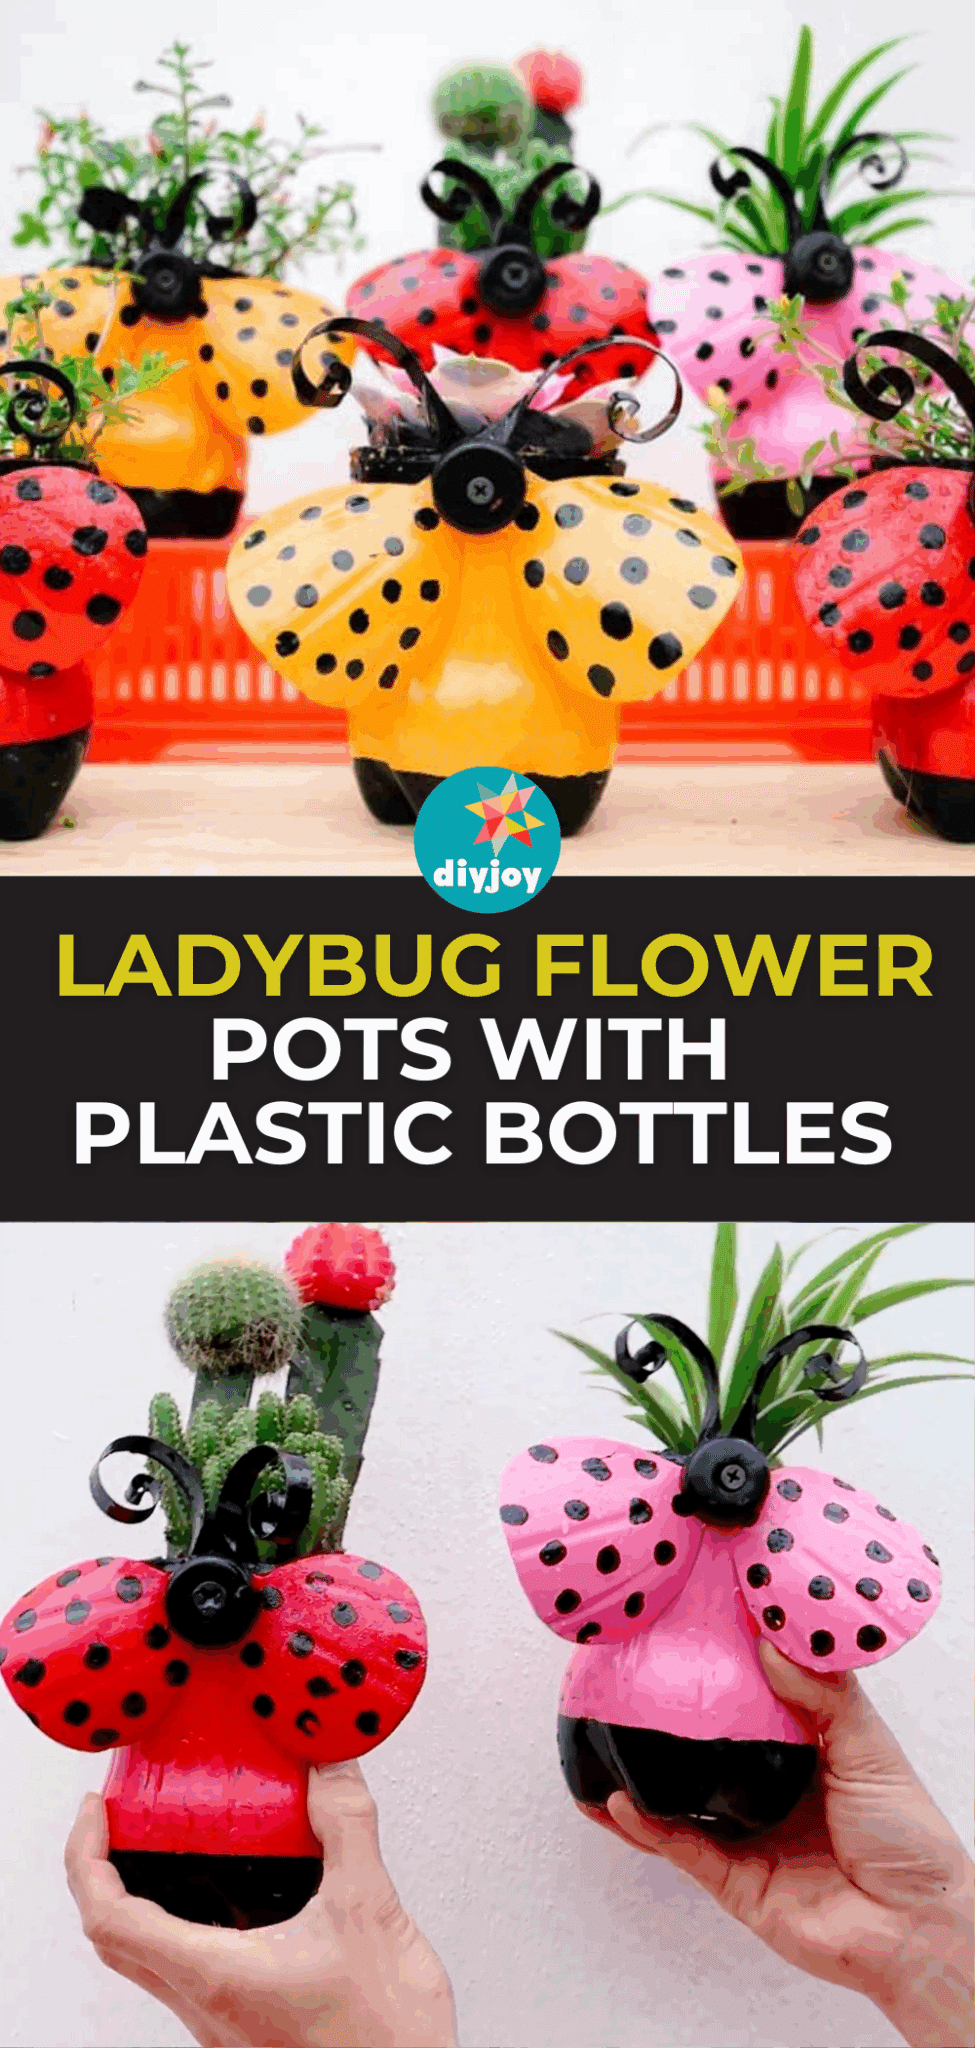
Don’t throw your plastic bottles just yet, as you can still repurpose them! Did you know there are so many DIY projects you can make with them? You just really need to be creative. One of my favorites is this idea by 5T1 Garden on Youtube. I love how bright and cute these turned out. You can even make them in different colors! Learn how to make ladybug flower pots from plastic bottles by watching the video below.
Materials:
- plastic bottle
- blade
- scissors
- marker
- black and red paint
- painter’s tape
- screw
- brush
[social_warfare buttons=”facebook,pinterest,twitter,whatsapp”]
Instructions:
Step 1:
Remove the label of the plastic bottle. Cut the bottom part following the line on the bottle using a blade. Do the same for the top part.
Step 2:
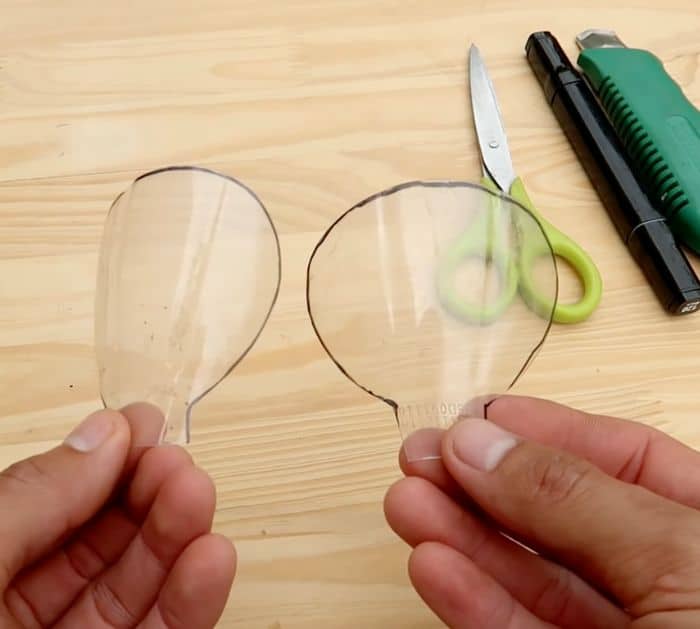
Cut the neck part of the bottle from the top part then cut it into two equal sizes. Draw two vertical lines from the top, then a connecting circle, just like below. Cut and repeat with the other piece.
Step 3:
Paint the bottom part with your preferred color. Do the same with the cutout pieces earlier. Let them dry completely.
Step 4:
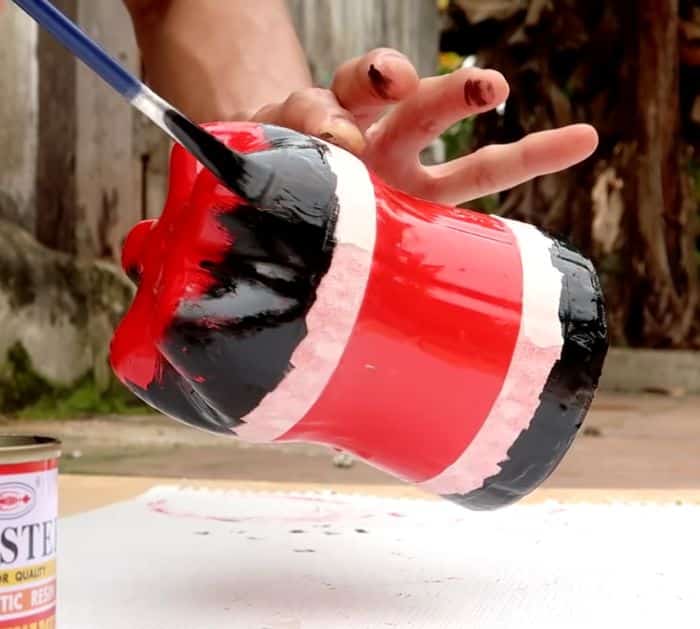
Put painter’s tape around the bottom part just below the top and just above the curved part on the bottom. Paint the top and bottom parts black.
Step 5:
Get another bottle and cut the middle part, then cut it in half. Next, cut two small strips from the long side, roll one of the ends for each one then paint them black. These are for the antennas.
Step 6:
Paint a bottle cap black. Next, make dots on the wings of the ladybug.
Step 7:
Remove the painter’s tape once the paint is completely dry.
Step 8:
Attach the antennas on the edge of the painted bottom part of the bottle. Next, attach the wings. Lastly, screw the bottle cap into the bottle. Add soil and your plant.
