The gap between a repair you can do and one you should pay for is smaller than it looks, and it usually comes down to knowing which product goes in the hole. Bondo for wood rot. Setting compound, not joint compound, for drywall. A crayon in a matching color for nail holes in trim, because paint will not stick to wax and you were never going to paint that trim anyway. These 12 DIY home repair ideas are the ones with a specific answer at the end: the exact filler, the cure time, the reason the patch shows through the paint if you skip priming it. Some are five minute fixes with a bottle you already own. One involves going under the floor. All of them beat looking at the thing for another year.
1. Patch A Hole In The Wall
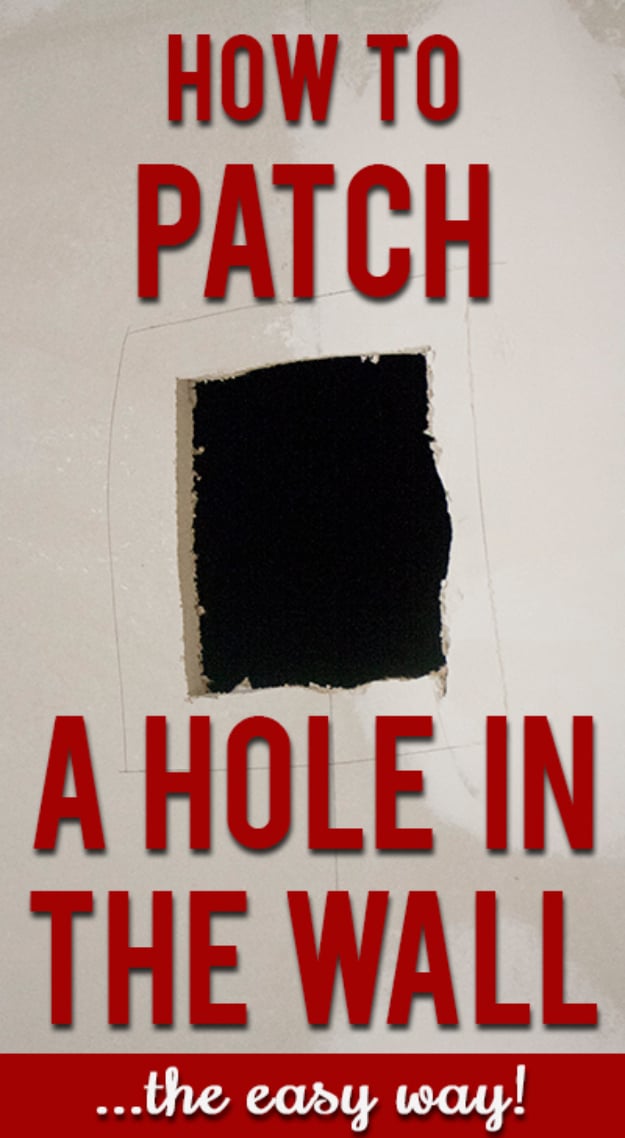
Cut the ragged hole into a clean rectangle first and use that cut out as the template for the patch, which is the step that turns an awkward repair into a square one. Strip the paper layer off both the patch and the wall around the hole so the joint compound sits flush instead of proud. Slip a board slightly longer than the opening in behind, screw it to the existing drywall, then screw the patch to the board. Tape the seams, spread the mud over them, sand lightly between coats and keep adding coats until it is smooth. Prime it before you paint or the patch will drink the paint and show.
Get the full tutorial at View Along the Way.
2. Frugally Fill Nail Holes
A crayon. That is the whole trick, and if you own one of those boxes of 96 you almost certainly already have the color. Press it firmly over the hole like you are coloring, and wipe any excess off the trim with a dry rag, which takes it straight off. For a bigger hole, warm the crayon slightly with a lighter so it goes soft and malleable, rub it in, let it set, then clean up the edges. One limit that matters: this is for wood trim and cabinetry only, not drywall, because paint will not stick to wax. Use it on crown molding and baseboards after the finish nailer.
Get the full tutorial at The Gracious Wife.
3. Fix Small Areas Of Wood Rot
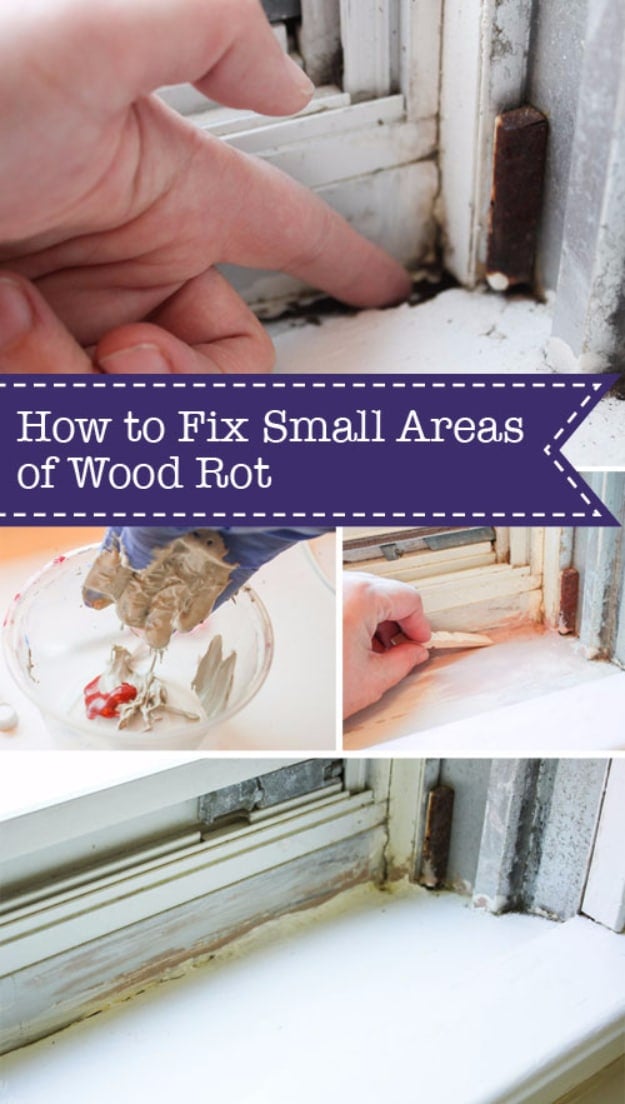
Bondo, the automotive body filler, mixed with cream hardener. Scrape every bit of soft decayed wood out first with a utility knife until you are back to something solid, sand the edges of the void smooth, then vacuum out the dust, because filler will not bond to a surface that still has crumbs on it. Mix about a golf ball of Bondo with an inch of hardener until the color is uniform, press it into the hole with a paint stirrer or a shim and smooth it as far as you can. Let it harden fully, sand it level, paint to match. Faster than replacing a door jamb and a great deal cheaper.
Get the full tutorial at Pretty Handy Girl.
4. Fix Scratched Hardwood Floors In About 5 Minutes
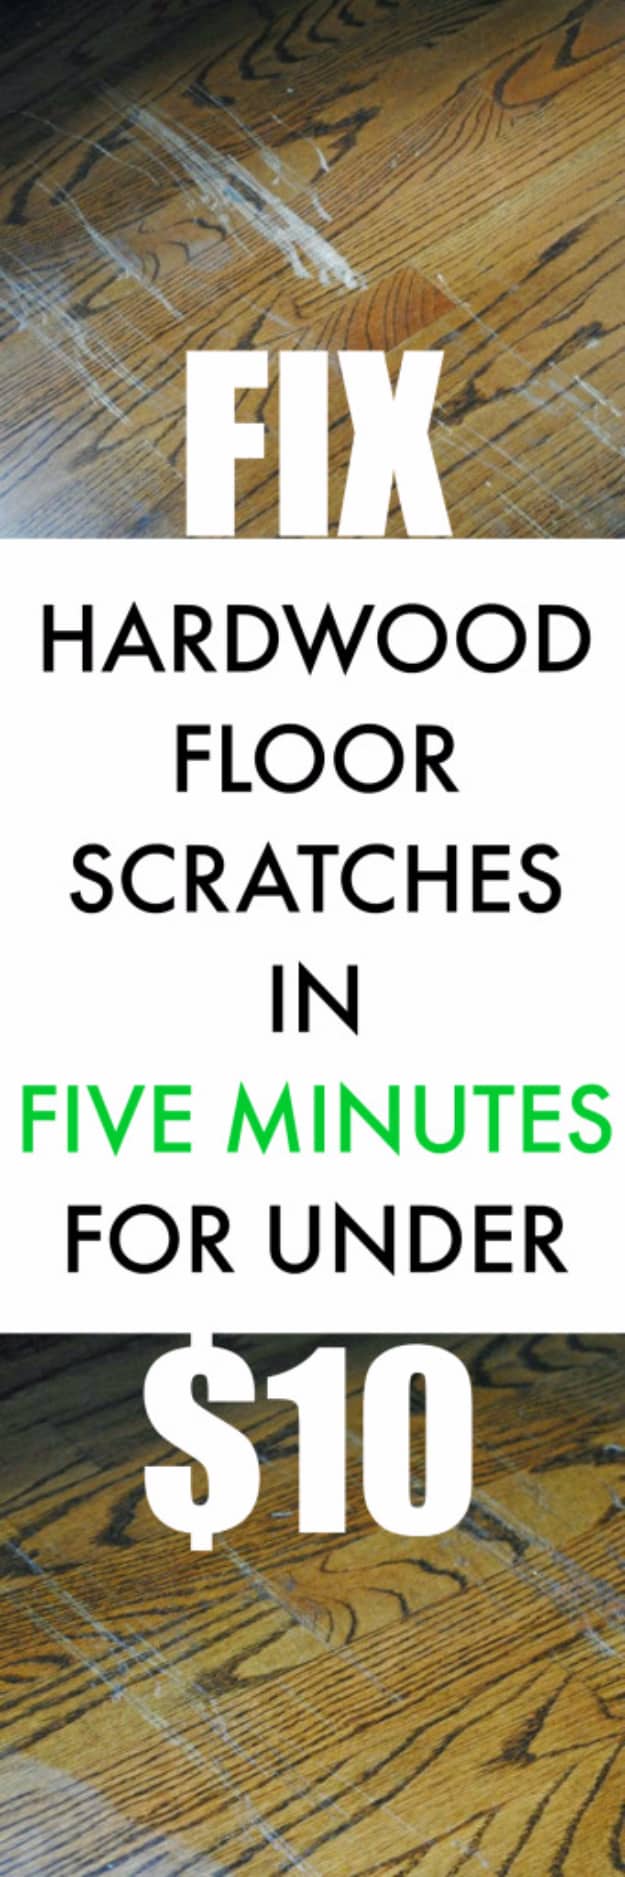
Howard Restor-A-Finish, which is on the shelf at Home Depot, Lowe’s and Ace, in a shade matched to your floor. Puddle a little directly on the scratched area, work it into the scratches with a paper towel, then buff the area dry with several clean towels until it stops looking wet. That is five minutes and about ten dollars. Be clear on what it does: it makes minor scratches genuinely disappear and deep gouges considerably less obvious, but it is a blending product, not a repair, so a gouge that has taken out wood still needs sanding and refinishing eventually.
Get the full tutorial at The Chronicles of Home.
5. DIY Sliding Barn Doors For Small Rooms

A barn door earns its place in a small room for one reason: a swinging door needs a clear arc of floor, and a sliding one needs a clear stretch of wall, and most tight bathrooms have the wall and not the floor. This one is a herringbone panel in natural wood against a deep blue wall, hung on exposed black track hardware, and it was built over a single weekend by two people who say plainly that they are not woodworkers. Measure the wall run beside the opening before you buy anything, because the door has to be wider than the opening and the track has to be about double.
Get the full tutorial at DIY JOY.
6. Flawless Dry Wall Repair
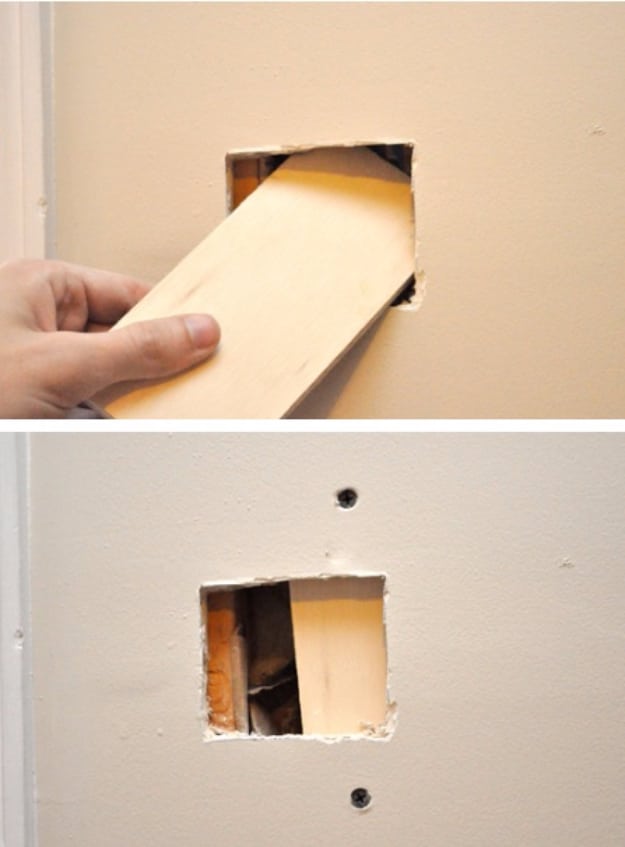
The product choice is the whole game here. Setting compound, the kind that comes as a powder and is often called hot mud, cures by chemical reaction instead of drying out, so it shrinks very little and sets very hard, which is why a patch made with it does not sink over the following month. Square the hole, screw quarter inch plywood backers in behind it, screw in a piece of drywall the same thickness as the wall, then three coats over fiberglass mesh tape: one to bed the tape, one to feather the edges, one to finish. Sand with 100 grit, prime, and roll the paint rather than brushing it so the texture matches.
Get the full tutorial at One Project Closer.
7. Fixing Faded Patio Furniture
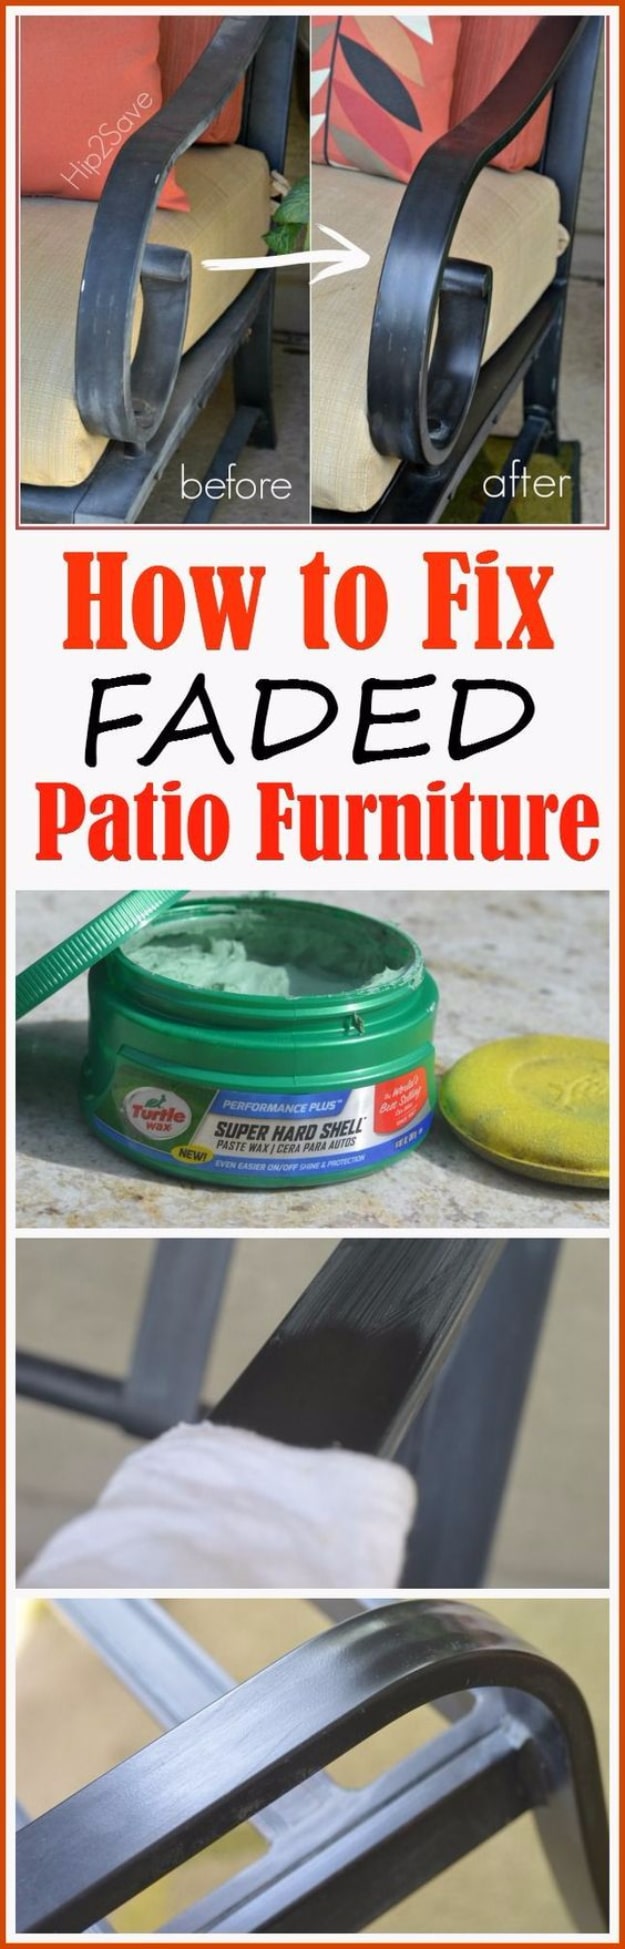
Car wax. Wash the aluminum furniture with soapy water and let it dry completely, then spread a thin layer of automobile wax over one section at a time. It dries in about a minute, and then you buff every trace of it off with a clean dry cloth, which is when the chalky faded surface comes back dark and glossy. Work in sections and do not wax the whole chair at once, because wax left sitting is hard to remove and leaves a white chalky film, which is exactly what several readers reported when they tried to speed it up. Cheaper than a new outdoor set by three figures.
Get the full tutorial at Hip2Save.
8. Repair Minor Wood Rot
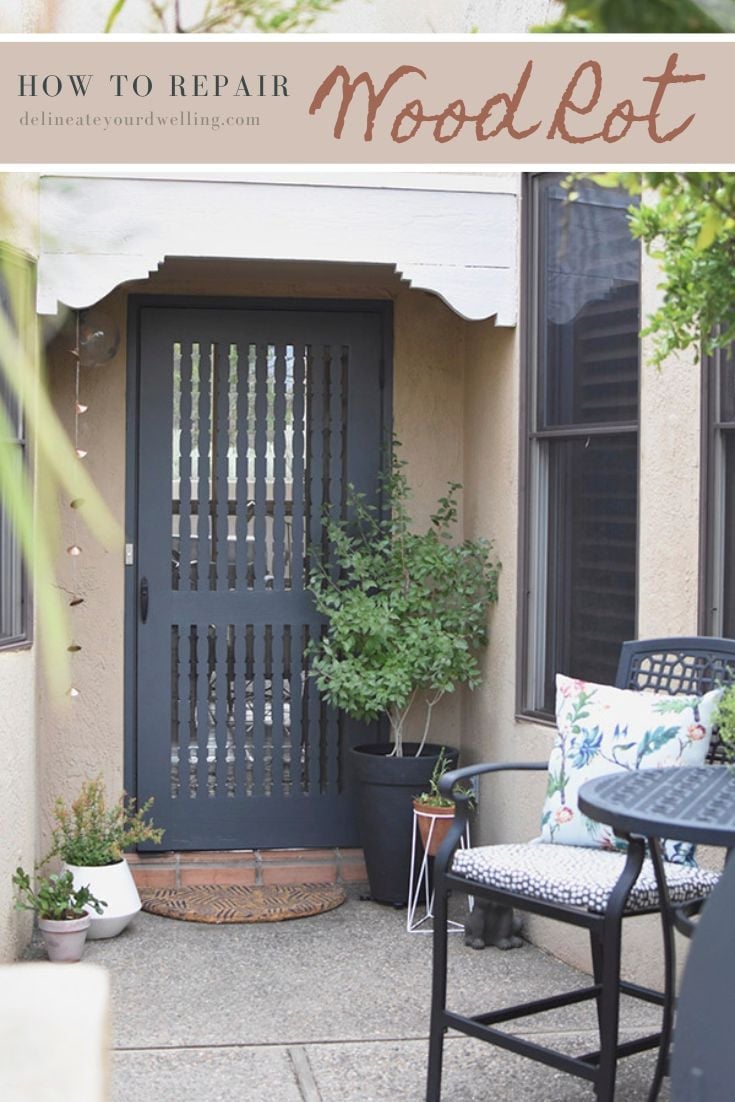
Soft, crumbly wood on a door or gate doesn’t always mean a pricey replacement. This fix starts by scraping out every bit of the rotten wood, then brushing on Minwax Wood Hardener until the surface looks shiny and letting it dry two to four hours. Next comes Minwax Wood Filler, smoothed on with a plastic spreader and sanded flush. A coat of exterior paint seals it all in. The project on the page is a uniquely patterned screen door that came back looking brand new, perfect for anyone who just got a scary replacement quote.
Get the full tutorial at Delineate Your Dwelling.
9. Painting A Bathtub
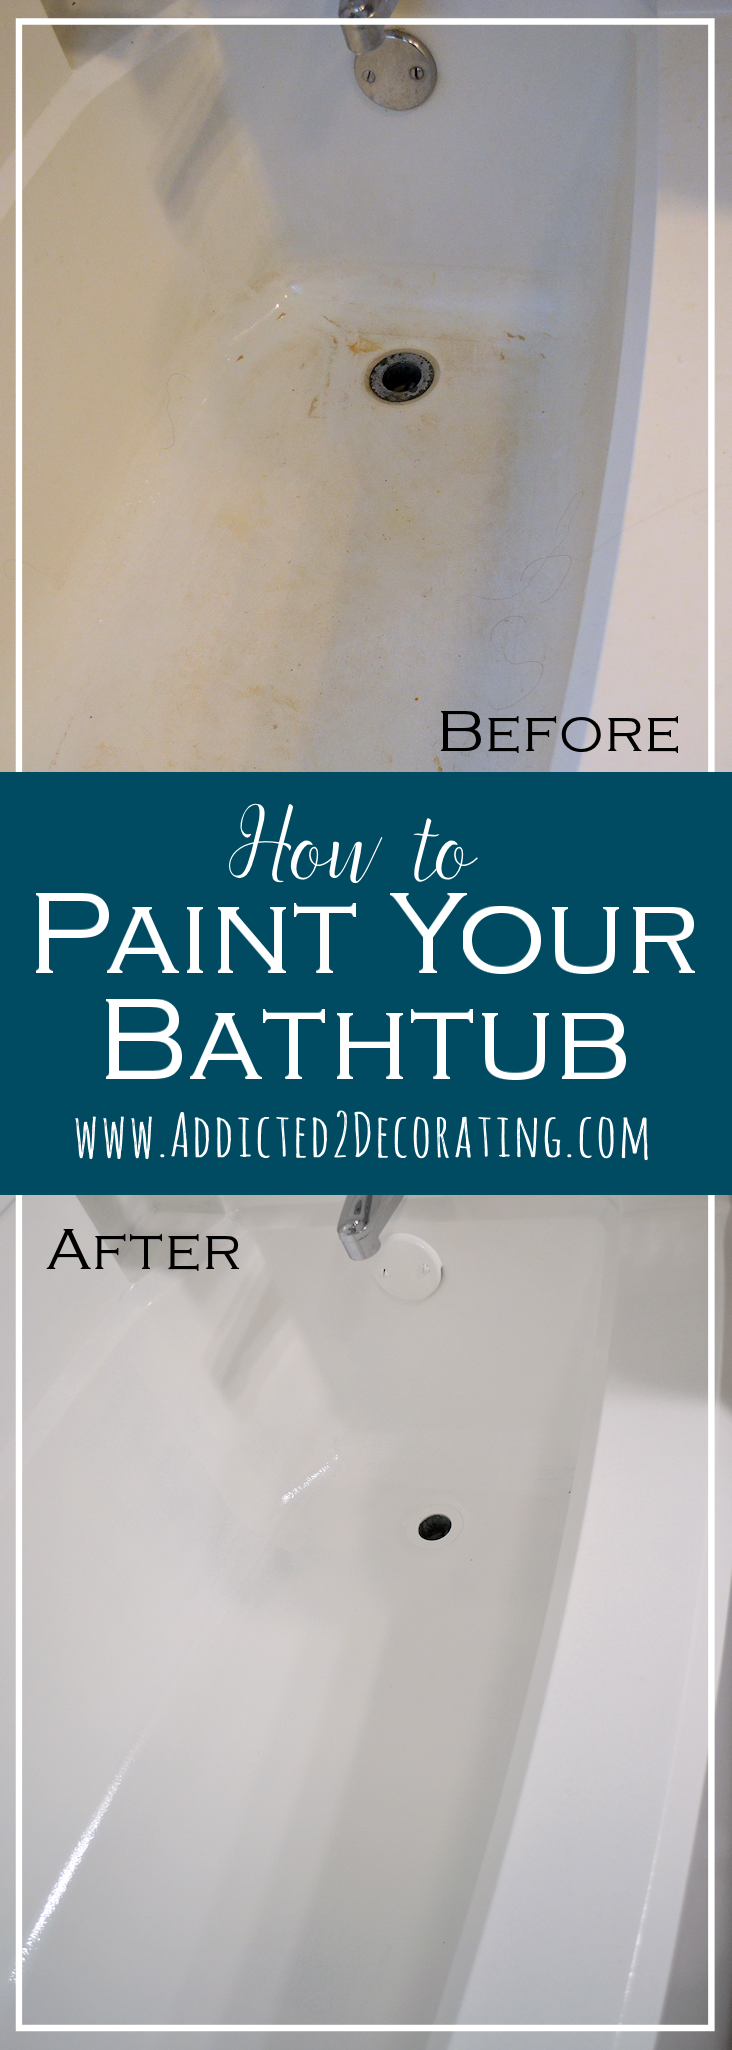
A two part epoxy kit made for porcelain, ceramic and fiberglass, and the whole result rests on the prep rather than the paint. Roughly an hour and a quarter of it: wash with bleach and water for mildew, scrub with Comet, treat with Lime Away and a scouring pad, sand with 400 then 600 grit wet and dry, air dry about ninety minutes with a fan, wipe down dry. Then cut in with a two inch sash brush and roll the rest with a three eighths inch nap, two coats, about ninety minutes apart. Wear a respirator, not a dust mask, because the fumes are genuinely punishing. Cure three days before use.
Get the full tutorial at Addicted 2 Decorating.
10. Repairing Veneer
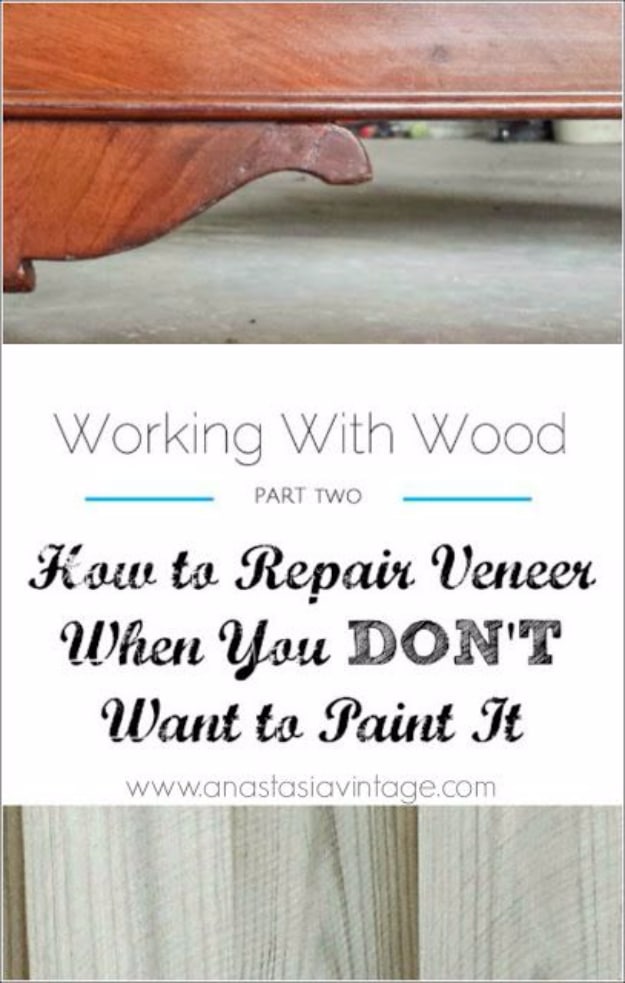
The usual advice for chipped veneer is to cut a new patch and glue it in, which works beautifully on a straight edged loss and terribly on a jagged one. This is the alternative for jagged ones. Fill the missing patch with wood filler and sand it level, pressing the sandpaper in as you go to fake the grain texture. Then build the color in layers with an artist’s brush, starting with the lightest stain that matches the veneer, letting each thin coat dry, and working up through progressively darker stains, deliberately leaving a few brushstrokes so the patch has variation instead of reading as a flat block. Polyurethane over the whole surface to even it out.
Get the full tutorial at Anastasia Vintage.
11. Remove Wallpaper The Easy Way
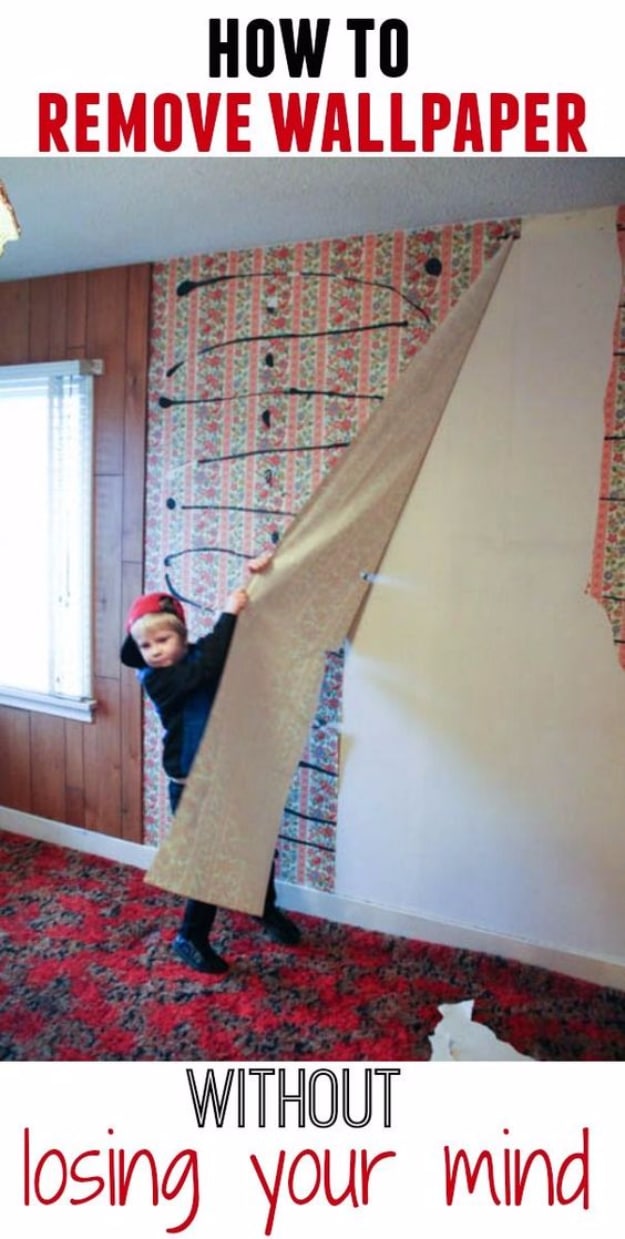
Two layers, two different problems. The decorative top layer peels off dry, in small stubborn chunks, and that part is just patience. The backing layer underneath is what the steamer is for: hold the paddle on each section for ten seconds or more, working from the top down, and when the machine’s light comes on and it needs a break, spend that pause scraping what you just steamed rather than standing there. Steam, wait, scrape, repeat, and you have a rhythm instead of a fight. Then wash the glue residue off with warm soapy water or TSP before you prime, because dried paste under primer will telegraph through the paint.
Get the full tutorial at Krista, The Happy Housie.
12. Rewire A Lamp
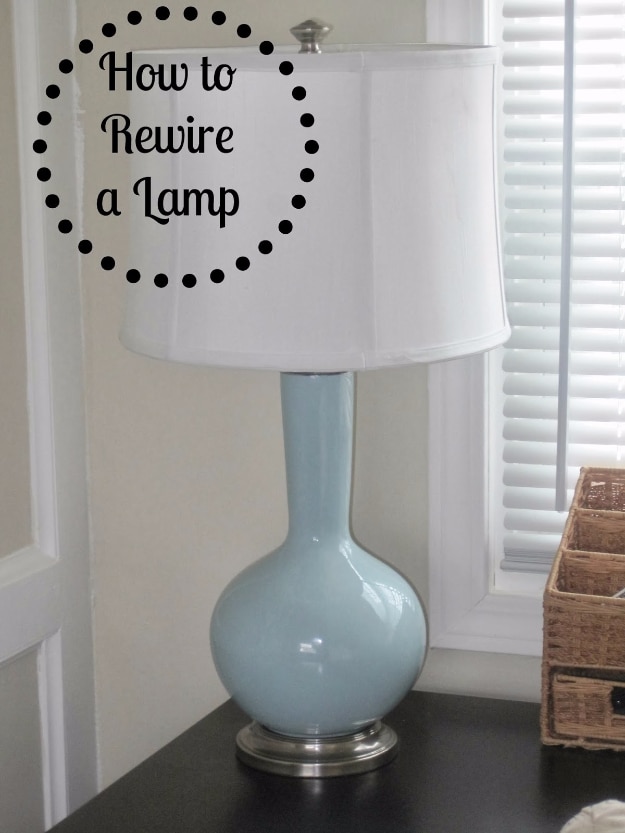
A rewiring kit runs about ten dollars at a hardware store, which is the number that makes thrifted lamps worth buying. Loosen the base, unscrew the terminal screws to free the old socket, and pull the damaged cord out through the bottom opening. Thread the new cord up through the lamp’s center tube, wrap one wire around one screw and tighten it, the other around the other, then test the bulb before you reassemble anything. Keep your fingers well off the screws and exposed wire while it is plugged in; the maker puts that in capitals and she is right to. Tighten the base, add the shade, done.
Get the full tutorial at Decorated Chaos.