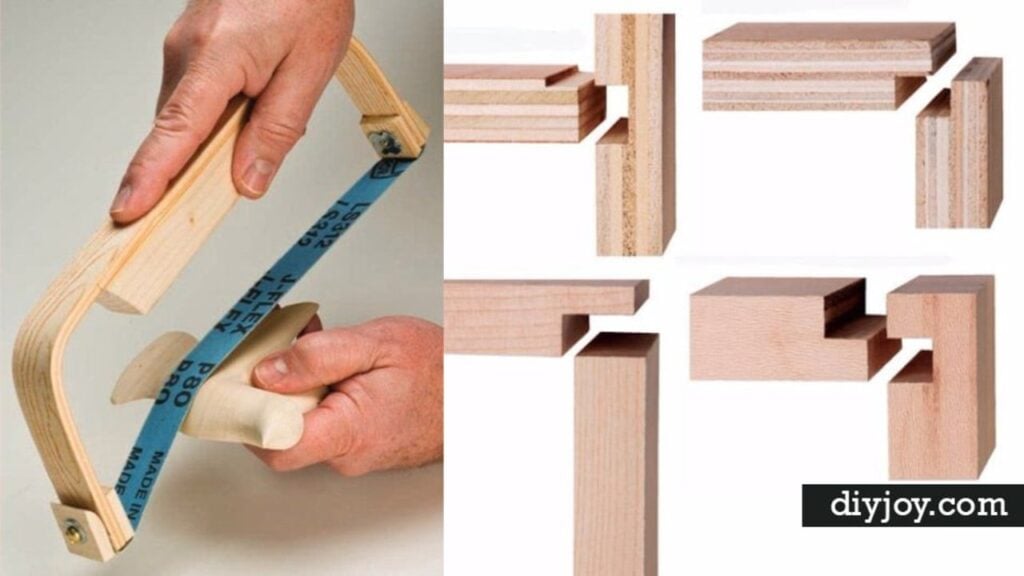
My mother kept a DIY home repair book on the shelf and did all the house maintenance herself, which is the entire reason I believe a person can learn a skill from a page instead of an apprenticeship. These woodworking tips are that page. Not a pile of project plans, but the small pieces of knowledge that change how everything else turns out: cutting on the waste side of the line so your board is the length you actually wanted, working through the sanding grits in order so stain soaks in evenly instead of blotching, watching a wet finish in reflected light so you catch a sag while it still brushes out. Some are five second habits and some are little shop builds worth a Saturday. All of them are the kind of thing you normally only learn by ruining something first.
Table of Contents
- 1. Perfect Mitered Picture Frame
- 2. Easy Graphic Transfer Tutorial On Wood
- 3. Build A French Cleat Shelf
- 4. Basic Rabbet Joints
- 5. Introduction To A Band Saw
- 6. Accurate Cuts With A Miter Saw
- 7. Make A Planer Riser
- 8. Stain Wood To Reveal The Grain
- 9. Build A Simple Side Table
- 10. DIY Downdraft Sanding Table Box
- 11. Avoid Wood Runs And Sags
- 12. Kreg Jig Tutorial
1. Perfect Mitered Picture Frame
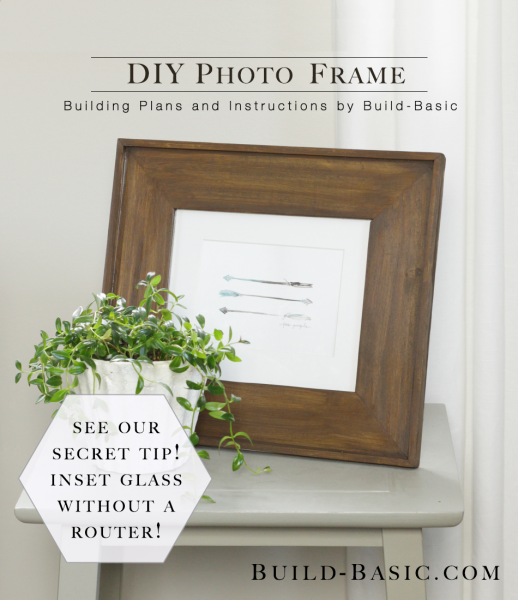
Here is a picture frame with inset glass that never touches a router, which is the whole clever part. Instead of carving a groove for the glass to sit in, you pad the back of the frame with paint sticks and cap the outside edges with trim, then hold the glass and photo in with four turnbuttons. The surround is quarter inch lattice, mitered at opposing 45 degree angles marked with a speed square. It runs about twelve dollars and an hour of work plus drying time, and it is sized for an eight by ten glass insert.
Get the full tutorial at Build Basic.
2. Easy Graphic Transfer Tutorial On Wood
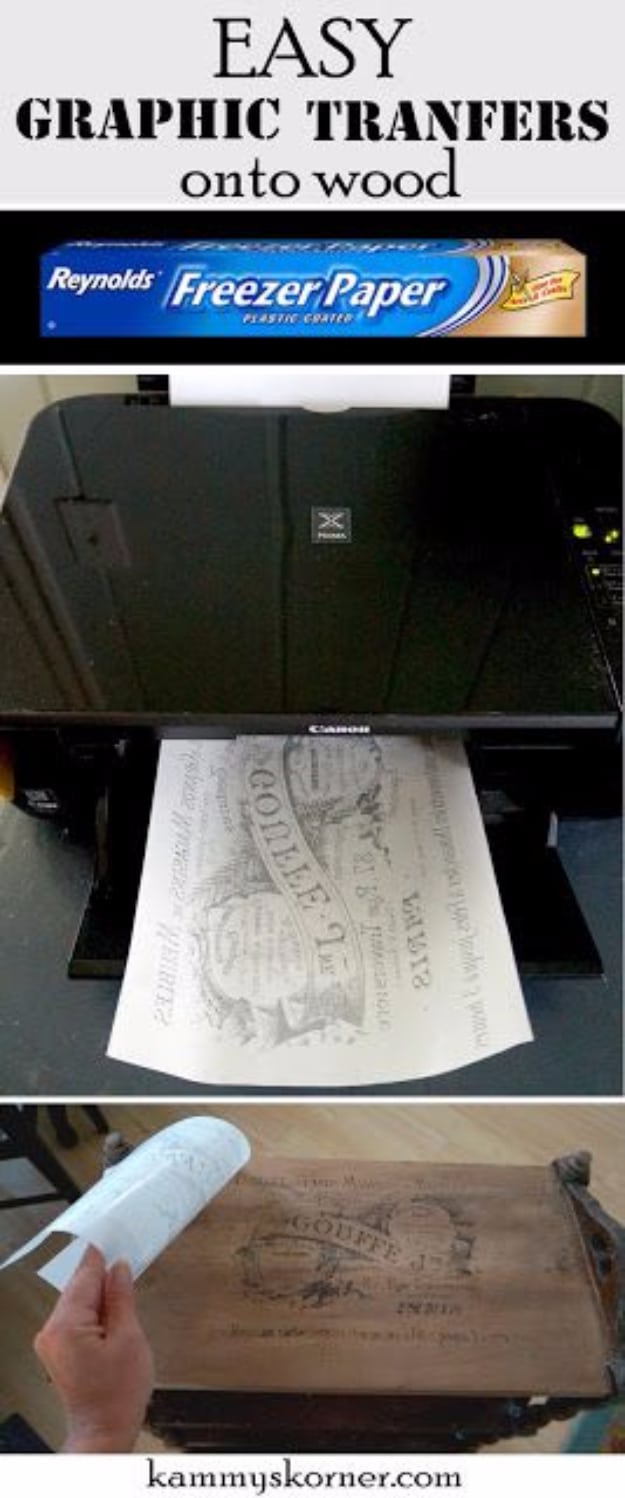
This is the freezer paper trick, and it is the cheapest way to get a printed graphic onto bare wood. You cut freezer paper to letter size, run it through an inkjet printer so the image lands on the waxy side, then lay it face down on raw wood and rub firmly all over with the back of a spoon. Print your image reversed if it has any words in it. Seal it with satin polyurethane, sanding lightly between coats. Do not attempt this in a laser printer, it will wreck the printer.
Get the full tutorial at Kammy's Korner.
3. Build A French Cleat Shelf
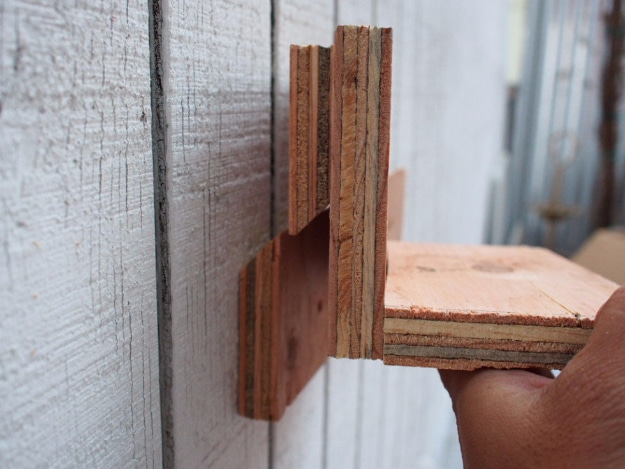
A French cleat is two pieces of wood, each with one edge bevel ripped to 45 degrees. One goes on the wall with the bevel facing up, the other goes on the back of whatever you are hanging with the bevel facing down, and the two hook together. No glue, no fasteners at the moment of hanging, and you can lift the thing off and move it in a second. For a shop wall, start with a strip of three quarter inch plywood five inches wide and at least thirty inches long so it catches two studs.
Get the full tutorial at Popular Mechanics.
4. Basic Rabbet Joints
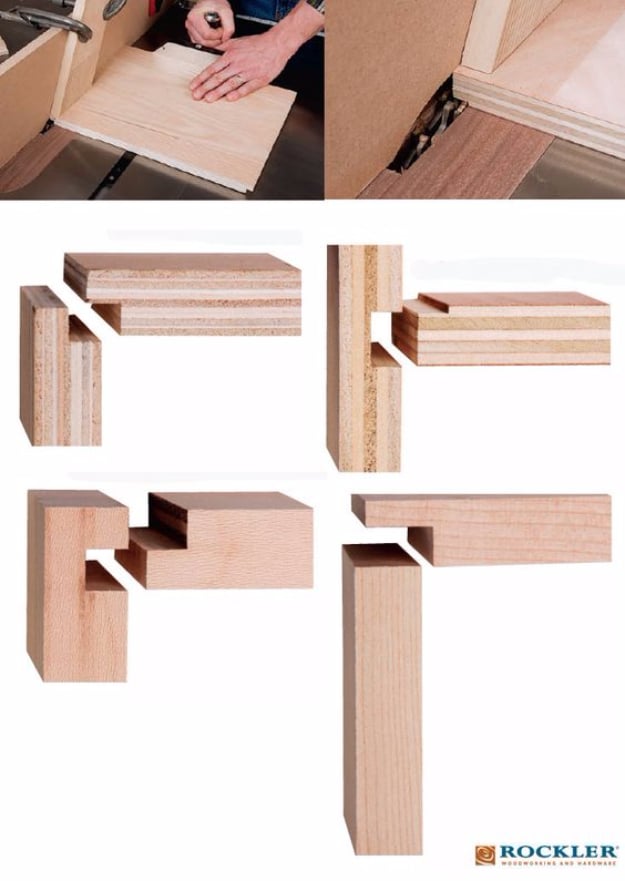
A rabbet is just a recess cut across the end or down the edge of a board so another board can drop into it, and all four of the basic casework versions can be cut on a table saw. The overlap rabbet is the workhorse: set the distance between your rip fence and the blade using the thickness of the mating part, then cut it in two passes with a standard blade or one swipe with a dado head. It is cross grain, so reinforce the glue with dowels or fasteners driven through the tongue.
Get the full tutorial at Rockler.
5. Introduction To A Band Saw

A band saw is a thin blade, most commonly an eighth of an inch wide, running like a belt over two wheels stacked one above the other. Those wheels are usually about fourteen inches across, and that number also tells you the deepest cut the saw will make. It is the tool for irregular shapes and curves, but the second thing people use it for is resawing, which is slicing a board down into thinner slabs or veneers. With the right blade it will also cut material other than wood.
Get the full tutorial at Assemble and Earn.
6. Accurate Cuts With A Miter Saw
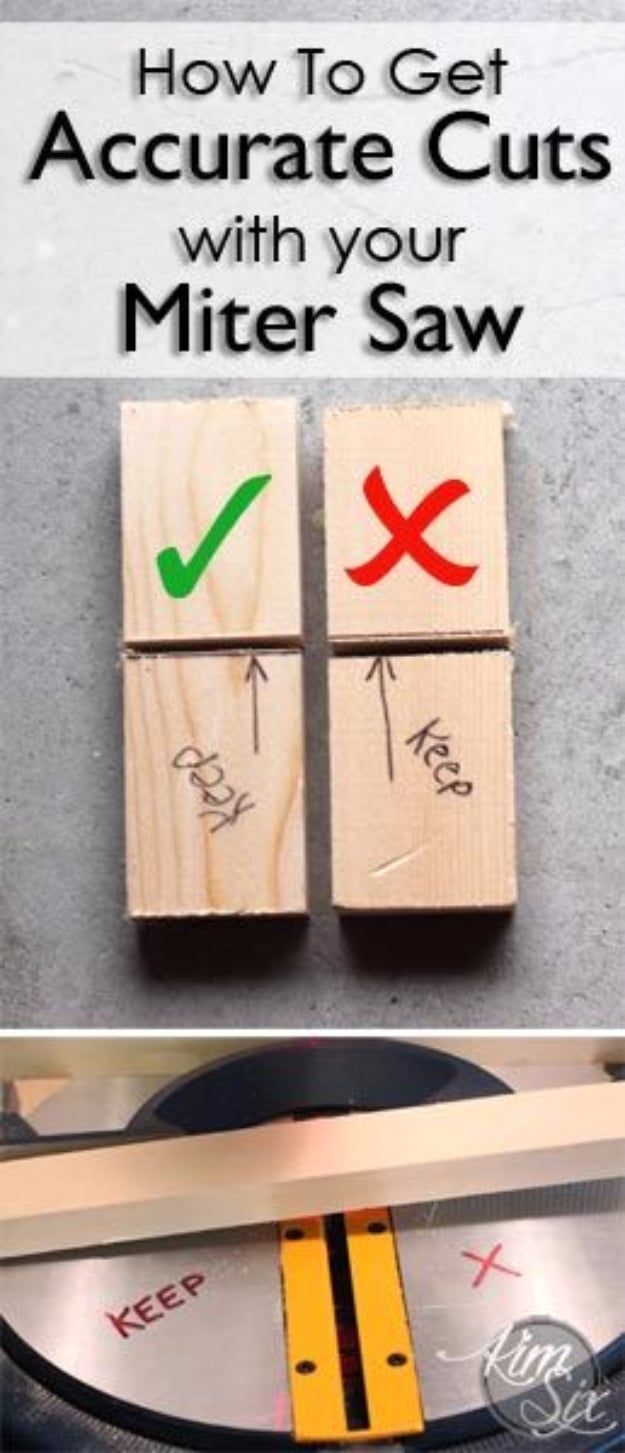
The laser guide on your miter saw is lying to you roughly half the time, and here is why. The blade does not split the board, it removes a slot of material called the kerf, nearly a quarter inch wide on some blades. So the rule is to always cut on the waste side of the line: put the blade right next to your mark, on the side of the wood you are throwing away. Do that and the piece you are keeping comes out at exactly the length you measured, every time.
Get the full tutorial at The Kim Six Fix.
7. Make A Planer Riser
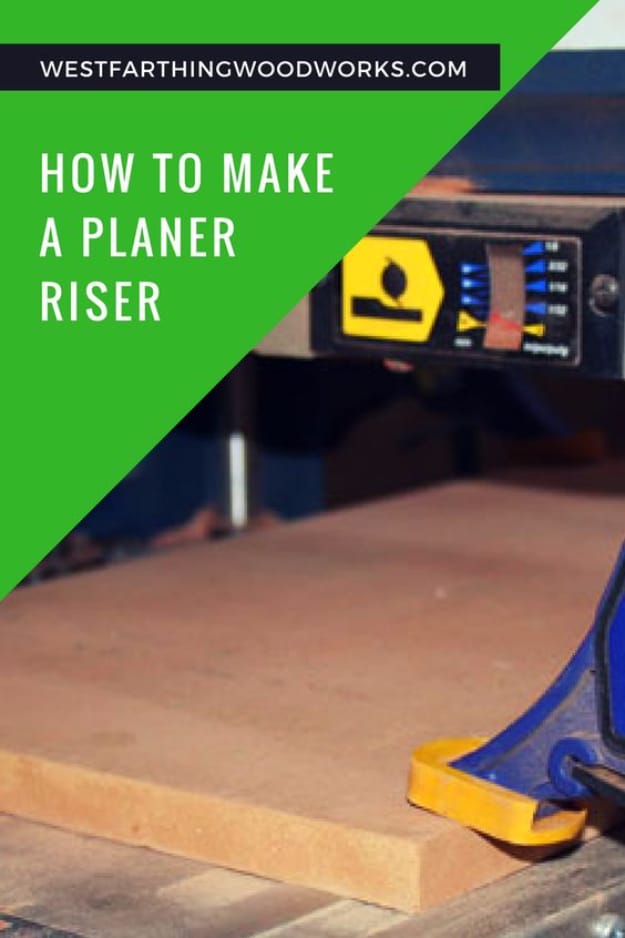
Most thickness planers will not take a board below about three sixteenths to a quarter inch, which is a problem if you want real thin stock for veneer or inlay. A riser is one flat board that lifts the work closer to the cutterhead and gets you past that floor. Make it from three quarter inch MDF or melamine, melamine for the built in slipperiness. Unplug the machine, measure the inside width edge to edge, cut it long enough to span both feed tables, and clamp it at all four corners with the clamps pushed right out to the edges.
Get the full tutorial at Westfarthing Woodworks.
8. Stain Wood To Reveal The Grain
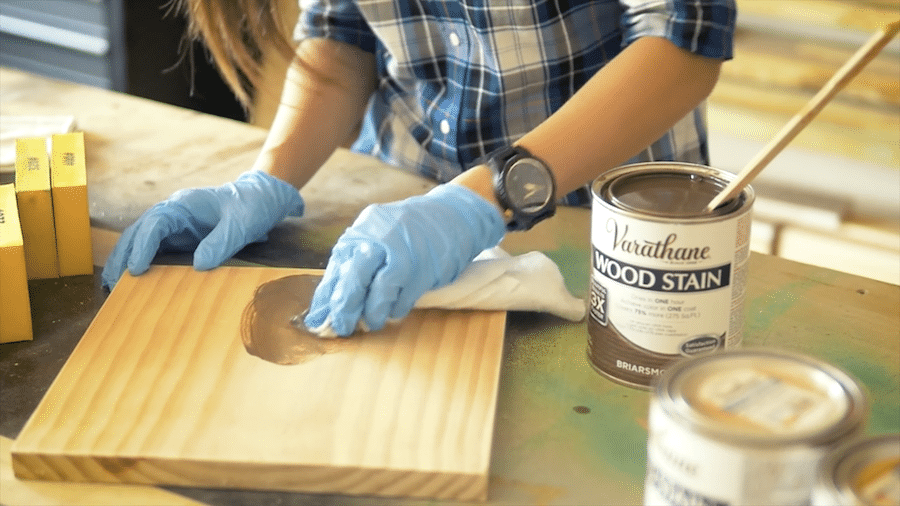
Blotchy stain is almost always a sanding problem, not a stain problem. Work up through the grits in order, 120 then 150, 180, 220 and finally 320, and do not skip any of them, because sanding is what opens the wood fibers so the color can get in evenly. Sand with the grain, then get every speck of dust off with a tack cloth. Stir the can before and during, apply with a rag in a circular motion, and wipe up anything the wood does not absorb before it dries on the surface.
Get the full tutorial at The House of Wood.
9. Build A Simple Side Table
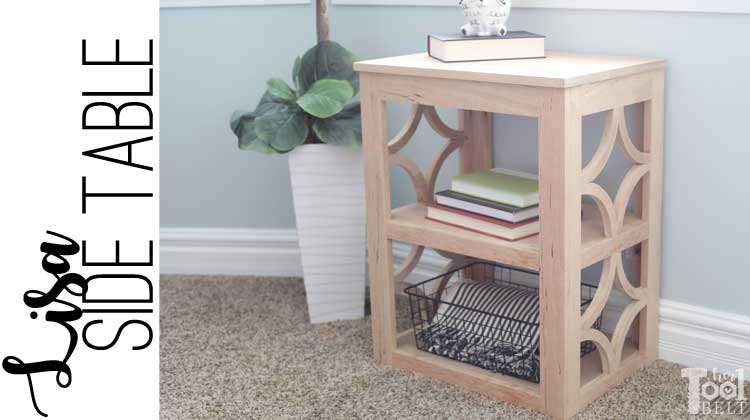
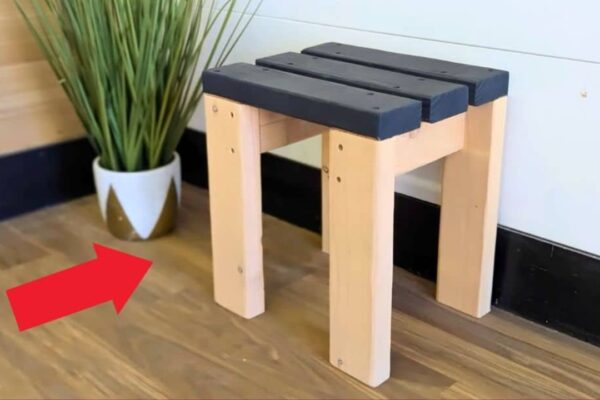
This is the one to build when you are ready to stop making small things and put together an actual piece of furniture. The legs are three quarter by two and a half inch stock cut to twenty eight inches, joined to rails with pocket holes, and the decorative cutout side panels are optional if you want to keep it plain. If you are using dimensional lumber from the store you can skip the first step entirely, which is milling rough boards flat and to thickness. Straight cuts and pocket screws, nothing exotic.
Get the full tutorial at Her Tool Belt.
10. DIY Downdraft Sanding Table Box
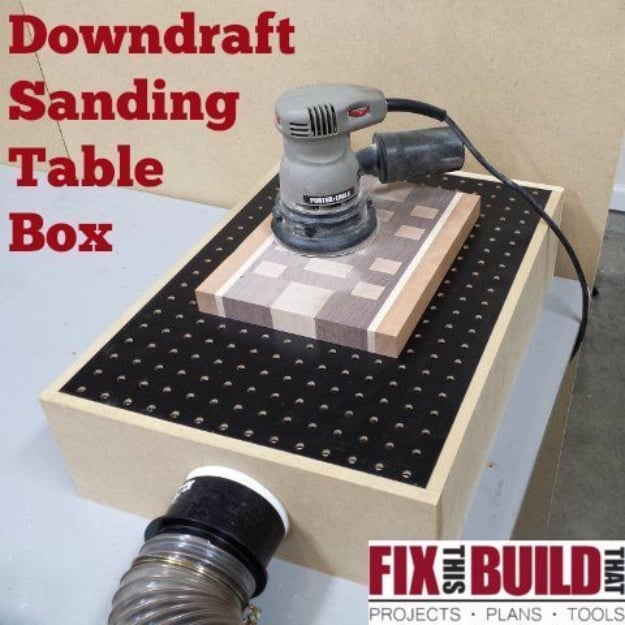
A downdraft table is a shallow box with a pegboard lid and a shop vacuum hooked into the side, so dust gets pulled straight down through the holes while you sand instead of drifting around the room. The finished one here is nineteen by twenty five inches, with an eighteen by twenty four pegboard top small enough that it needs no support in the middle. Sides are half inch MDF ripped to six inches. The dust port goes centered on a short side about an inch up from the bottom, drilled then cut out with a jigsaw.
Get the full tutorial at Fix This Build That.
11. Avoid Wood Runs And Sags
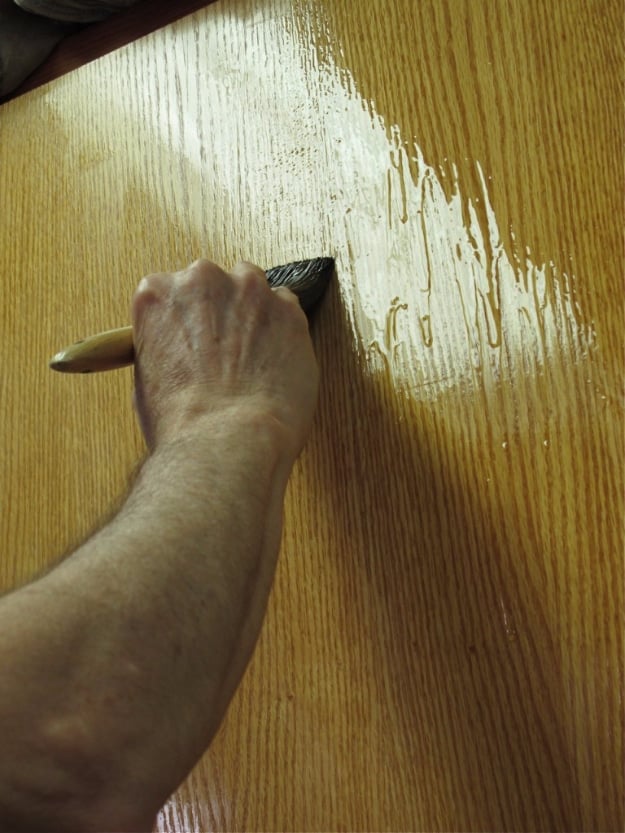
Runs and sags are worst in the slow drying finishes, varnish and polyurethane and water based topcoats, because they stay wet long enough to travel. The fix is almost embarrassingly simple: watch the surface in a reflected light while you work, moving your head around so the reflection sweeps the piece. A sag is obvious in reflected light and nearly invisible without it. Catch one and lift the excess off with your brush, even if you are spraying, then drag it off over the lip of the can. Let one dry and you are into days of waiting, then sanding.
Get the full tutorial at Popular Woodworking.
12. Kreg Jig Tutorial
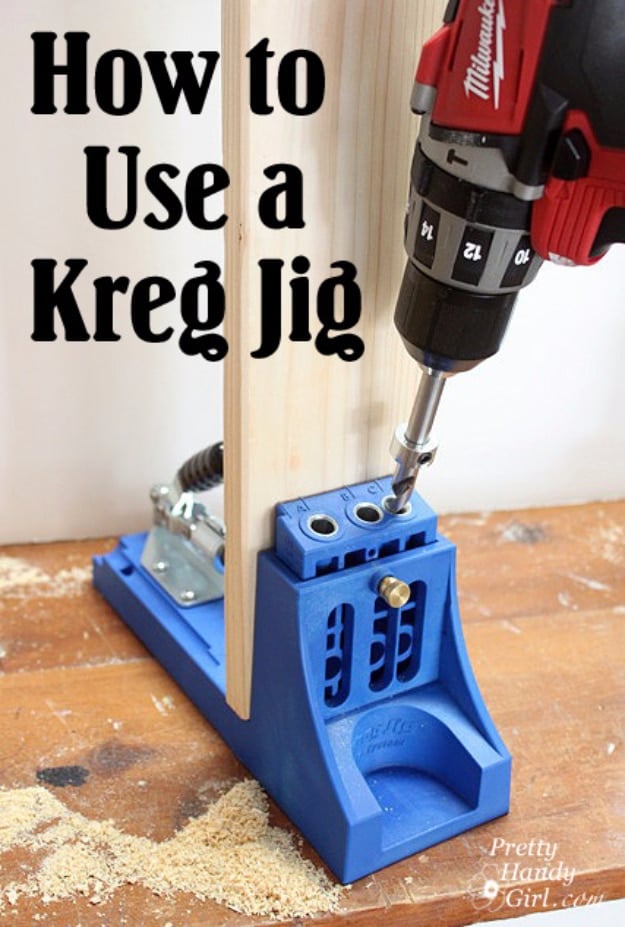
Pocket holes are the reason a beginner can build furniture that does not wobble, and the whole jig comes down to two settings. Measure your actual board thickness first, because a board sold as one inch is usually three quarters. Use that number to set the depth collar on the stepped drill bit, lining the step up against the guide built into the jig base, then set the hole guide on the side of the jig to the same figure. Joining two different thicknesses? Set everything to the thinner board.
Get the full tutorial at Pretty Handy Girl.