DIY string art is an easy craft project that adds incredible creativity to your walls, but the technique only looks difficult. Perhaps you have seen the amazing string art on Pinterest and wished you had some? I fell in love with the one that spells out “dream” in rainbow colors and simply had to have it. After searching Youtube for a bit, I finally came across a video tutorial that showed me exactly how to make it. So incredible, I simply had to share it with you.
Think string art is too difficult and time consuming? We promise it is not! String art is made with only string, nails, and a board, making it easy and inexpensive. This is also a cool craft for teens and a great idea to addition to dorm decor, too. A quick and easy craft idea that even beginners can make, this project makes a fantastic DIY gift idea.
DIY String Art
Make this DIY home decor in a few hours by following these step by step instructions.
Supplies:
- MDF Board
- White Spray Paint (feel free to choose any color you like)
- Nails
- Strings (multiple colors)
- Hammer
- “X-Acto” Knife/Scissors
Here’s How:
Step 1
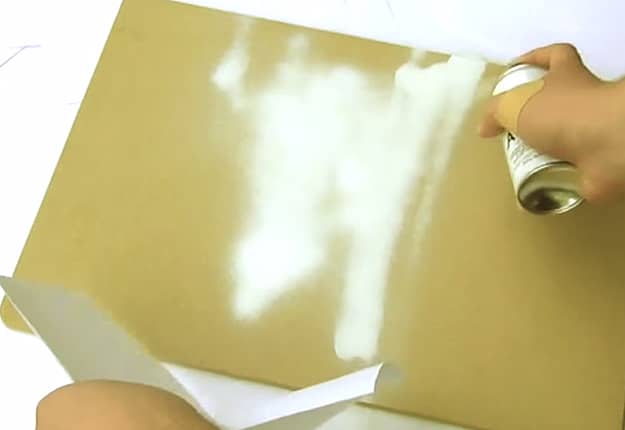
Start by spray painting the MDF board. While the paint is drying.
Step 2
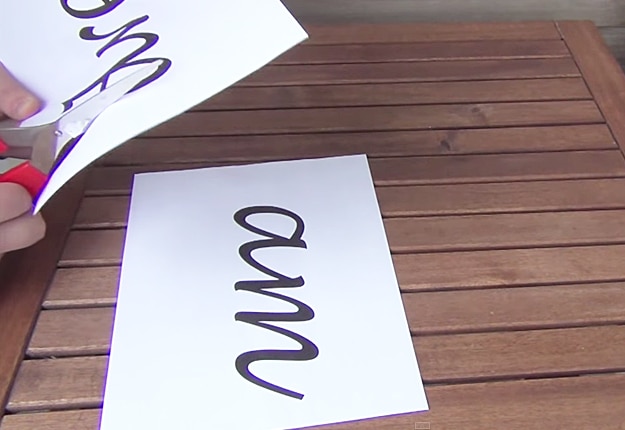
Start cutting out your template. To create a template, just pick a font from MS Word and print it out with your chosen word/phrase.
Step 3
Once the template is cut, you can start nailing in onto the board ensuring there is a 5mm space between each nail and keep going until you went around the template.
Step 4
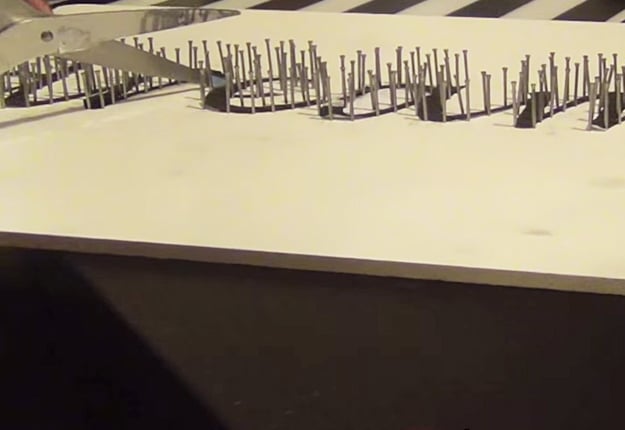
Carefully take out the template using scissors and tweezers to take the paper out.
Step 5
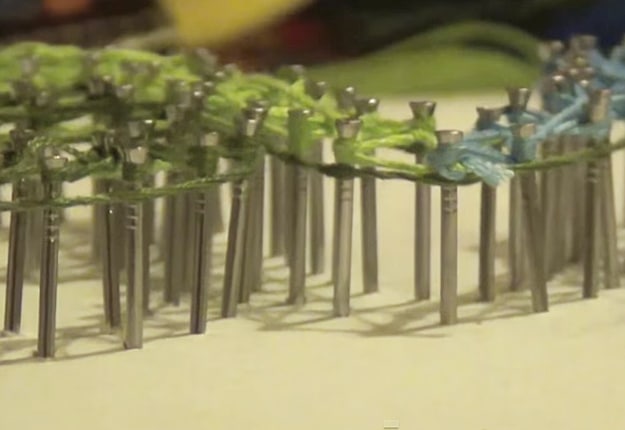
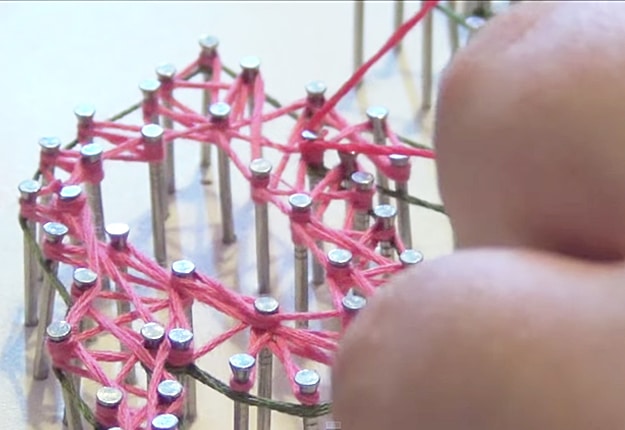
Now we move on to the stringing process. Make an outline string around the whole word then use the zig-zag pattern to cover the rest changing colors halfway through the letter.
Step 6
Lastly, make a double loop and firmly attach it to the nail. When you finish, you should have an awesome-looking art piece!
And your DIY String Art is done!
