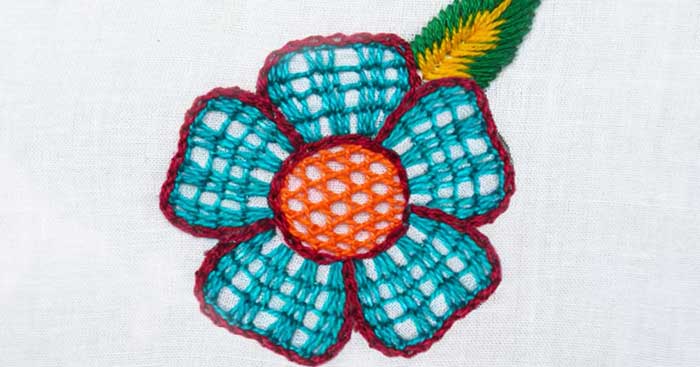
This simple hand embroidery pattern will have you sewing flowers on quite literally everything. This stitch was one of the first ones I learned when starting my journey with embroidery, and it always turns out so adorable. The stitch has easily become my favorite for creating flowers. SR Embroidery’s YouTube video down below walks you through the process of creating this simple yet beautiful stitch.
Materials Needed For This DIY:
- Embroidery or Crochet Floss
- Tea Towel or Something To Embroider
- Embroidery hoop
Directions:
Step One
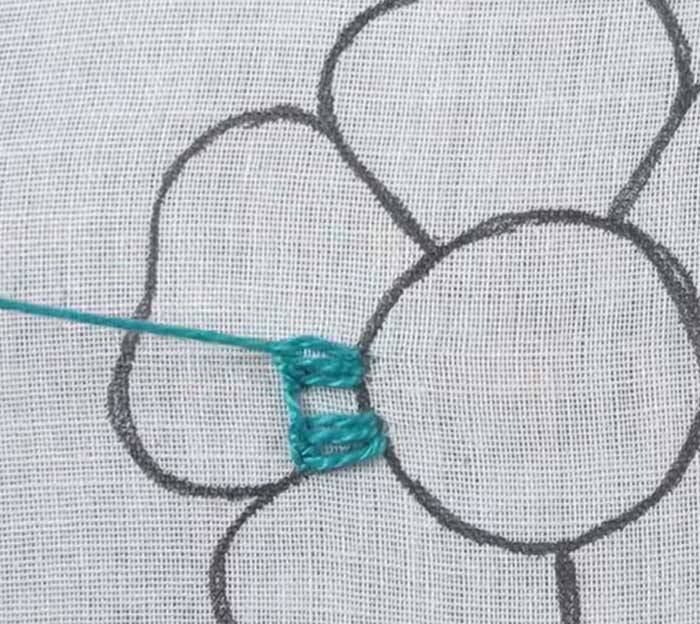
Start by creating the petals of the flower. For this step, you will poke the floss through close to the corner of one petal, then poke the thread up a small way on the material, then as you turn to poke the thread back in at the bottom create a loop.
Image by. SR Embroidery via YouTube video.
Step Two
Poke the thread into the bottom of the outline again and back to the top, poke the new thread through the loop of the thread from the last stitch and pull it through.
Step Three
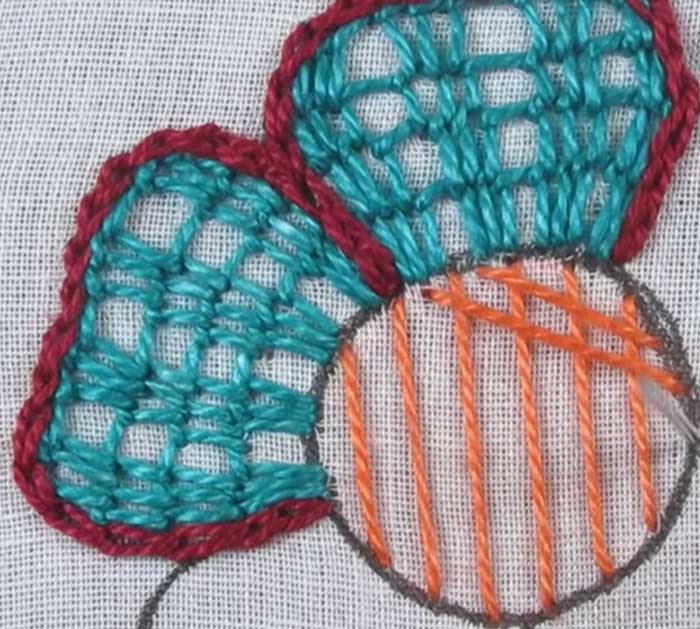
Repeat steps one and two, three times, then create a neutral chain stitch and repeat three more. Continue doing this as you create the petal.
Step Four
To create the center of the flower, begin making a cross-stitch pattern. Start by creating lines across the middle then go back and create them again in the opposite direction.
Image by. SR Embroidery via YouTube video.
[social_warfare]
Step Five
Go back in through the lines and hook them together.
Step Six
Create a chain around the border of the flower to outline the rim. Finally, simply fill in a leaf on the flower with an easy stitching technique.


