I’ve been quilting for quite some time now, but this turnstile quilt block pattern from Cut and Create on YouTube is still one of my favorites from my beginner days. This quilt resembles a pinwheel, so if you like fun patterns, you should try this one out. And if you’re worrying if it’s too hard for beginners, I should tell you now that it’s super easy to do! Watch the video tutorial below to learn the step by step instructions. Thanks to Cut and Create for this gorgeous quilt pattern. Make sure to check the channel for more videos just like this.
Materials:
fabric A:
- 2 – 7″ x 7″ squares
- 1 – 7 1/4″ x 7 1/4″ square
fabric B:
- 1 – 7 1/4″ x 7 1/4″ square
Directions:
Step 1
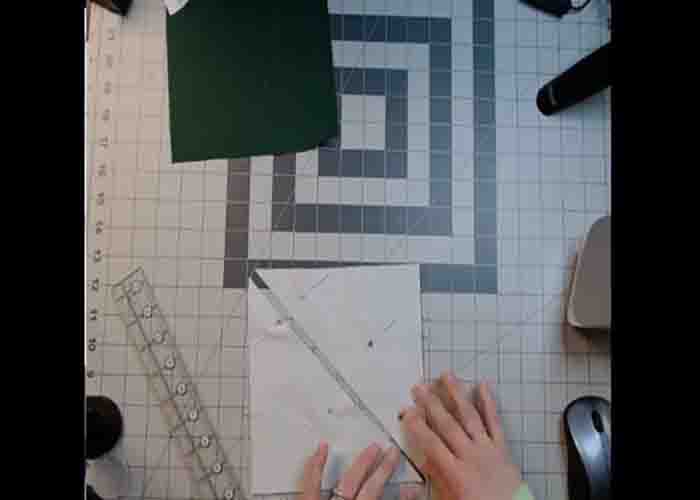
To start, cut all the fabric requirements and label them accordingly. Next, take your two 7 1/4″ x 7 1/4″ squares, lay them out together, pin one half in place, and then cut from corner to corner with your rotary cutter. Pin the other half as well, then sew both pairs with a 1/4″ seam allowance. Once done, press them open, then trim off the dog ears. Now, take the two 7″ x 7″ squares, and lay them on each right top of the half-square triangles you just made. Pin in place, then cut them down from corner to corner. Sew a 1/4″ seam allowance, press them open, then trim them down to 6 1/2″.
[social_warfare]
Step 2
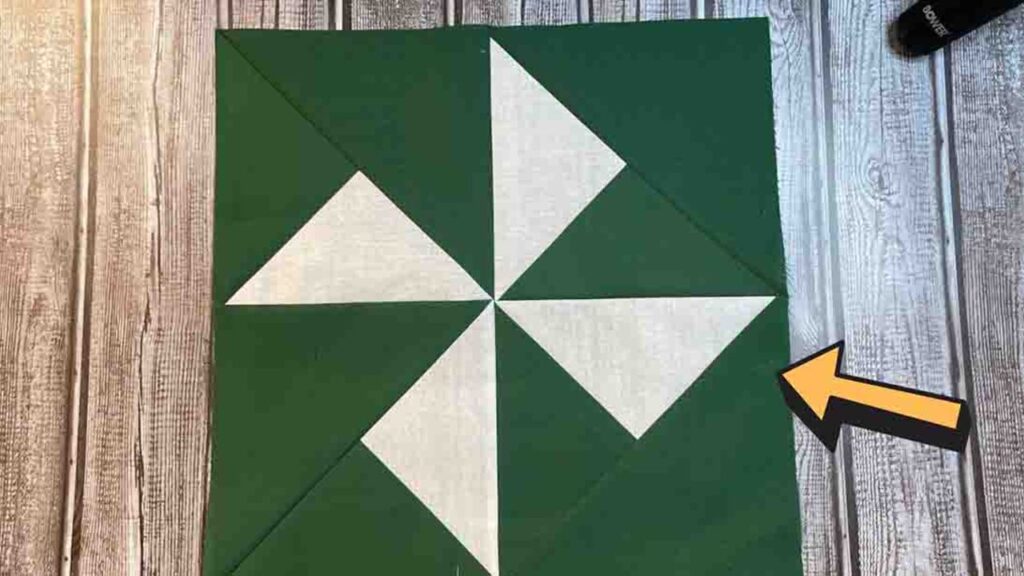
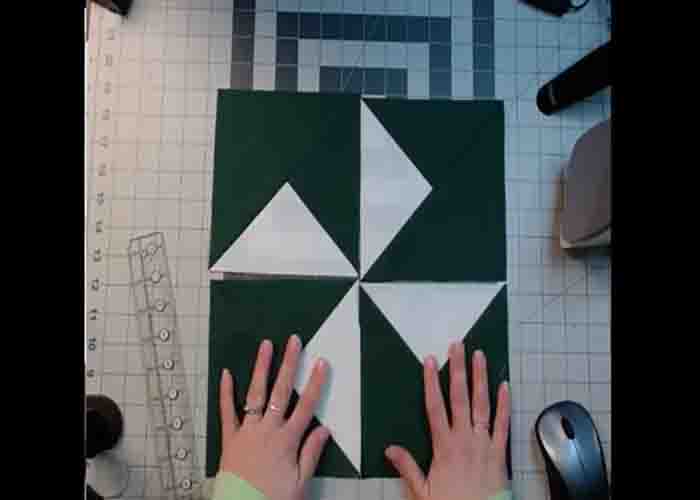
Now, start laying them out (refer to the image below for the positioning of each piece.) Once done, sew them like a four-patch. Press them nicely afterward. Repeat these steps to make more blocks for your desired quilt size.
Turnstile Quilt Block Tutorial


