Are you new to quilting? This sickle quilt block pattern from Cut and Create on YouTube is perfect for you! This pattern is easy to do, beginner-friendly, and looks unique. I remember doing this pattern a lot of times when I was still new to quilting, and it’s still one of my favorite quilt patterns to do to this day. I mean – who wouldn’t love this pattern as a personalized gift for your loved ones? Try doing this today and see for yourself. Watch the video tutorial below to learn the step by step instructions. Thanks to Cut and Create for this lovely quilt project.
Materials:
fabric A:
- 1 – 7″ x 7″ dark blue square
fabric B:
- 4 – 3 1/2″ x 3 1/2″ white squares
fabric C:
- 1 – 7″ x 7″ white square
- 4- 3 1/2″ x 3 1/2″ light blue squares
Directions:
Step 1
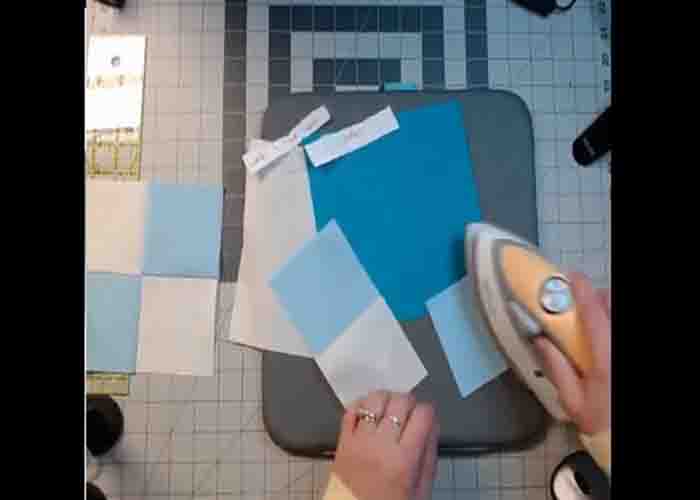
To start, cut the fabric requirements and label them accordingly. Set them aside. Next, make a four-patch using the white 3 1/2″ x 3 1/2″ squares and 3 1/2″ x 3 1/2″ light blue squares. Just match opposite ones up, and sew them together. Press open afterward. After this, grab the bigger squares and turn them into half-square triangles. Line the two squares, pin half of it, then cut it from corner to corner diagonally. Once done, pin the second half, then sew them down.
[social_warfare]
Step 2
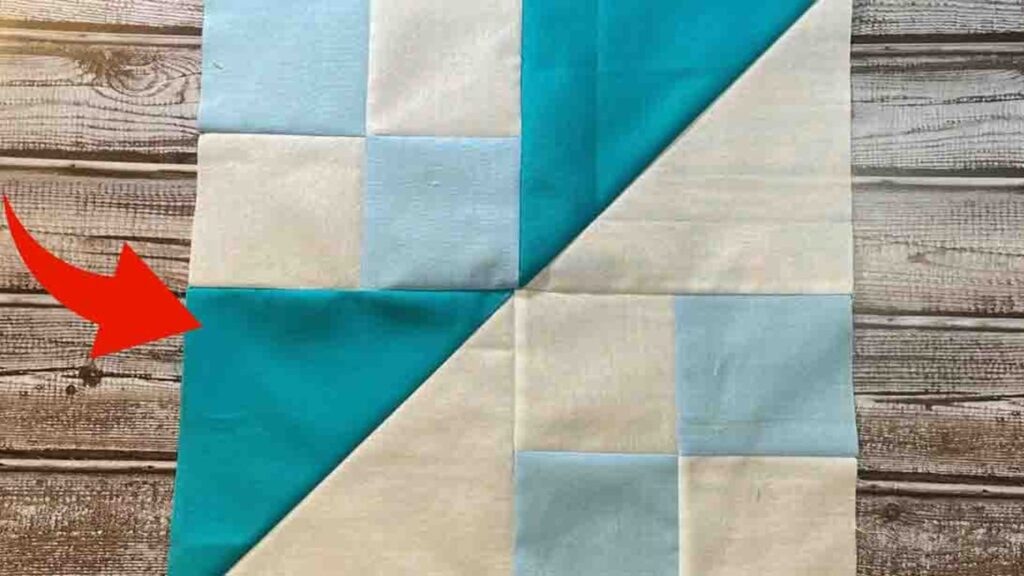
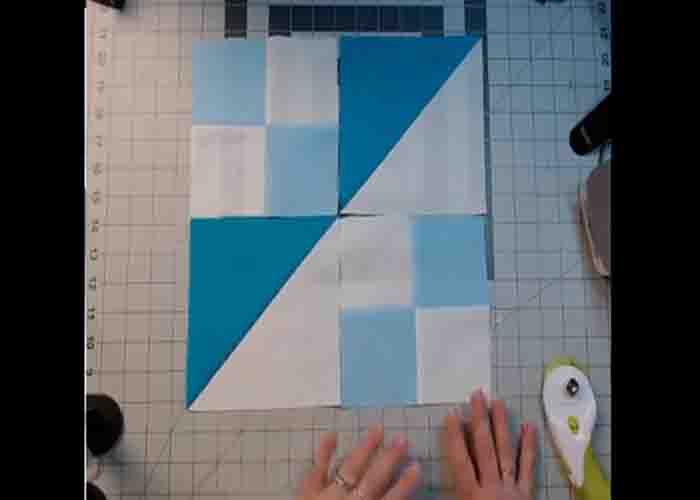
Once done sewing, press the half-square triangles open, then trim them down as well as the four-patch. After this, lay the units down to create the block (refer to the image below). Sew them together, then press open. Repeat these steps to create more blocks for your desired quilt size.
The Sickle Quilt Block Tutorial


