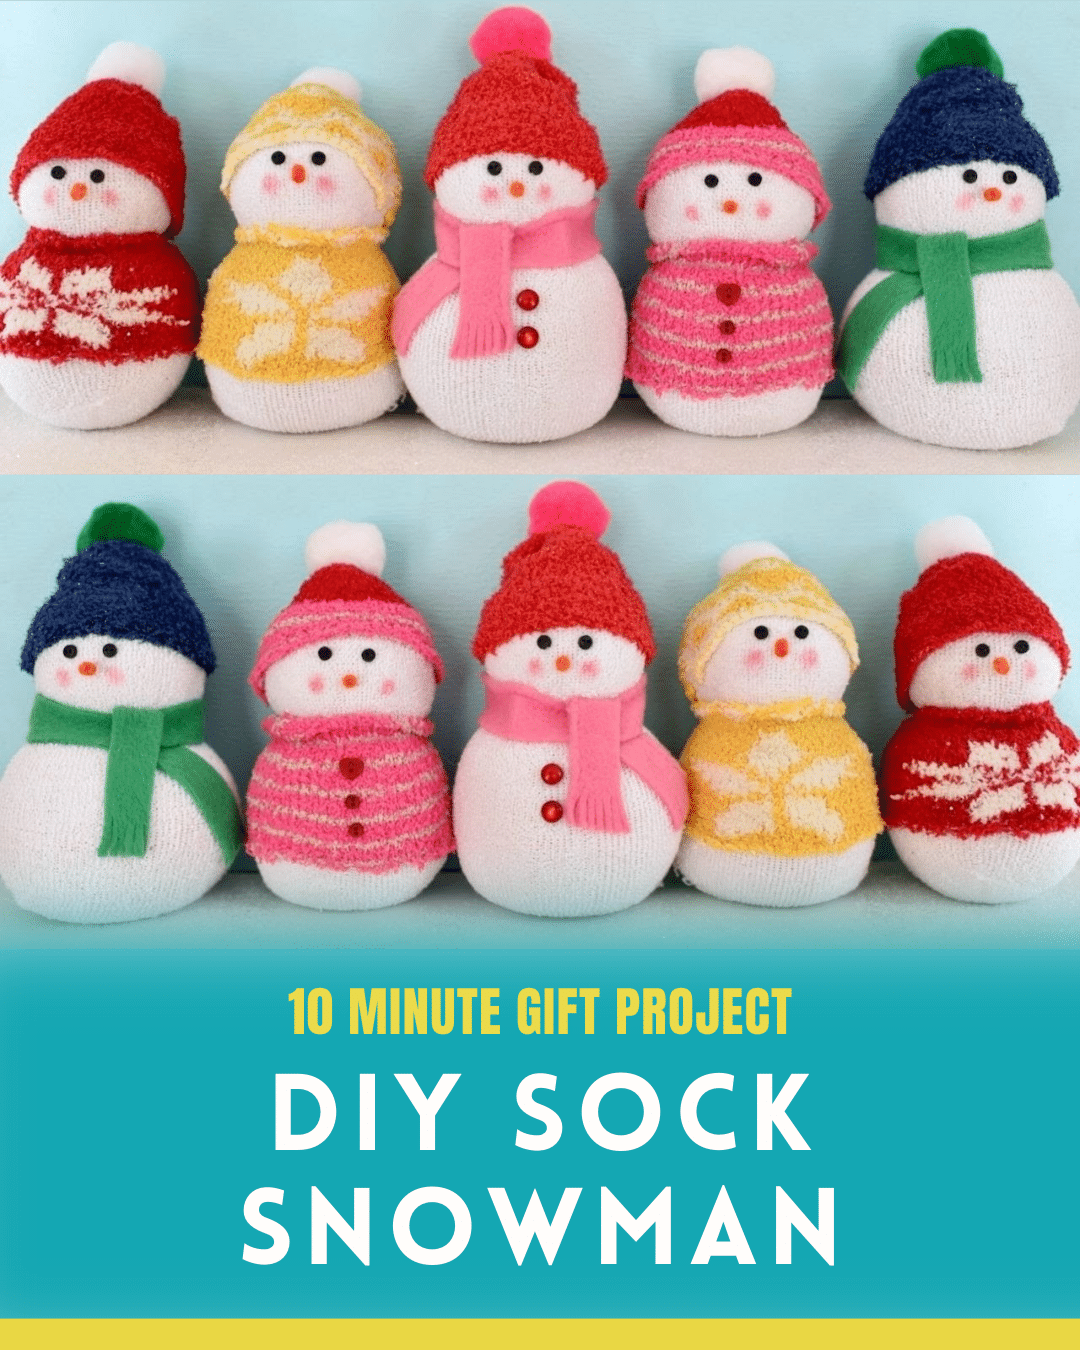
These DIY snowmen by Make Life Lovely are not just for decoration, but also make cute gifts for your loved ones! Making one is super easy – you can even create one sock snowman in 10 minutes! Can you believe it’s just a plain white men’s sock filled with rice? It a perfect winter project to make this Holiday season with adults or kids! They look absolutely adorable and are also inexpensive.
RELATED: 9 Simple Homemade Gift Ideas for the Holidays
You can make them in different sizes for each family member or friend and personalize them however you like. You can also use their socks for this project. Decorate them in any way you like. You can put sweaters on some, add some scarves, or remove the sweater, leave the scarves, and add buttons. Let your creativity flow while making these snowmen.
Easy Sock Snowman Gift Materials
- white socks
- fuzzy patterned or colored sock
- rice (3 cups per snowman)
- rubber bands
- hot glue gun
- fabric scissors
- tiny black buttons
- orange pipe cleaner
- accent buttons (optional)
- fabric or ribbon for scarf
- pom poms
- pink blush
[social_warfare buttons=”facebook,pinterest,twitter,whatsapp”]
How to Make a Snowman Using a Sock
Step 1:
Cut the sock straight across the white sock just under the heel. The bottom part will be the body of your snowman. Save the top part for a different craft.
Step 2:
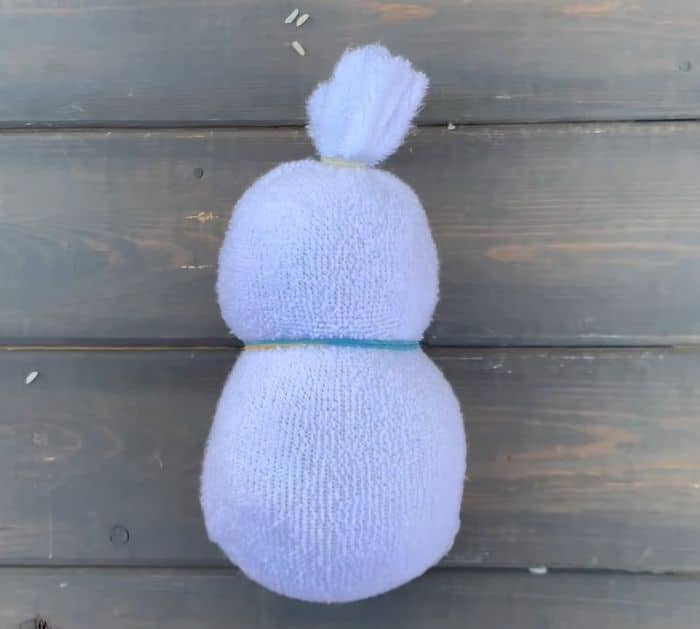
Turn the sock inside out. Place a funnel inside the sock, and fill it up with rice about 3 cups. After you added 2 cps, lift it from the top and plopped it down a couple of times to stretch it. Close the top with two rubber bands.
Step 3:
Use another rubber band to create the head of the snowman.
Step 4:
If you have a lot of extra sock poking out on top, trim it with your scissors.
Step 5:
Cut a straight line across your colored or patterned sock, a few inches from the top. This will be the hat. Next, cut a straight line across the sock just underneath the toe for the sweater.
Step 6:
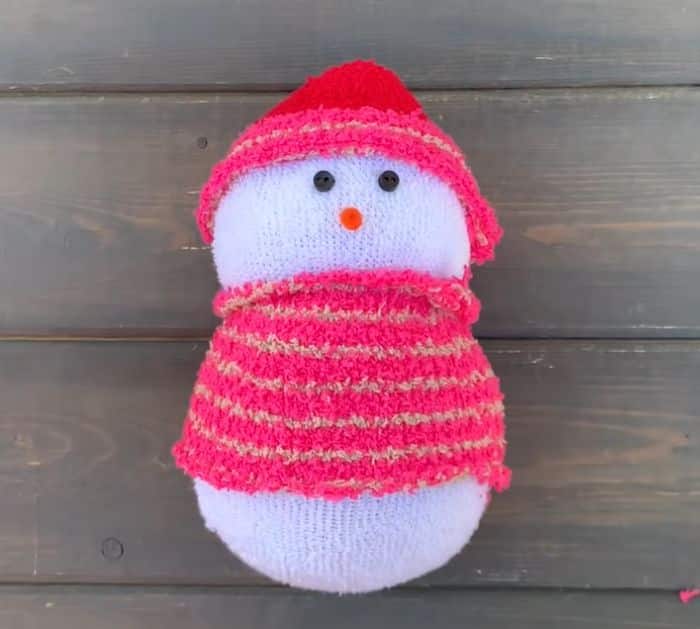
Place the toe part of the sock on the head of the snowman. Glue the base portion of the inside in place. Get a matching pom pom and glue it to the top of the hat.
Step 7:
Place the sweater onto the body of the snowman. Be sure to cover the top of the rubber bands under the head with the sweater. Glue along the top and bottom.
Step 8:
Glue the tiny black buttons for the eyes. Cut a small piece of an orange pipe cleaner and glue it to make the nose.
Step 9:
To make the cheek, dip a Q-tip into a blush, then blot it onto the cheeks of the snowman.
Step 10:
Add a scarf if you like. You can also skip the sweater and just add the scarf and some buttons.
Sock Snowman in 10 Minutes