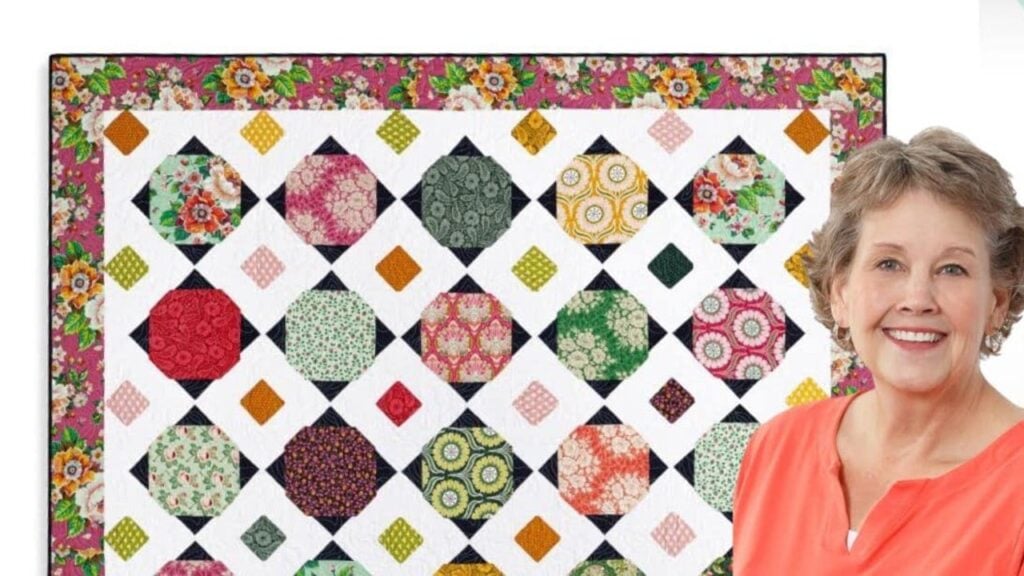
Looking for your next project? Here’s a snowball squared quilt tutorial by Missouri Star! It’s a beautiful pattern that you can make with a 10-inch square of precut fabric. At first, I thought it was a hard pattern, but then I realized that you just need to snowball tons of squares! A snowball corner is made by placing a small square into a larger square or rectangle, sewing it diagonally from corner to corner, then cutting 1/4″ from the stitch line. Press it open, and it’s done.
RELATED: Snowball 4 Patch Quilt With Jenny Doan
For this project, you will be snowballing all corners of the blocks. You will do this for most squares, even with your sashing. It’s definitely an easy project – I had fun making one at home! It’s simple but gorgeous. This tutorial by Jenny Doan is truly one of my favorites this year. Try to make one this weekend – I am pretty sure you’ll enjoy the process.
Snowball Squared Quilt Materials
- one pack of 10″ printed squares
- four packs of 2 1/2″ background squares
- four packs of 4″ background squares
- 1 1/4 yards of accent fabrics
- 1 3/4 yards for outer border (6-inch border)
- 8 3/4 yards for backing
- 3/4 yard for binding
[social_warfare buttons=” Facebook, Pinterest, Twitter, WhatsApp”]
How to Make an Easy Quilt With 10-Inch Squares
Step 1:
Get 30 from the pack of 10-inch squares and trim into 9 1/2″ squares.
Step 2:
Get one 9 1/2″ square and place 2 1/2″ background squares on each corner. Sew diagonally across each piece. You can draw a line or iron a line on the small squares to make it easier for you. Once done, trim 1/4″ away from the sewn line and press each one open. Repeat the process for the remaining 9 1/2″ squares.
Step 3:
Take 11 pieces of 10″ squares and cut them into 4 pieces of 5″ squares by cutting them in half horizontally and vertically.
Step 4:
Take two 5″ squares and place 2 1/2″ background squares on two opposite corners. Sew them diagonally. Once done, trim 1/4″ away from the sewn line and press them open. Repeat with the remaining corners. Press it open.
Step 5:
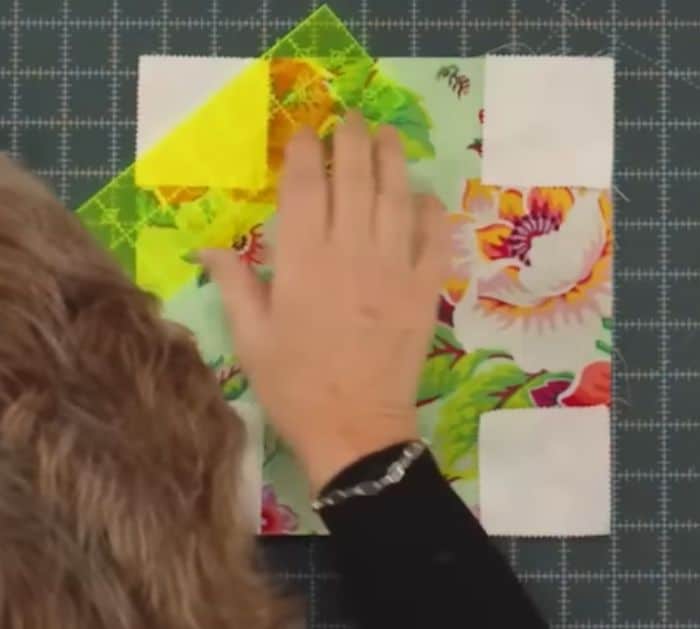
For the sashing row, take a 5″ square and place a 2 1/2″ accent square on two corners on the same side. Sew diagonally from corner to corner, then trim 1/4″ away from the sewn line. Make another one, place them right sides together, line the triangles up, and then sew them together. This will be for the inside sashing. For the outside sashing, you just need to sew one 2 1/2″ square on one corner of the 5″ square. Make another one and sew them together, with the triangles meeting in the center.
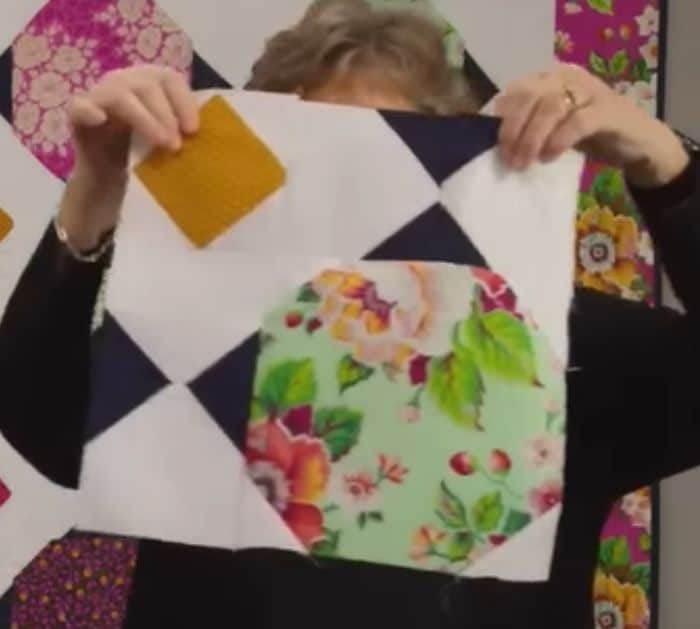
Step 6:
Assemble the block just like in the photo below.
Snowball Squared Quilt Tutorial With Jenny Doan


