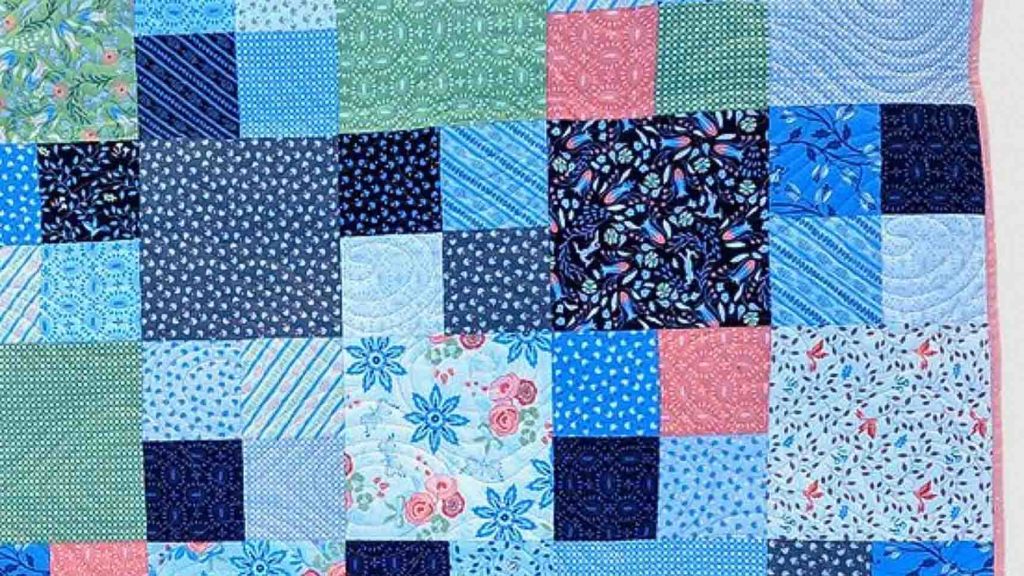
If you’re looking for a fast and easy quilt that you can finish in a day, then you’re in the right place. This snippet four-patch from Moonkin Stitchery on Youtube is super easy, beginner-friendly, and only uses layer cakes! It’s the type of quilt project that, even if it’s too easy for seasoned quilters, they’ll still enjoy making it. Learn the step-by-step instructions in the video tutorial below.
Materials:
For a throw size quilt:
- 42 – 10″ print fabric squares
- 1/2 yard binding
- 3 & 3/4 yards backing
- 66″ x 75″ batting
- (click here for the free pattern)
Directions:
Step 1
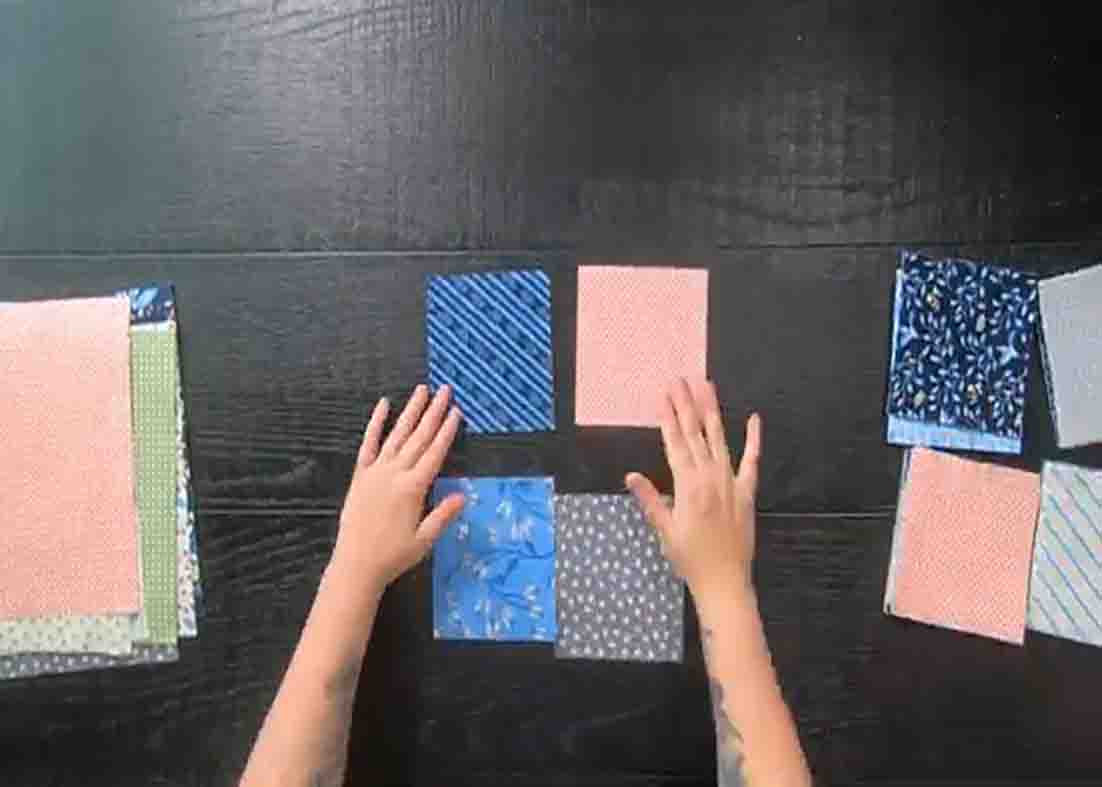
Select 21 pieces layer cakes (10″ printed squares) and sub-cut them into 5″ x 10″ rectangles. After this, cut these rectangles into two 5″ squares. Once all of those 5″ squares are cut, go ahead and make the four-patch. Select four different prints and sew your blocks together to form rows. Then, sew those rows together to complete the four-patch. Repeat these same steps until you have enough four-patches for the quilt size you’re making.
[social_warfare]
Step 2
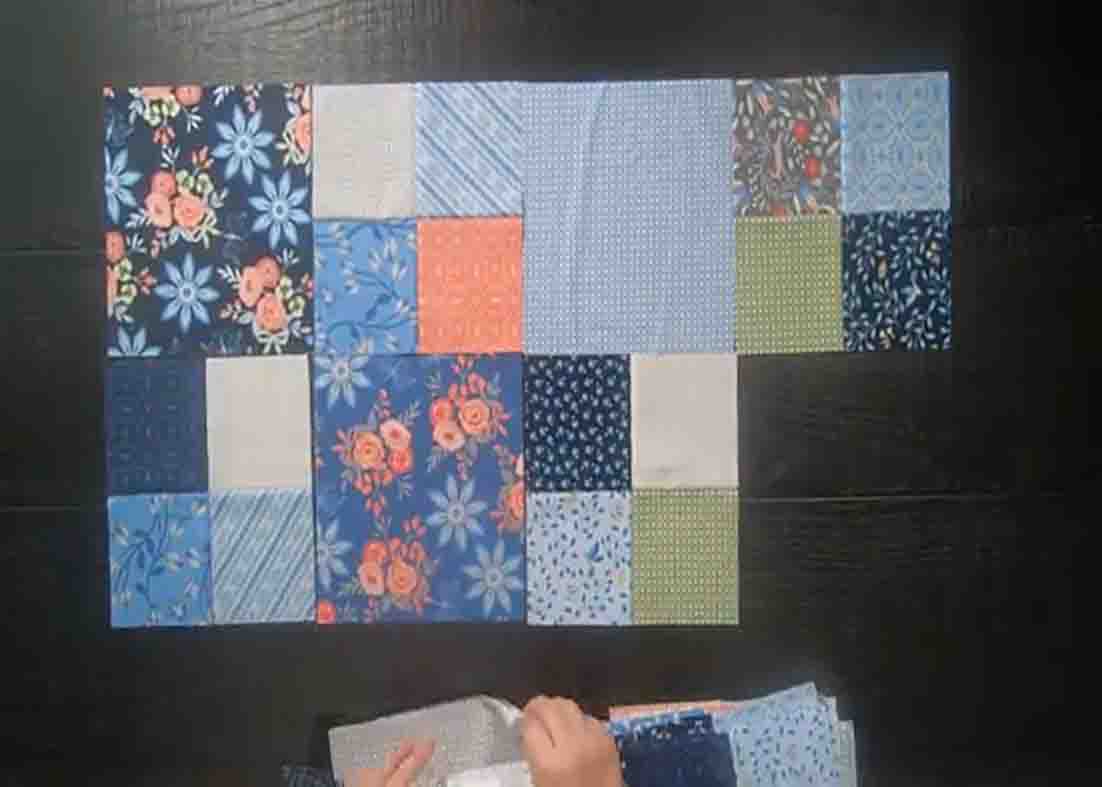
After you complete all four patches, trim those remaining 10″ squares down to a 9 & 1/2″ square (the same size as your four-patch.) After trimming all those out, start laying your quilt out. Start with the 9 & 1/2″ square followed by the four-patch block, then alternate between the two blocks. For your next row, start with your four-patch, then alternate between the two. Sew your blocks together to form rows, then lastly, sew those rows together to complete the quilt top.
Snippet Four-Patch Quilt Tutorial


