I always love quick, simple, and gorgeous quilt patterns; just like this slanted diamond quilt from Cut and Create on YouTube. I’ve been quilting for quite some time now, and this pattern is still one of my favorites to make. It’s a straightforward pattern and doesn’t need advanced cutting techniques, so it’s the perfect project for beginners. So, if you’re a beginner and looking for your next quilt project, try this one out; you’ll surely love it! Watch the video tutorial below to learn the step by step instructions. Thanks to Cut and Create for this gorgeous quilt pattern.
Materials:
fabric A:
- 2 – 12 1/2″ x 6 1/2″ rectangles
fabric B:
- 4 – 6 1/2″ x 6 1/2″ squares
Directions:
Step 1
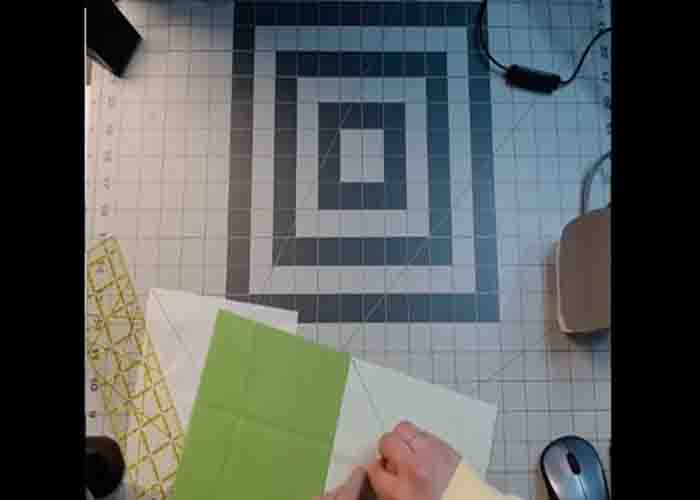
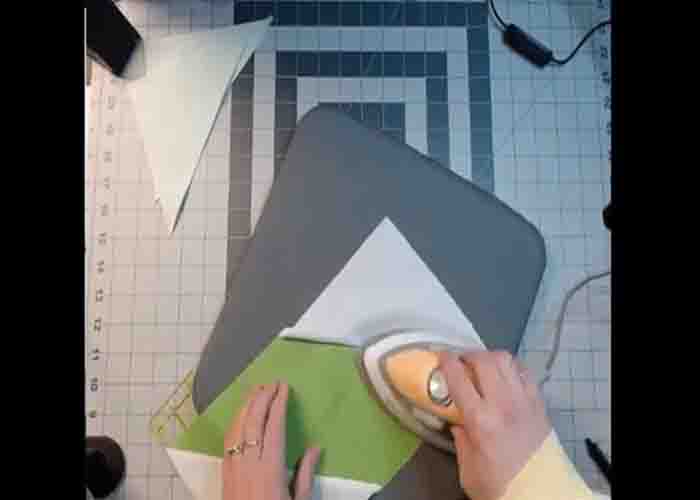
To start, cut your fabric requirements and label them accordingly. Next, draw a line on the 6 1/2″ x 6 1/2″ squares from corner to corner. After this, take one 12 1/2″ x 6 1/2″ rectangle and pin one 6 1/2″ x 6 1/2″ square on it, then sew down right in the drawn line. Once done, cut it 1/4″ seam away from the stitch line, then press open.
[social_warfare]
Step 2
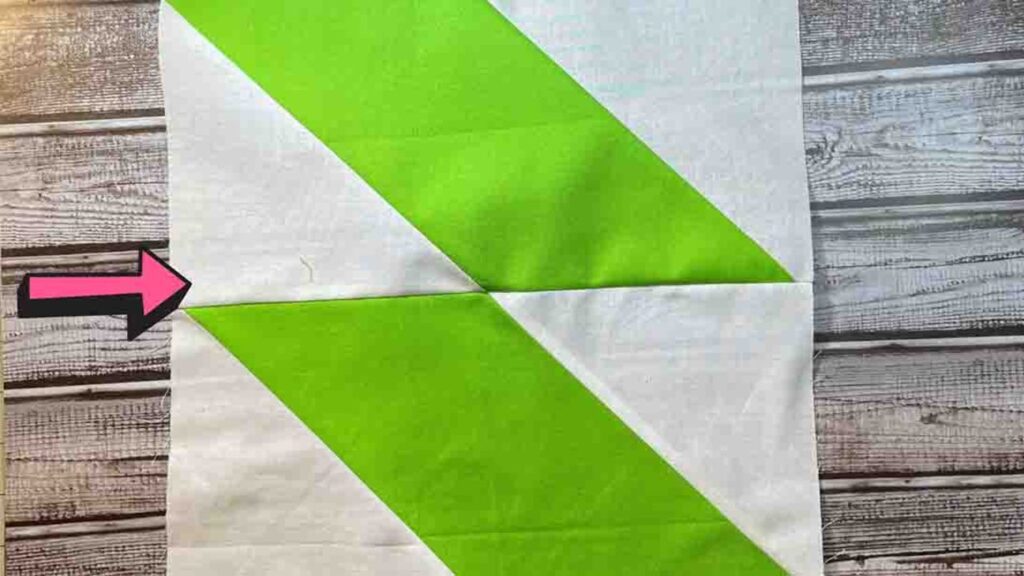
Now, take the other 6 1/2″ x 6 1/2″ square and pin it on the other side. Stitch it right into the drawn line, then cut 1/4″ seam away from the stitch line. Press open afterward. Repeat these steps to make another unit, then stack these two together to make the block. Make as many as you need to create your desired quilt size.
Slanted Diamonds Quilt Block Tutorial


