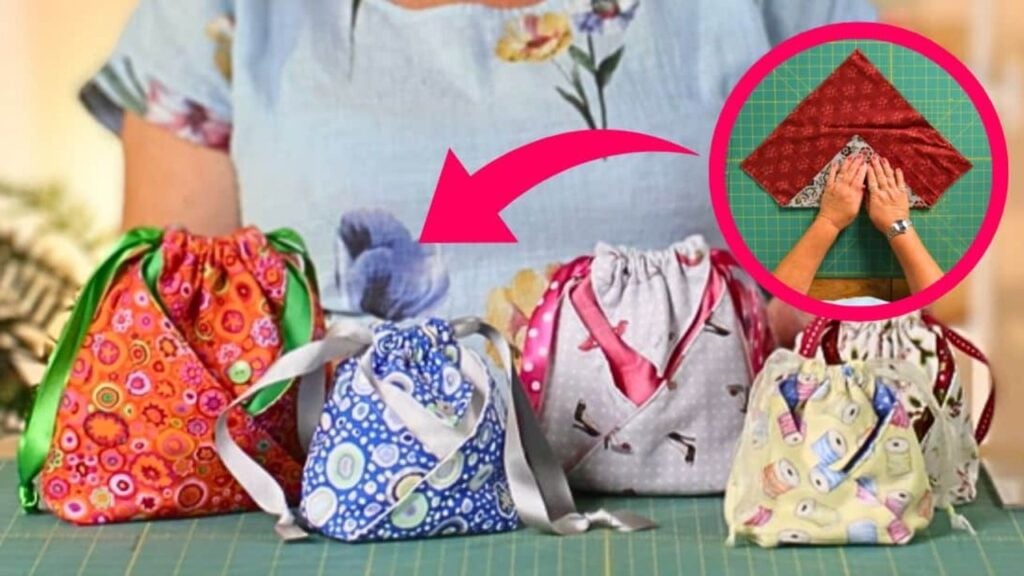
These origami gift bags by The Sewing Studio are the perfect presents for your family and friends! Aren’t these adorable? You only need two fabric squares to make these. It’s great for occasions, holidays, or Christmas. Read on or watch the video below for full instructions.
Materials
- two squares of fabric of the same size
If you are going to use 16 inches square or bigger, you need interfacing or stabilizer.
[social_warfare buttons=”facebook,pinterest,twitter,whatsapp”]
Instructions
Step 1:
Get the two squares and place them on top of each other, right sides together. If you’re making a big bag, add interfacing or stabilizer between the layers. Sew them all the way around, but make sure you leave an opening.
Step 2:
Once you are done sewing, turn it around through the opening. Use a stick for the corners. Next, top stitch all the way around, closing the gap.
Step 3:
Decide which one you want as your outside fabric. Your chosen pattern should be facing down. Fold two opposite corners toward each other. The tips on the other sides should form into squares. Make sure to measure them and adjust if they are not. Pin in the overlapping fabrics.
Step 4:
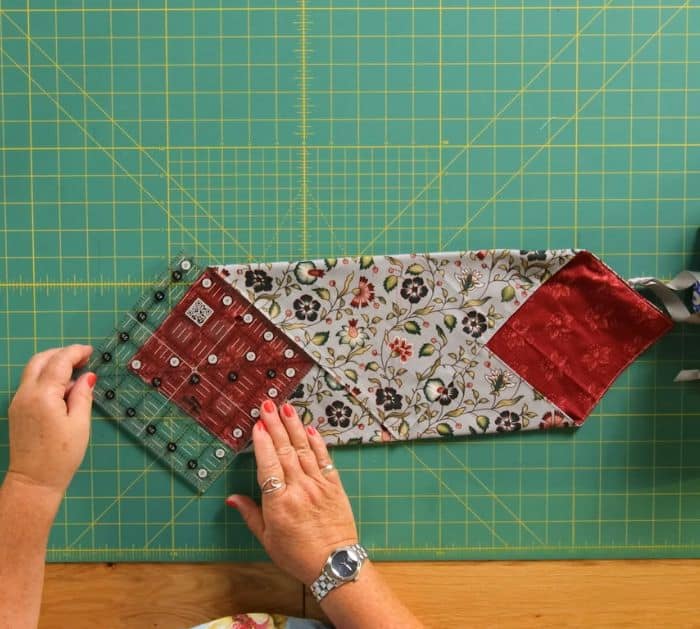
Fold it in half to make a crease, then mark the center line using a fabric marker. From the center line, measure 1 inch from both sides, mark, and draw lines. For the smaller bag, measure 3/4 inch. Sew directly on the two outside lines.
Step 5:
Fold it in half point to point with the fabric you want outside. Sew the sides together, not including the points.
Step 6:
Put your hands inside and poke out the corner. You will sew the seam lines and stitch across them.

Step 7:
Put your hand inside and turn it inside out. Fold the points and give them a good press. Sew 1/4 to 1/3 inch (depending on the size of your square) from the top on both sides to make a gap for the string. Insert a ribbon or thread on the front and back, then tie them. Get another one and insert it on the other side, front and back. Tie it, and you are done.
Simple Origami Gift Bag


