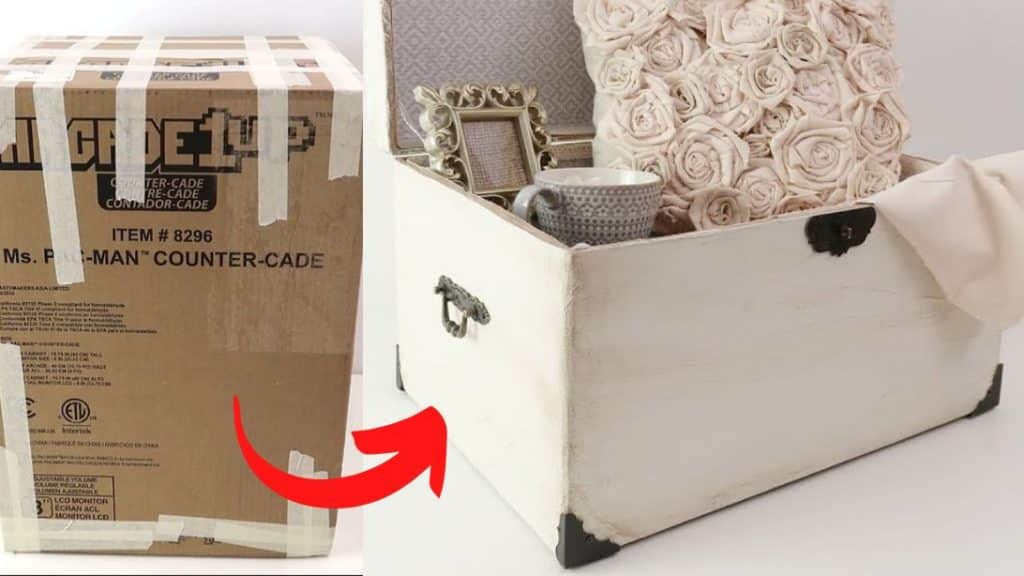
This shabby chic chest DIY is just made from a cardboard box! It’s super elegant and blends well if you have a rustic, cottage-style, or nautical interior design. I love how simple yet beautiful this project by DIY Karem turned out. You can leave it open and even add decorative things inside. Watch the video below for the full instructions.
Materials:
- cardboard box
- brown craft shipping filler
- ribbon
- felt pads
- wood glue
- mod podge or white school glue
- 1 package of Dollar Tree wood planks
- vinyl top liner
- Rustoleum Chalked Chiffon Cream
- Rustoleum Chalked Aged Glaze
- decorative hardware lock and handles
- decorative corners
- hinges
- paint stir sticks
[social_warfare buttons=”Facebook,Pinterest,Twitter,WhatsApp”]
Instructions:
Step 1:
Seal the openings of the box with tape. Cut the top part for the cover of the chest box.
Step 2:
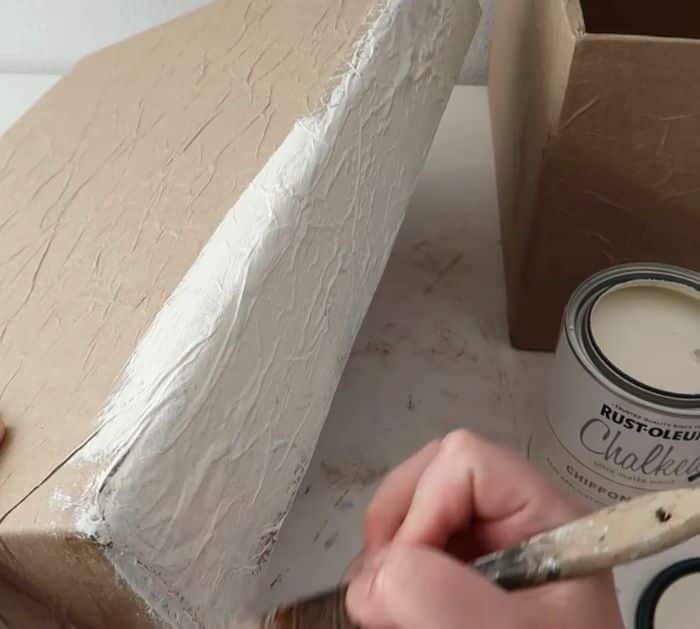
Crumple the brown craft paper and glue it around the cardboard box using mod podge or white glue. Once done, let it dry completely.
Step 3:
Paint the box with chiffon cream ultra matte paint. Let it dry. Next, use the aged glaze paint and cloth to make the chest look old and worn out. You can also use any stencil for the corners. Make sure to not use too much of the aged glaze paint. Use a brush to add more details. Do this for the cover and the box. Let them dry completely.
Step 4:
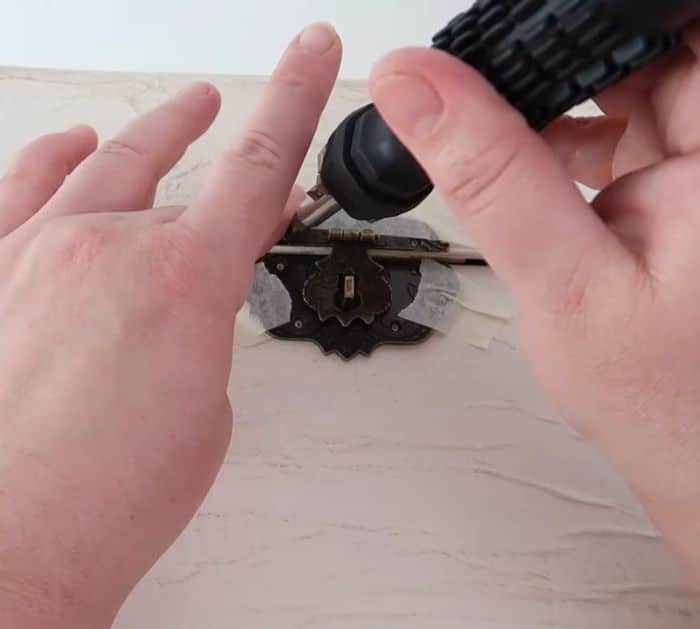
Glue the lock kit on the cardboard box. Cut the paint stir sticks based on the sizes of your locks, hinges, and handles. Attach them with wood glue on the inside of the box where you’ll put them. Tape them using painter’s tape so they will not move.
Step 5:
Screw the locks, hinges, and handles in place. Next, attach the decorative corners using hot glue.
Step 6:
Cover the inside with a vinyl top liner and mod podge.


