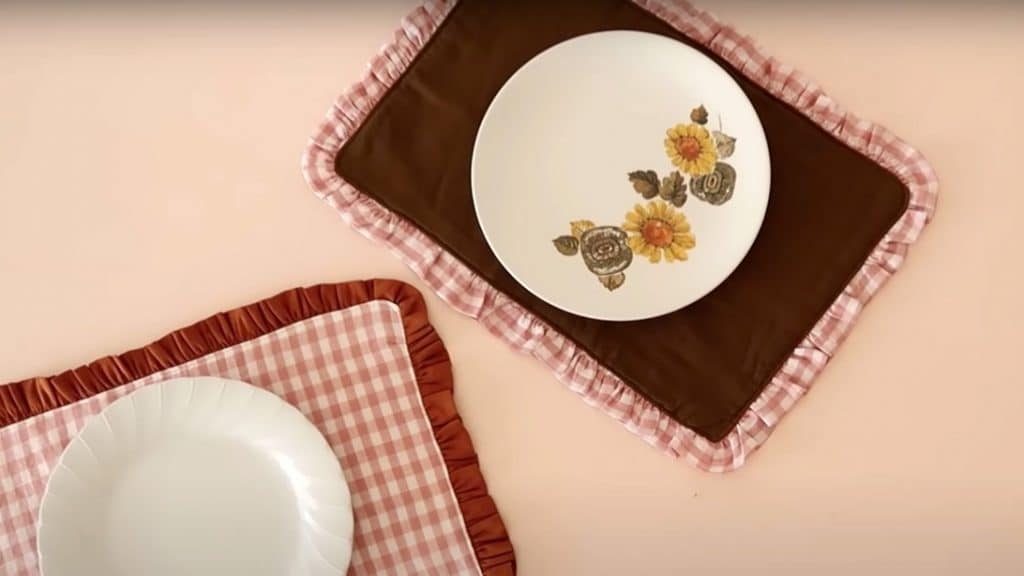
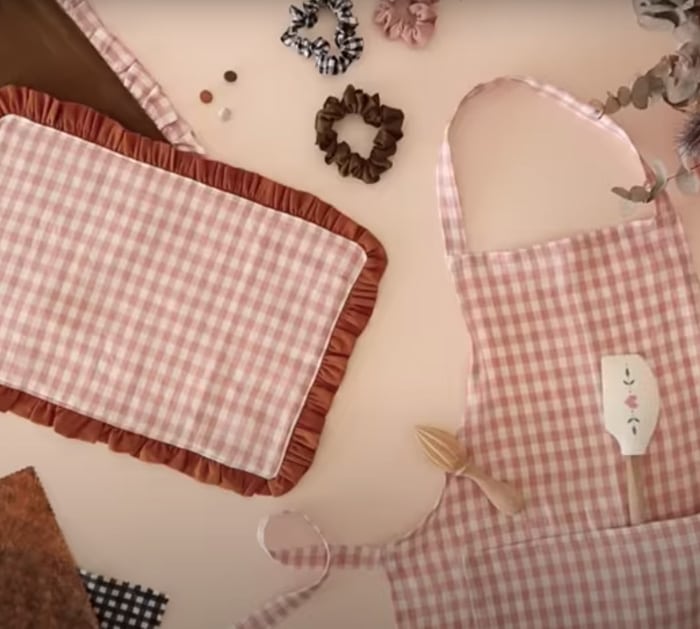
The best kinds of gifts are thought out, and the very best gifts are handmade with care. Everyone appreciates receiving a gift made by someone thinking of you. Try making this easy DIY placemat sewing project by Rosery Apparel as a gift for your loved ones or even for yourself. Plus, it’s functional and practical!
Also check out the rest of the projects she shares on her video tutorial. They’re all easy to make and very beautifully unique as well.
Materials:
- main fabric
- Contrasting/ruffled fabric
- Batting material
- Scissors
- Ruler
- pencil
- Seam ripper
Directions:
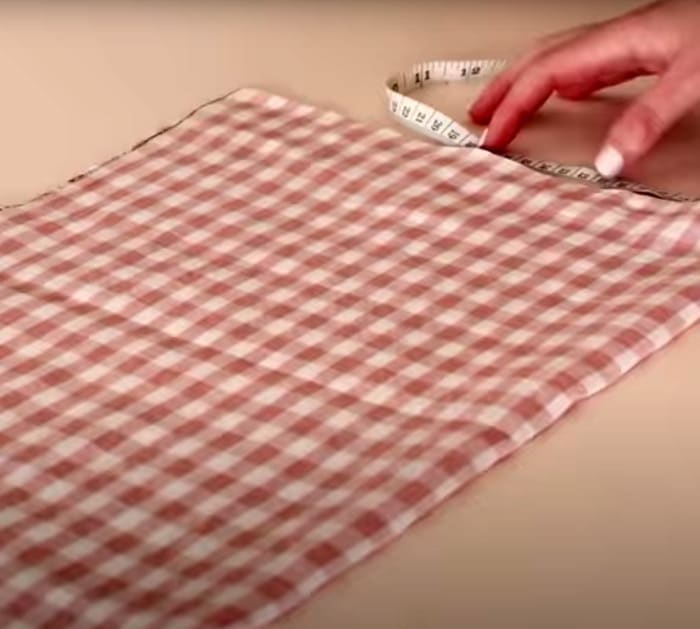
Measure and cut 17 34 inch x 12-inch batting material for a placemat. Cut 3 pieces out of your main fabric with the exact measurements.
For the ruffle, cut a 3-inch x 3 and 1/2 yard (126 inches) rectangle. If the fabric is short, cut and stitch a few pieces together to get 3 1/2 yards or 126 inches. With right sides together, stitch the two ends of the ruffle. Fold and press the wrong sides of the ruffle in half lengthways. Neat out the edges using an overlocker or a sewing machine using a zigzag stitch.
Sew two rows of gathering stitches along the entire raw edge of the ruffle. Gently pull on the two top threads of the ruffle to gather it approximately the size of the edges of the main fabric. Press the ruffle on with an iron.
Place one main fabric on top of a batting material and place the ruffle along the outside edges of the rectangle. Make sure the ruffle is facing towards the center of the main fabric. With the right sides together, place the other main fabric on top of the ruffle, sandwiching the ruffle into position. As you go, pin.
Sew all of the layers together. However, leave a small opening to be able to turn the placemat on its right side. Trim off all the excess fabric and turn it right side out. Fold the opening inside the placemat, give it a good press, and sew. Sew the edges of the main fabric to securely place it in the ruffle.
Lastly, cut out any exposed gathering of the ruffle with a seam ripper.
Sewing Projects as DIY Gift Ideas