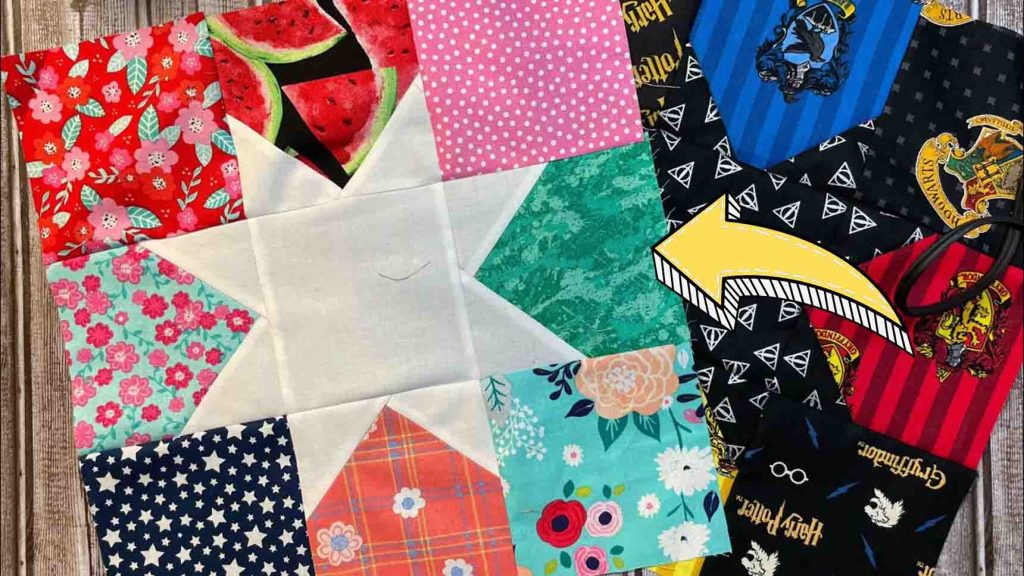
If you’re looking for a simple star quilt that is beginner friendly, then you’re in the right place. This scrappy star quilt from Cut and Create on Youtube is perfect for you. It’s the simplest tutorial out there, and I’m sure you’ll be able to produce a gorgeous quilt with this tutorial. I’ve made tons of quilts with this pattern; I just use different fabrics each time. It’s my go-to, especially if I need something personalized for a birthday or baby shower. Watch the video tutorial below to learn the step by step instructions.
Materials:
- 7 – 5″ squares in different patterns
- 1 – 5″ plain white square
- 8 – plain white 3″ squares
- rotary cutter
Directions:
Step 1
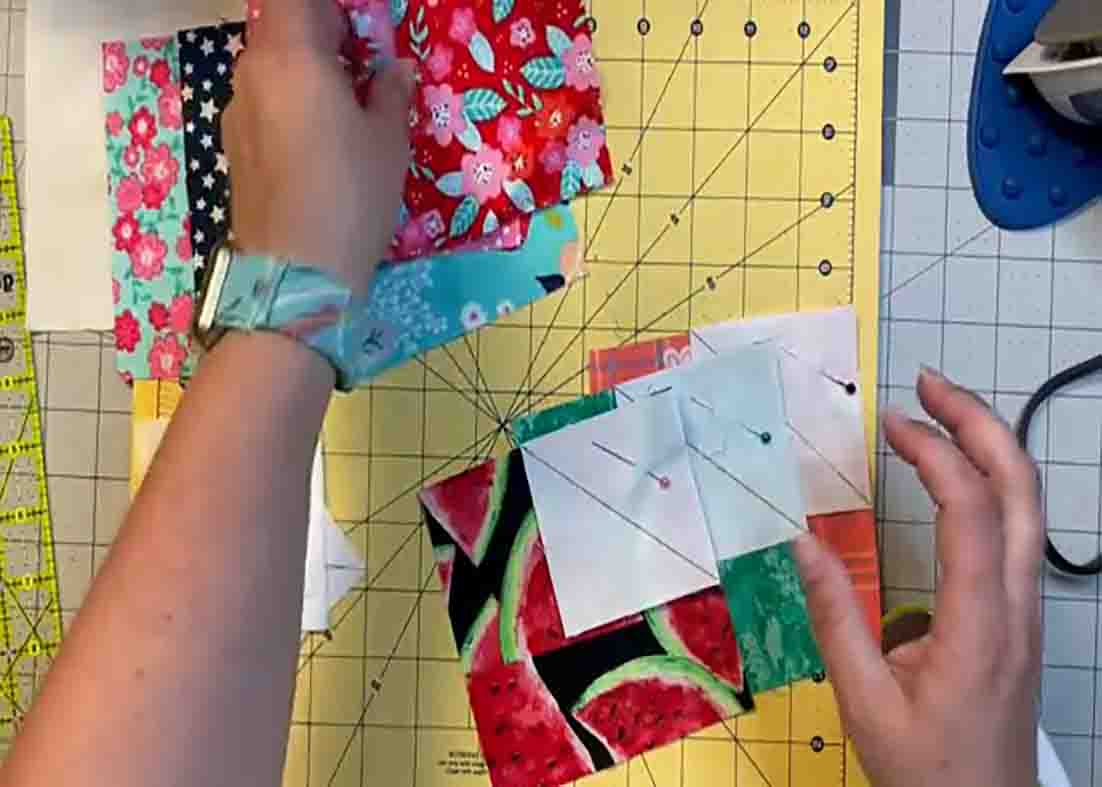
Lay your 3″ squares and draw a diagonal line on each piece. After this, pick a random 5″ patterned square and place one 3″ square on the top right of it and secure it with a pin. Do this to four 5″ patterned squares. Take them to the sewing machine afterward and sew right on the line. After sewing, trim the excess fabric and press them open. Next, take another 3″ square and place it right across the first one. Pin to secure, then sew them right on the line as well. Cut the excess fabric afterward, trim off the excess fabric, and press open.
[social_warfare]
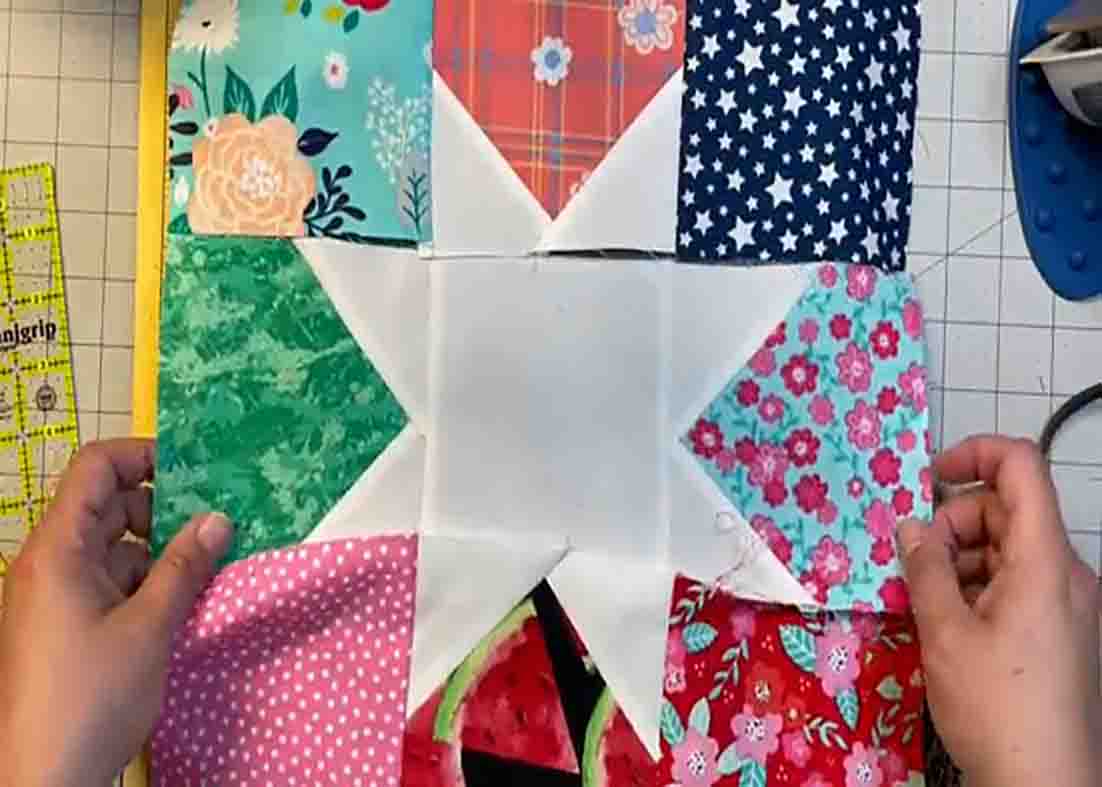
Step 2
Now lay out the blocks. Place the single white 5″ square in the center, then lay the blocks around it with the white sides inside. Lay the remaining patterned 5″ squares around to fill the spaces. Sew them by rows, press, then sew the rows together to complete the scrappy star quilt.
Scrappy Star Quilt Block Tutorial


