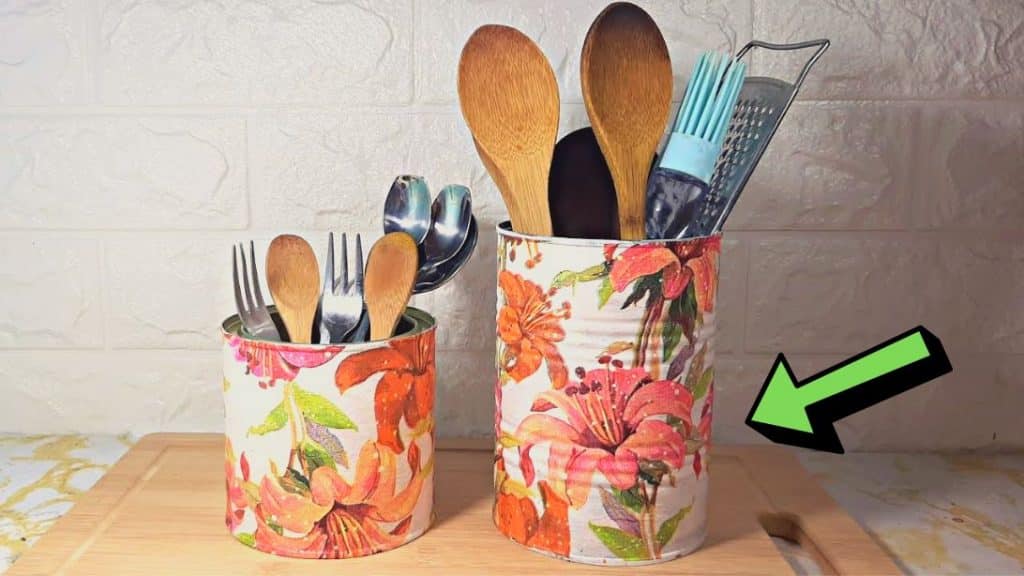
If you’re running out of storage for your kitchen tools or just want a centerpiece for your living room, instead of buying from the store, find some old tin cans, and turn them into pretty storage or vase. You only need a few basic craft materials and a can or two, if you like. Learn how through this video tutorial by Let’s Do Crafts on YouTube.
Materials:
- White acrylic paint
- Glue
- Printed tissue
- Paintbrush
- Scissors
- Water
- Mod podge or clear varnish or glue mixture
Directions:
Step 1
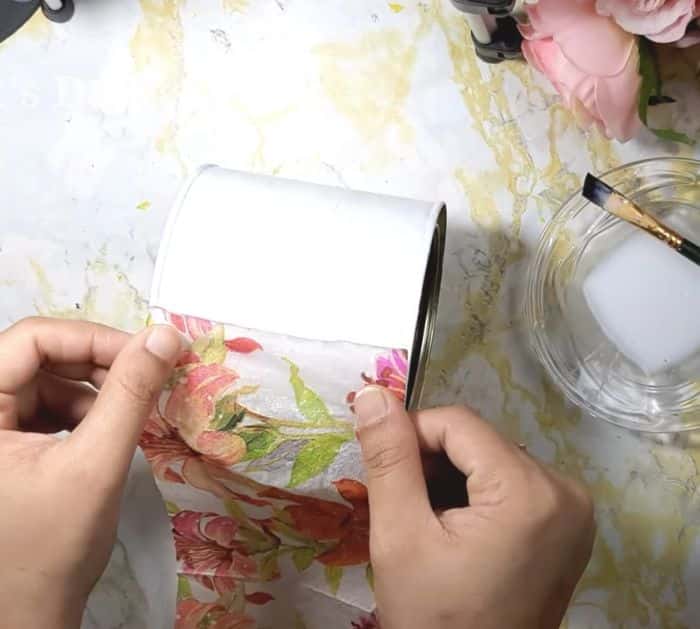
Make sure that your tin can is clean and dry before you start working on it. Coat the tin can with white acrylic paint, then let it dry completely. While waiting for it to dry, create a mixture of glue and water with a 1:2 ratio, and stir them together until uniform. Carefully remove the backing paper of the printed tissue, then lay it around the tin can, and measure the exact size you’ll be needing. Cut the printed tissue, then grab the tin can making sure that its paint is thoroughly dried, brush a bit of the glue mixture along with the height of the tin can, then carefully place the end of the printed tissue, and gently press it down removing any wrinkles.

[social_warfare]
Step 2
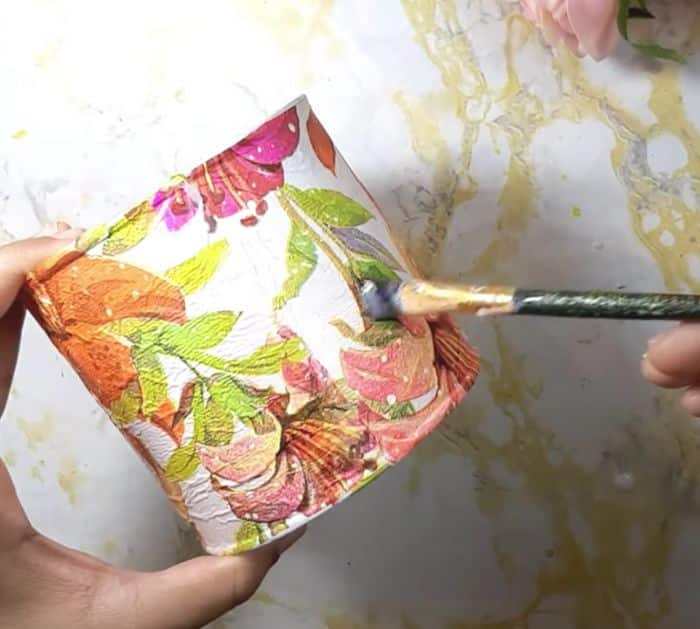
Attach the printed tissue little by little as you apply the glue to the body of the tin can, this way, you’ll avoid unnecessary wrinkles and tears. Once you’re done wrapping the whole body of the tin can with printed tissue, trim off the excess, then allow it to dry completely. After the glue has dried and the printed tissue is properly attached to the tin can, use either a mod podge, clear varnish, or the same glue mixture for a finishing coat. If you’re using the water and glue mixture make sure to apply it three times, but if you’re using clear varnish, then one coat is enough.

*All these images are credited to Let’s Do Crafts via YouTube. Give their channel a visit and subscribe for more!


